The Helix
123456
123456
|
Jeff, I have used 1” strips 1/4” thick. But rather than glue multiple strips together I use 3/4” thick plywood spacers cut 1” wide and 1 1/2” long for curves and 3” long for straights. This then has a center strip with blocks on each side, spacing staggered. And outside strip on those blocks, 3 strips total. The center strips can be built up by gluing the blocks in place before installing on the layout. Actually the whole thing can be built up as straight sections or as curves with a center line template at the bench before installation on the layout.
I have plenty of 3/4” plywood scraps from my woodworking activity. It is lighter weight but plenty strong enough. And there is not so much glue squeeze out to deal with. The blocks an be tacked in place with glue and a brad air nailer if in a hurry or just clamped with spring clamps. The outside strips can be attached with glue and brad nails, clamps or use temp screws as clamps. I like the Kreg 1” course thread screws... once done subroadbed can be attached to the top and if desired trimmed flush to the outside strips with a router and flush trim bit. Just another approach or variation on Spline roadbed. Todd
Sent from my iPhone On Mar 1, 2021, at 5:29 AM, Jeff Young [via C&Sng Discussion Forum] <[hidden email]> wrote:
|
|
In reply to this post by Todd A Ferguson
And even 136 lb rail is like spaghetti...
Yes it can be given enough force. Perhaps licorice is a better comparison. 
UpSideDownC
in New Zealand |
|
Chris, yes with enough force it certainly is true...
Todd |
|
Chris,
Could you give more information on that wreck-railroad-location-number of cars derailed-gauge-cause? Bernie Perch |
|
Bernie,
one of my past Fireman is now an Enginedriver out of Tom Price in Aussie, he sent me that pic a long time ago, I have no details, sorry.
UpSideDownC
in New Zealand |
|
Chris,
Thanx for your response. I was curious because it really looked like a violent accident. Bernie |
|
In reply to this post by Keith Hayes
Progress is slow these past few weeks. A hot wire foam cutter arrived in the mail and some fresh knife blades are now on site.
 The roadbed on the north side of Fremont seems like a gentle route, cutting through toe slopes as the grade followed the creek. This includes a number of small cuts. A while back I spotted Golden Coarse Pumice Gel while shopping for Matt Medium. I don't exactly know what this is supposed to be used for, but it is like Matt medium with sand in it. I bought an 8 ounce container a while back and have used it on other parts of the layout. As I contemplated continuing the helix campaign, I thought to myself, "I bet you can color the stuff with acrylic paint!" So I got a fresh container today and after doing some work I peeled off the protective foil (everything has protective foil these days, doesn't it!), and there was some on the bottom of the foil. I added some acrylic paint and by golly it worked! At the art store they have a serrated scraper and I applied the stuff to some foam drawing the serrations upward to look like erosion in the cut. Stay tuned for more updates as I continue to experiment with this stuff. I wonder if it will work with tile grout? 
Keith Hayes
Leadville in Sn3 |
|
The first couple hundred feet of track are wired up so I fired up 74 for a test drive.
 The engine will pull four free-rolling cars and a waycar up the grade, about the same as the full size engine. So far so good. Now to press on to Kokomo!
Keith Hayes
Leadville in Sn3 |
|
Keith,
I’m happy for you. Keep climbing, great progress. Thanks for sharing. Lee Gustafson |
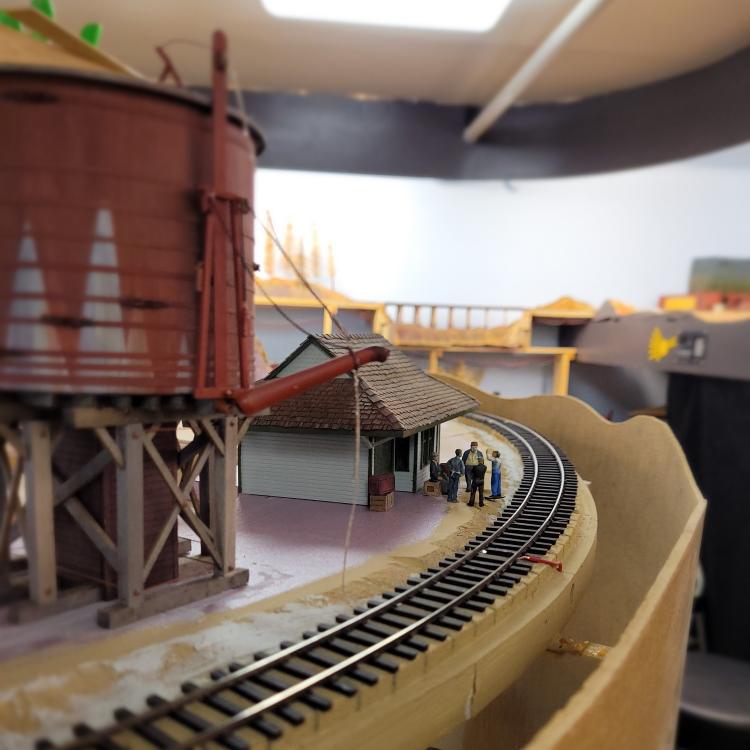 The railhead has arrived in Kokomo, but where is the train? The locals have gathered at the already-constructed Depot to confront a responsible-looking person. What's that? You still have to build the line over the hill to Leadville? Why that is nonesense!
Keith Hayes
Leadville in Sn3 |
|
Sweet!
|
|
In reply to this post by Keith Hayes
Life has taken me away from the layout for a bit. I decided to look into the NMRAs AP program and am spending time documenting various projects.
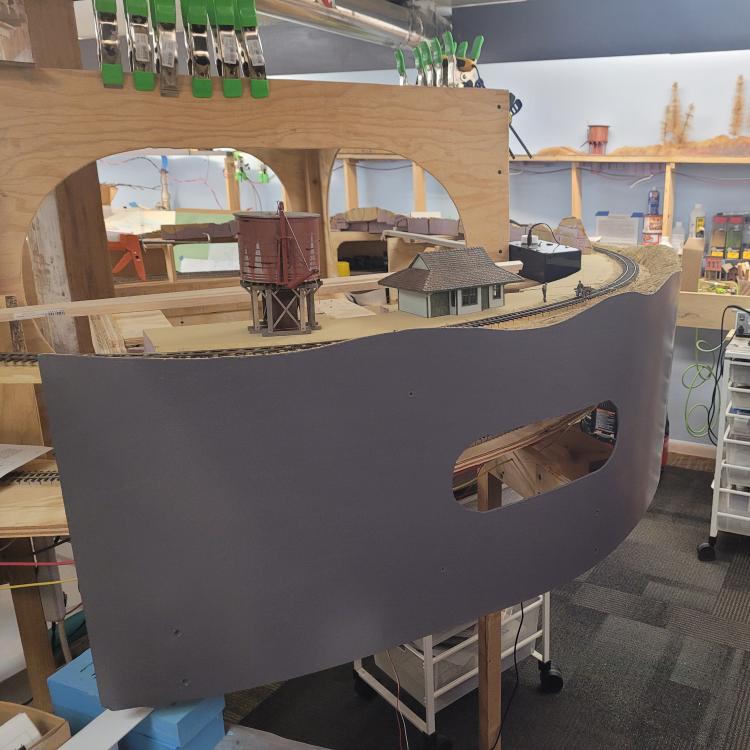 I got some paint for the fascia today, so the helix is looking more finished. You all keep working away. I am enjoying reading about progress on your projects.
Keith Hayes
Leadville in Sn3 |
Well I have been waiting for months for an updated "What's on...." 
UpSideDownC
in New Zealand |
|
In reply to this post by Keith Hayes
I have been talking a long time about the helix and the time has come to commit.
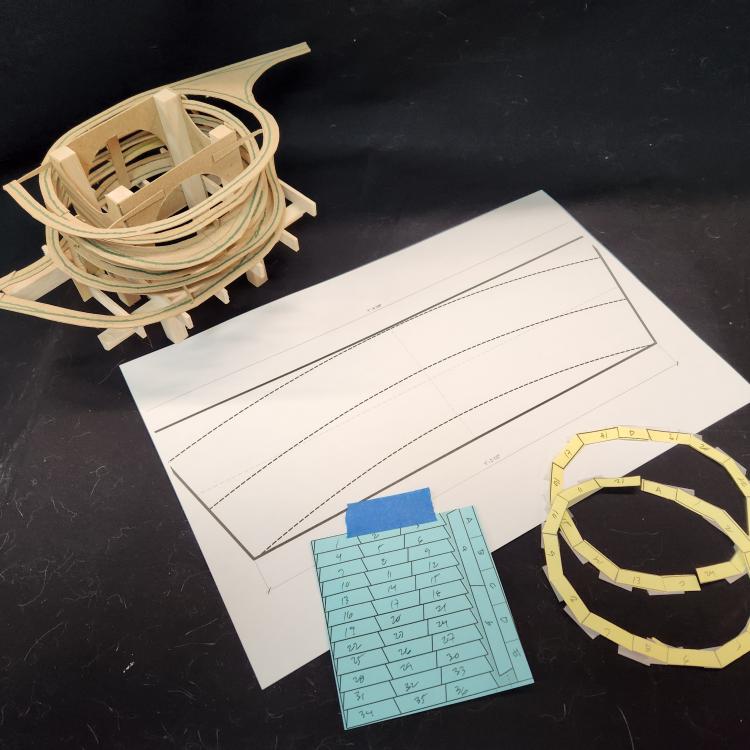 Years ago Ken Patterson visited the layout (he never posted the video he took) and was amazed that I built model of the helix before I tried to build the real thing. Now that the frame is in place it is time to commit to some expensive sheets of Baltic Birch plywood. Before I do this, I want to a) maximize the use of a sheet and b) confirm the geometry is correct. So you can see the sheet cut plan, a small mock-up and now a full size mock-up on 11x17 paper. 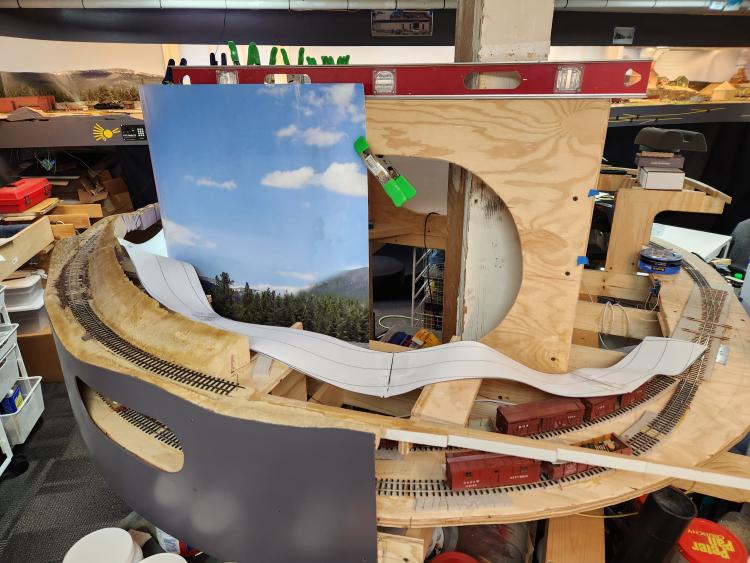 Wavy, but I think this will work. I am also considering hiding the helix behind a row of trees. This better allows the operator to monitor progress of the train without increasing the speed or blowing the whistle or ringing the bell.
Keith Hayes
Leadville in Sn3 |
|
Administrator
|
Thanks, Keith, for the update, looks great! I hope more of us use this forum to show what we are doing. A lot of lurking going on, but I know it would be great to keep tabs on what we are doing.
|
|
In reply to this post by Keith Hayes
No excuses. The 5mm Baltic Birch plywood showed up Friday.
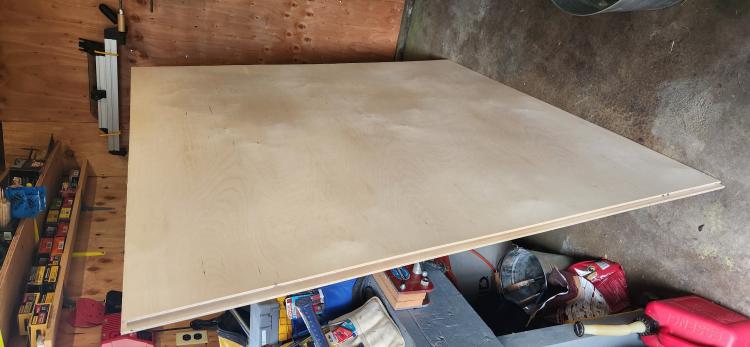
Keith Hayes
Leadville in Sn3 |
|
With the plywood in hand, I got a fresh saw blade and an edge router bit. The first job was to cut the sheets into 5" wide strips.
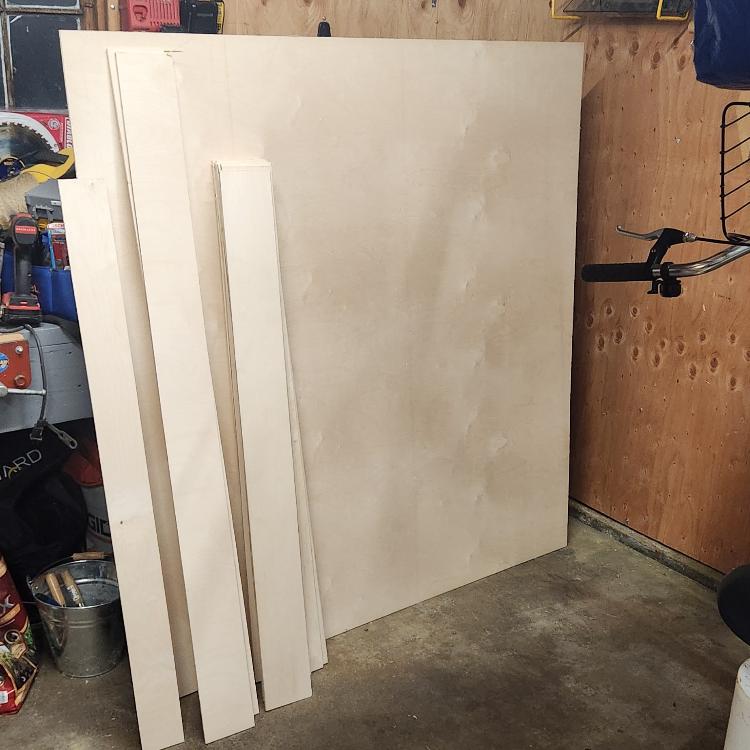 I had laid out a cutting plan to maximize the number of pieces from each sheet. These were Then cut into trapezoid, about 1'-5" on the long edge with a 15 degree miter. 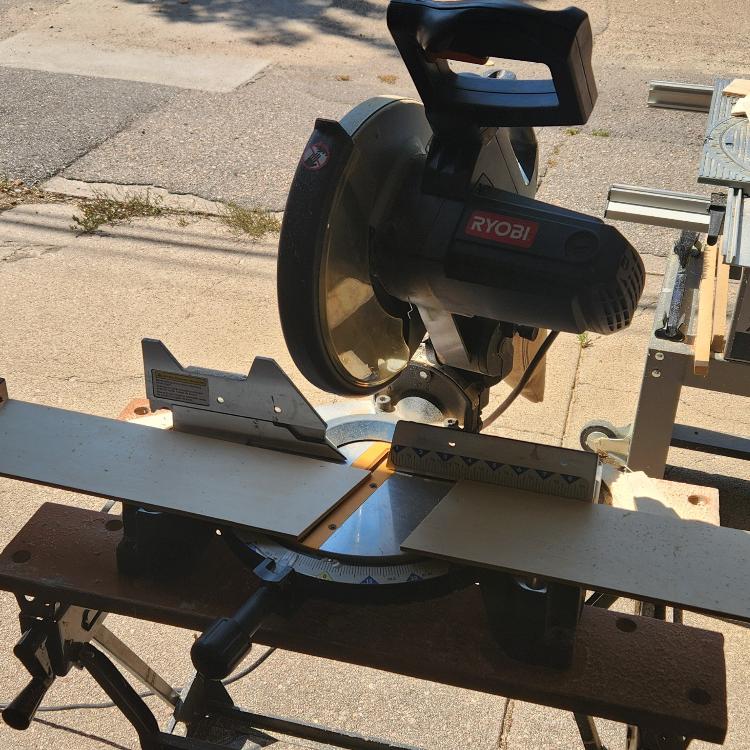 The first trapezoid was used as a pattern. The arc was traced from a paper template and the piece cut using a scroll saw. 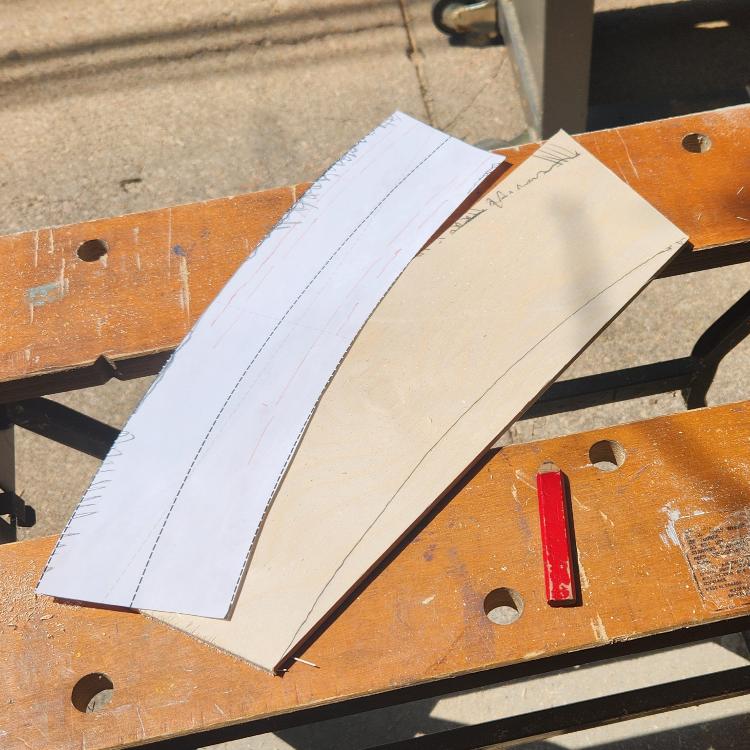 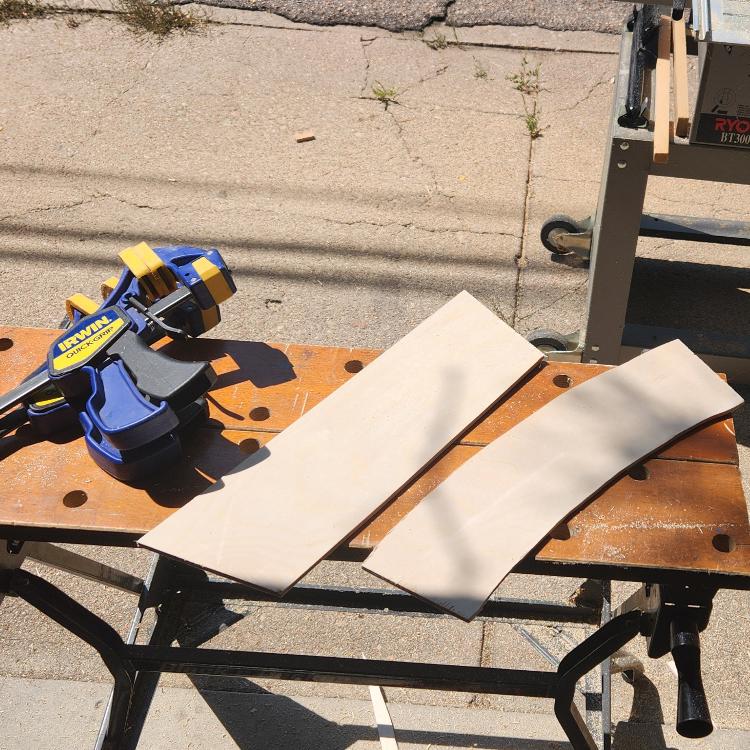 Now the work begins. I used a technique I have seen other wood workers use: I put a strip of tape on the end of each piece, applied super glue and clamped the pieces. Next I used the trim router bit to quickly route the trapezoid to the arc. The crepe backing on the tape is designed to block paint and solvent from passing through. The even application of adhesives on the tape makes a great shear bond. When finished, you pry apart the two parts, and now there are two patterns. 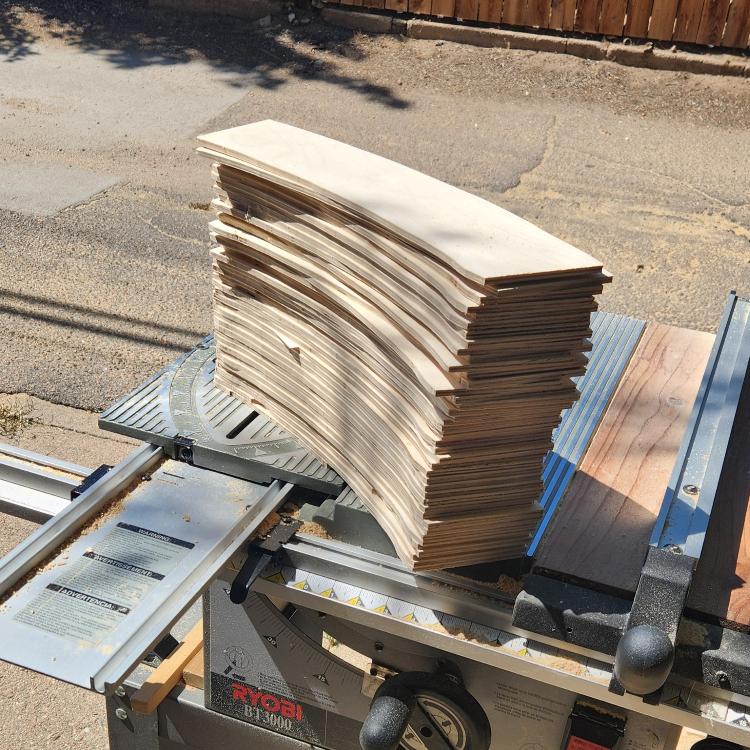 Over an afternoon and a morning, I made 40 pieces. Now to glue the parts together to make the roadbed.
Keith Hayes
Leadville in Sn3 |
|
Interesting approach Keith. Did you ever consider using spline roadbed for this?
UpSideDownC
in New Zealand |
|
Excellent question, Chris. I used spline on other parts of the layout. For the helix, I felt I needed more control. At one point I considered the threaded rod solution, but have settled on good old blocks for support. The plywood provides plenty of space for this. I am also contemplating laying roadbed and track, and wiring the track on the bench. Once the half-circuit is installed, it will be ready to go. Stand by to see if this really works.
Keith Hayes
Leadville in Sn3 |
|
The first arc is done and here it is mocked up.
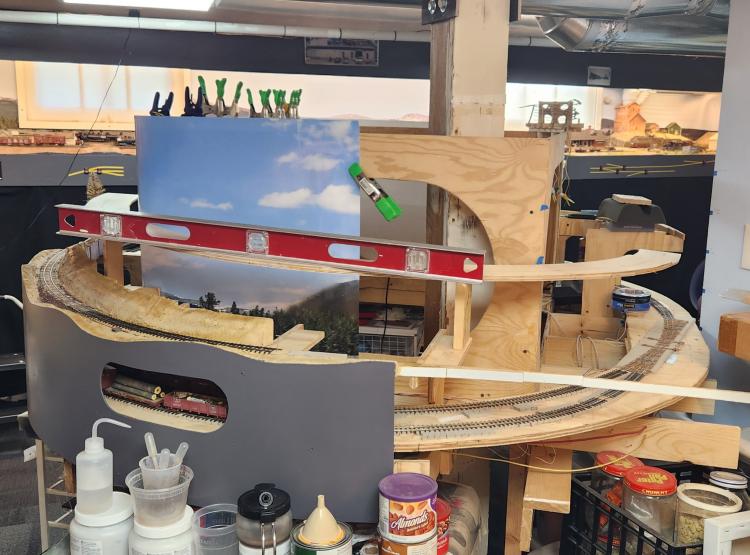 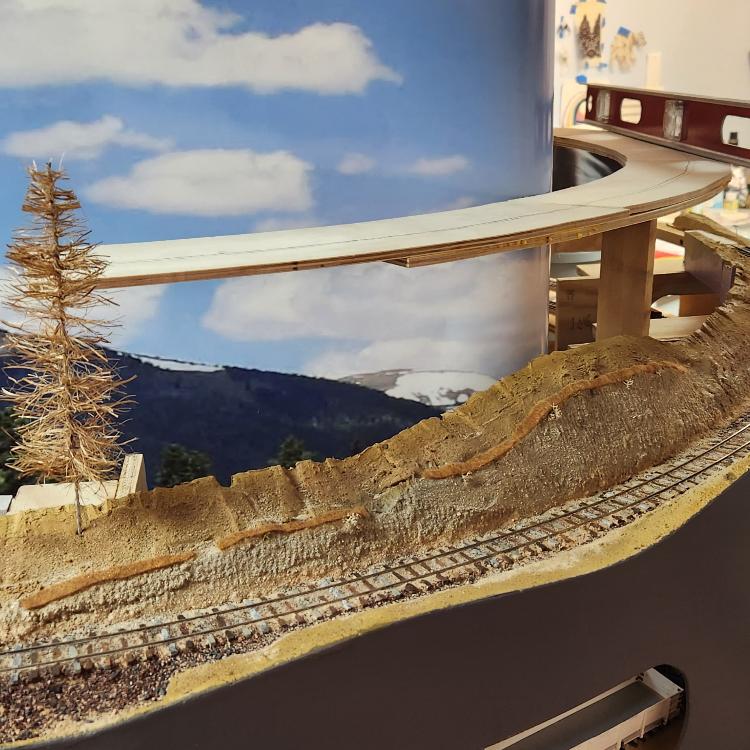 I grabbed some scrap wood and the grade is about 3% rather than the 1.8% I am aiming for, but you get the idea. I think the trees will work rather well as a natural screen to provide operator enjoyment while the train climbs.
Keith Hayes
Leadville in Sn3 |
«
Return to C&Sng Discussion Forum
|
1 view|%1 views
| Free forum by Nabble | Edit this page |

