Here we go!
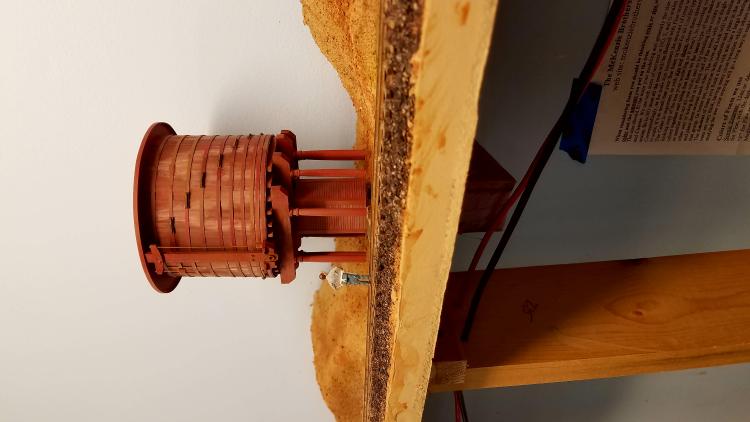
The super cold weather out discourages any kind of outdoor activity once the snow shoveling is finished. Saturday I made some track adjustments and spent a couple hours running trains around the loop and siding, watching for derailment and checking clearances. A K-37 made a visit with a train of passenger coaches as a final check.

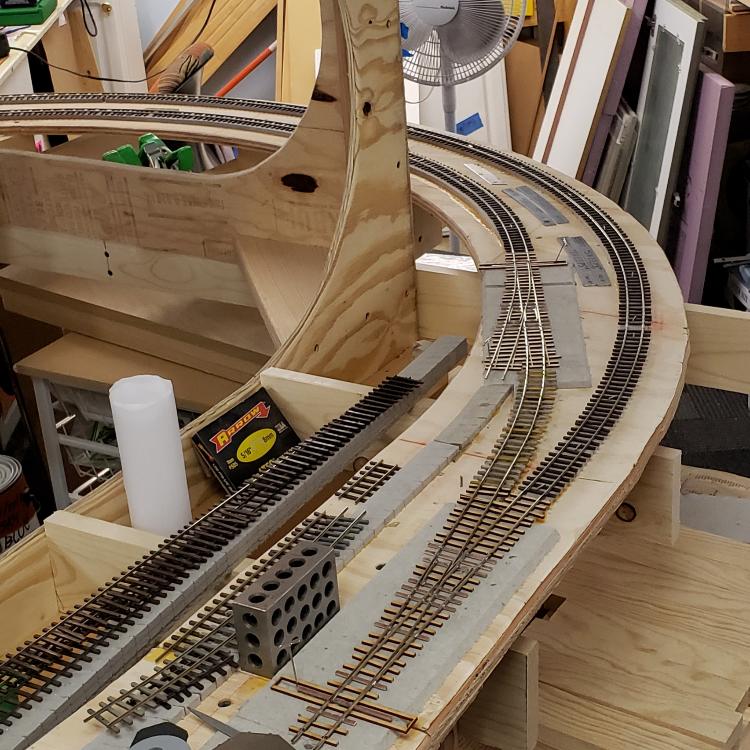
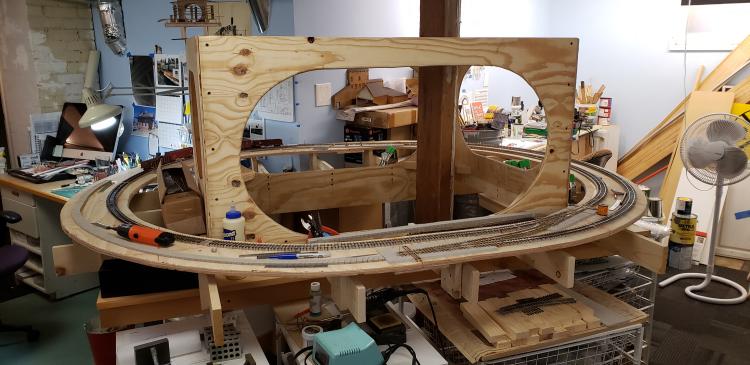
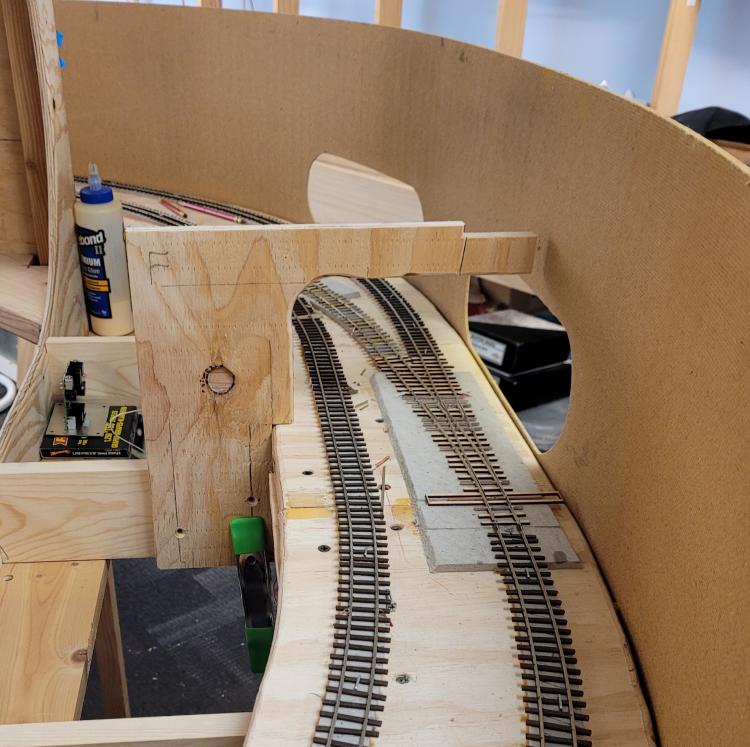
I showed previously the plywood brackets I made to cantilever the lowest circuit of track over the outer staging loop. Today I started placing the brackets to get a consistent 2% grade. It is a bit steeper than I would like and I may have a spare 1/8" of clearance so I hope to ease off the grade on the concealed circuits. I used a piece of spline to mark off inches in order to accurately calculate the grade. I also realized I could glue a piece of plywood to greater a base for all-thread to terminate as it supports the track above. This seems the most flexible and adjustable means to support the concealed track.
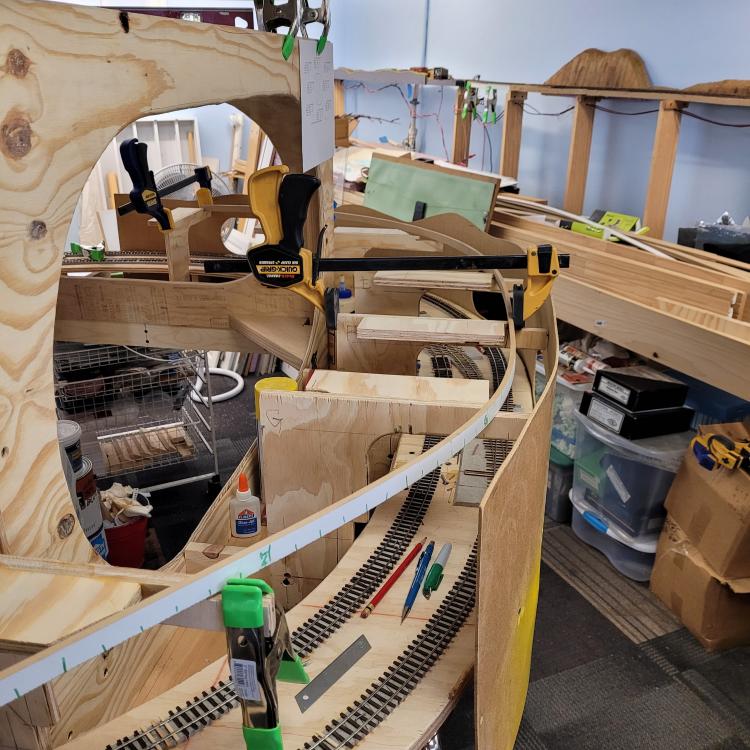
Years ago, I visited Lee Kleindon to pick up my radius forms and observed his helix was reinforced by a maze of wire. You see, a helix is a spring and in some circumstances it will want to rotate helically. My hope is the internal structure I created will better resist the torsion and keep everything in place. The large openings will provide access to the concealed track from the inside.
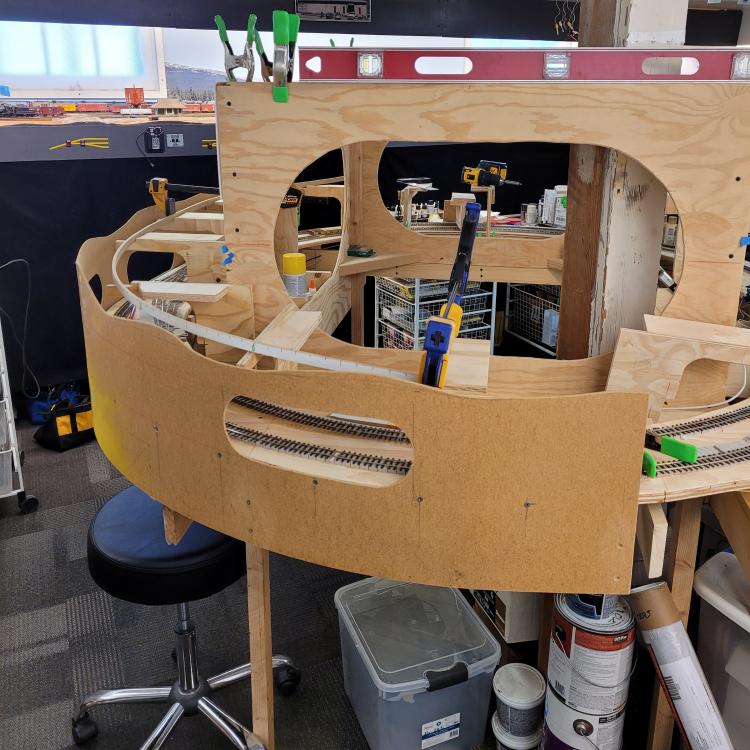
The brackets went in easily enough. I was hoping that one of the concealed loops could be herniated to both see the train and create a water stop. Now that the helix is laid out I realize there will only be two concealed circuits. It takes a train just over a minute to traverse the loop, which seems tolerable in my experience.

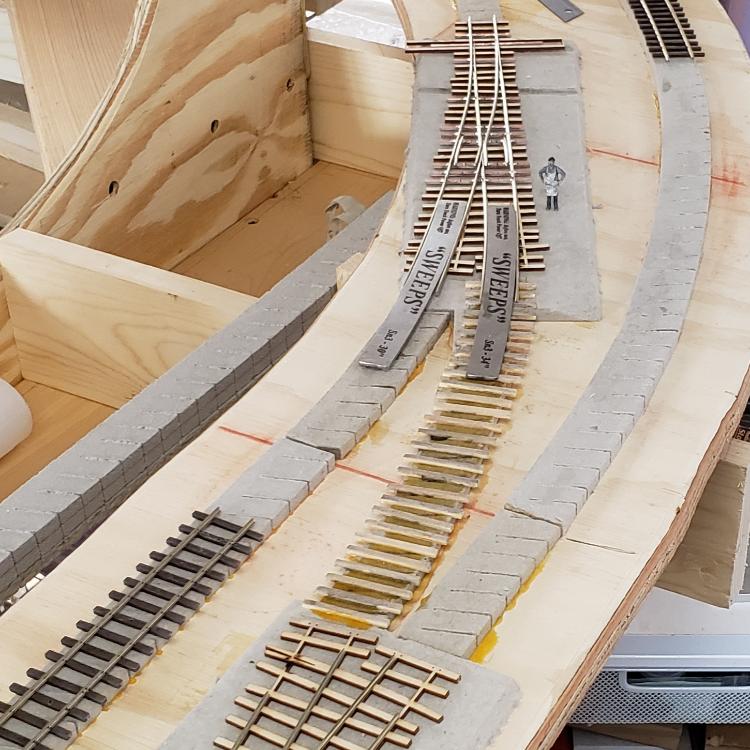
I realized that I have room to extend the lowest loop to the south and this is where Kokomo will be located. It is closer to Solitude than I would like, but at least the structures won't go to waste. Also, it affords the opportunity to have the train dive into a snow shed as it moves into the concealed part of the helix! I am thinking of installing an operating train order board on the depot. This could be a good way to control traffic.

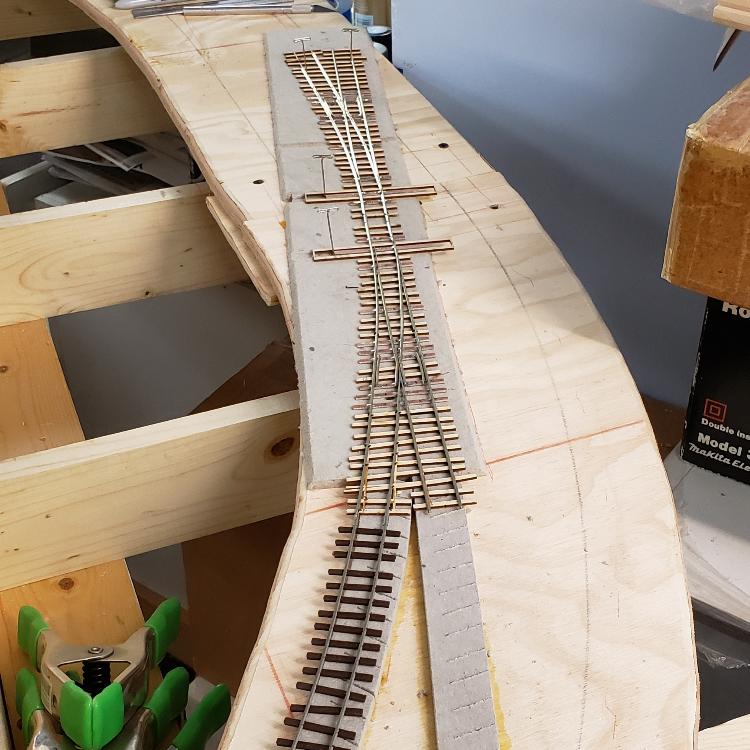
Anyhow the first bit of spline is in place.
Onward!
Keith Hayes
Leadville in Sn3


 And one in position.
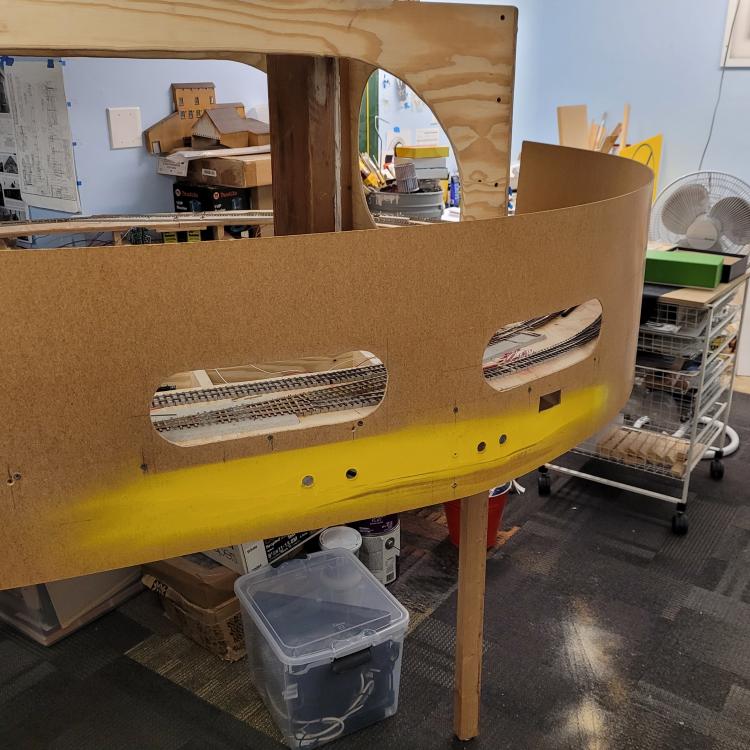
 The first circuit will be open to the outside.