Phase I /1902 C&S Coals
12345
... 10


12345
... 10
Re: Phase "Zero" / St Charles Coal Cars
|
Jim,
Very clean accurate impressive work. Your attention to historically accurate detail is very well executed. Your build is clean, accurate and impressive. I look forward to the next stages of the build. Thank you for sharing with us. Lee Gustafson |
Re: Phase "Zero" / St Charles Coal Cars
|
Thanks Chris and Lee. This project seems to be ending my 2 year case of "builder's block".
I finally realized that I have all the information and materials that I'll probably ever have to build this car, so best get on with it! Mike's 3-D printed stakes made the whole project possible.
Jim Courtney
Poulsbo, WA |
Re: Phase "Zero" / St Charles Coal Cars
|
Not enough progress to post new photos of models.
Instead, a couple of blurry DPL enlargements of St Charles coal cars: 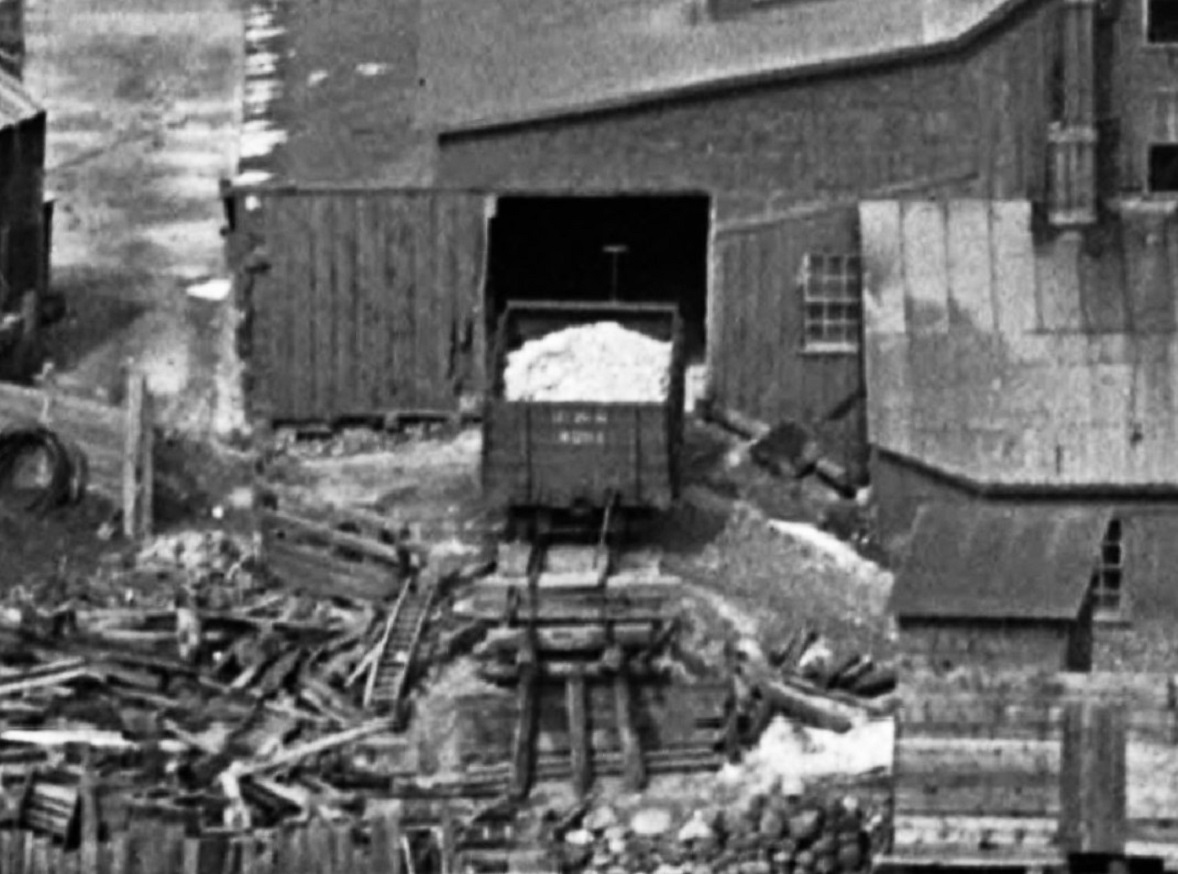 http://digital.denverlibrary.org/cdm/fullbrowser/collection/p15330coll22/id/67650/rv/singleitem 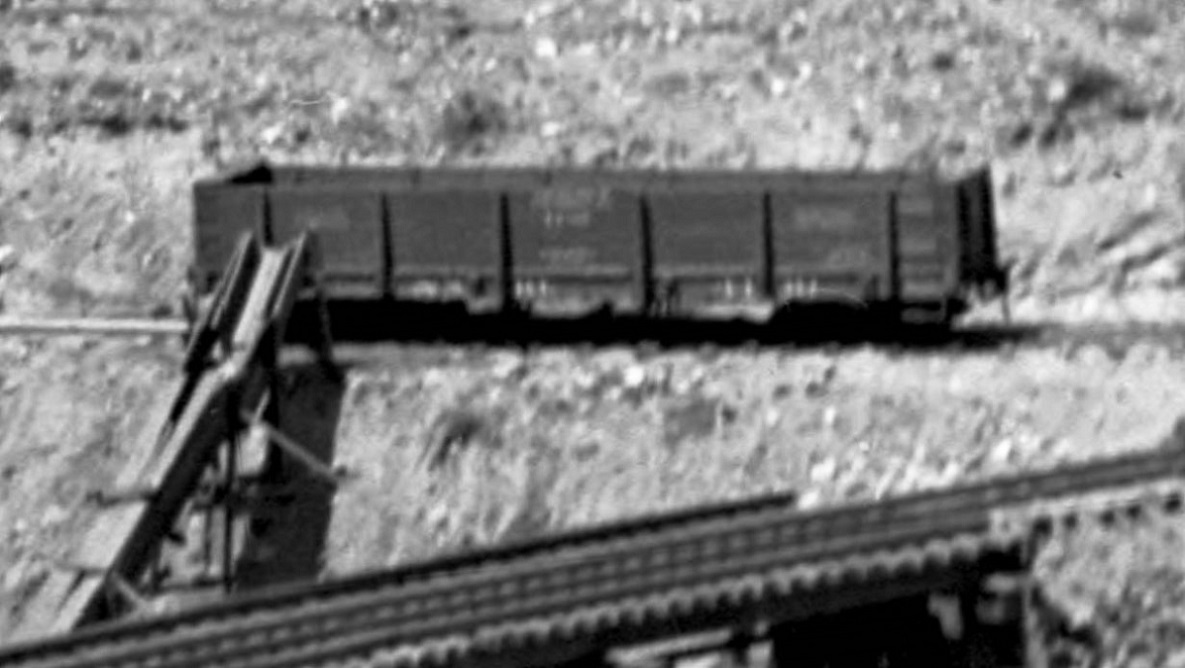 http://cdm16079.contentdm.oclc.org/cdm/fullbrowser/collection/p15330coll22/id/70878/rv/singleitem/rec/2 Both cars still have end stakes, automatic couplers still in the future. (Any symptomatic relief from these two pix, South Park??)
Jim Courtney
Poulsbo, WA |
Re: Phase "Zero" / St Charles Coal Cars
|
This post was updated on .
Progress as of Father's Day
All the body hardware has been applied:  While Keith is drilling upteen-gazillion holes for all the grab irons on his late version of the 1902 coal car, the St Charles coal car in the first decade of the C&S was sleek by comparison. Just two 21" grab irons on each side, two on each end and a 12" grab on each of the brakeman's platforms. Same with the stirrup steps, only one per side on the right end of the car. Before the 1915-16 USSA standards, stirrup steps were wider (18"-21") and were cast or forged with a round cross section for the stirrup, not strap stock. I made mine from 0.015" brass wire and 0.010x0.030 Evergreen strips for the brackets.  The brakeman's platforms have tabs so they snap (kinda) into place, to allow layout of the end detail. They will be permanently attached after the car interior is painted and weathered. I couldn't tell from photos how the coupler lift bars looked after the end stakes were removed. Several photos from the aughties show a Z-shaped handle, and I thought they were too cool not to model. Mike's final CAD file for the individual corner irons were accepted by Shapeways, and I have ordered my set: http://www.shapeways.com/product/4R4SBVUWE/c-s-1898-coal-car-corner-irons-offset?optionId=60092963. They will be painted grimy black and applied after the final exterior paint job. Next up, underframe detailing -- brake rigging and such:  
Jim Courtney
Poulsbo, WA |
Re: Phase "Zero" / St Charles Coal Cars
|
Jim, it could be worse: they could be boxcars.
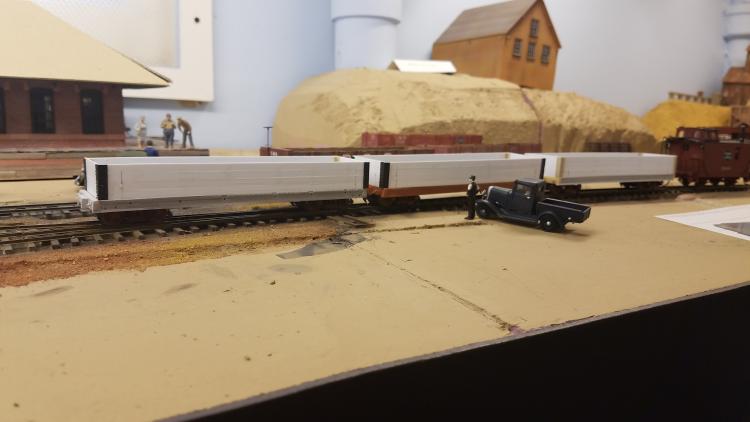 Don't go dissing the safety appliances. Almost done--only the grabs on the side sills and end beams to go.
Keith Hayes
Leadville in Sn3 |
Re: Phase "Zero" / St Charles Coal Cars
|
Some great looking work being done here, gents.
Cheers, Jeff. |
Re: Phase "Zero" / St Charles Coal Cars
|
In reply to this post by Jim Courtney
Jim, here is a close up of a coal interior as you requested.
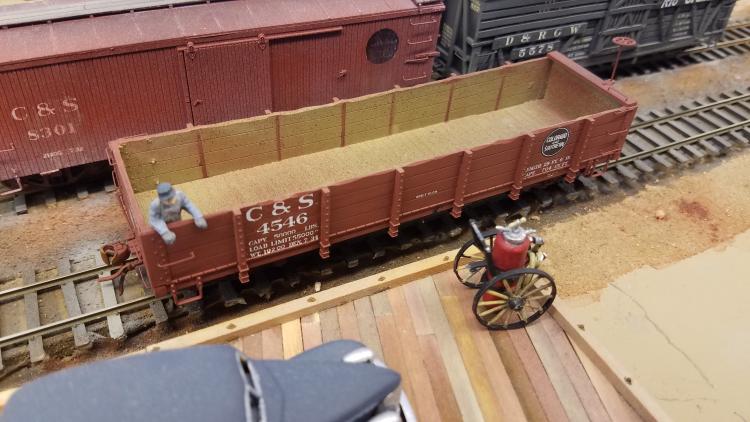 I have a lot of old business cards, and after I paint the car interior, I use a card with a thin slices in it to paint the steel. A second card is used for the corner irons. I have been using Mike Trent'so recommended mix of 50/50 boxcar red and caboose red (I think that is what he said. For the car I use the trusty method published in the Gazette so long ago: grey primer, yellow, black, grey and the finish color. I put one on after the other and sometimes leave off the black. To get the wood color I have been including a layerevan of tan. I guess I need to take better notes the next time I paint! Then I finished with a light overspray of black. I should probably sprinkle some coal dust and wood splinters in the empty cars. I have been cogitating about building a couple three carloads of the big mine timbers Climax liked to order at the end.
Keith Hayes
Leadville in Sn3 |
Re: Phase "Zero" / St Charles Coal Cars
|
Pretty neat stuff, Keith!
 Do you use the fiberglass eraser between paint layers, like in the Gazette article, or just airbrush on very thin layers of paint? As for masking off the straps, Jimmy Booth has mentioned that he uses the adhesive ends of Post-it notes to mask off small linear details (in Texas, we call them FLYNs (for "F'n little yellow notes"). I might experiment with those instead of business cards. My friend, Dale Kreutzer has pointed out that modelers tend to build models of other models, not the prototype. Some of the first scratch building in wood used Floquil "driftwood" stain for unpainted wood, and model builders have been finishing open wood cars with grey interiors ever since. As Dale has pointed out, the inside of coal cars ("high-side gons" on his RGS) were shades of brown, not "fifty shades of gray". Anyone else have their favorite technique for making styrene look like weathered, raw wood? Jeff? Mike Trent? Dr. Stears? Photos please! Jim
Jim Courtney
Poulsbo, WA |
Re: Phase "Zero" / St Charles Coal Cars
|
Sometimes I scratch it up. In the case of the car in the photo, it is kind of a fresh paint job, so I left it alone.
One the Phase I's I am thinking of painting the sides before I install the stakes. Don't forget to cut up the top board, too!😎
Keith Hayes
Leadville in Sn3 |
|
In reply to this post by Jim Courtney
For what it's worth, I've been experimenting with Pan Pastels, going from darker to lighter colors. These work best before the car is assembled, and then you can go back with Pan Pastels, chalks or pigments to darken the corners.
I don't have this to a 'repeatable pattern' yet, but some times it comes out really good and other times it looks a bit forced. dave |
Re: Phase "Zero" / St Charles Coal Cars
|
Great idea on the business cards, Keith. I painted mine free-hand, and wasn't entirely pleased with the results.
Dave, great to see you around these parts. I've used white pan pastels to smear the lettering, but haven't yet tried any of the colours. 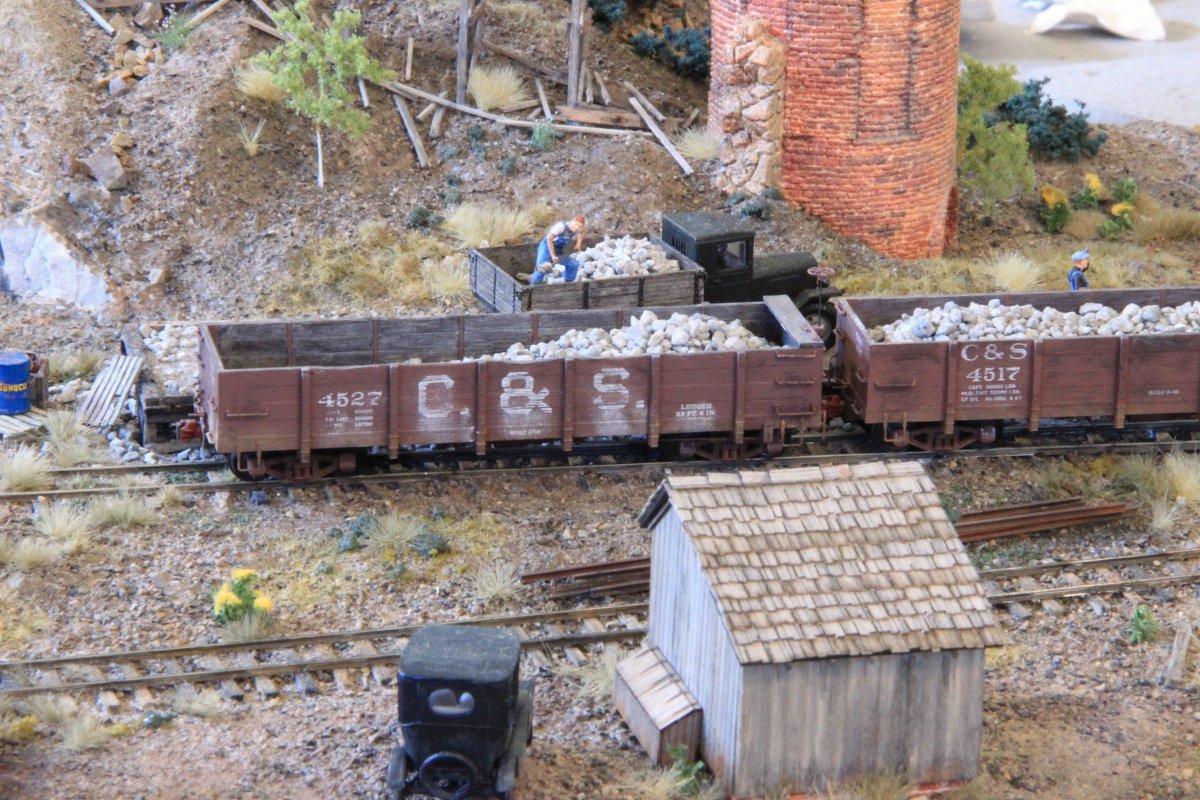 Cheers, Jeff. |
Re: Phase "Zero" / St Charles Coal Cars: Robert Stears Plans
|
Not much progress on my St Charles 1898 "Phase Zero" coal car--covering summer vacations for the younger doctors in the group, with kids, have left me in the hospital a lot, with little modeling time.
But I walked out to the mailbox and found a pleasant surprise, the July/August copy of the Gazette. But an even greater surprise was found on pages 41, 42, 43: Our own contributor, Dr Robert Stears, has published 3 pages of plans for both St Charles coal car classes. The "Phase Zero-zero" three board high cars that were built for the UPD&G in 1897, and the more familiar "Phase Zero" St Charles cars of 1898 with four board sides. Included are smaller drawings showing every lettering style that these two classes of cars ever carried, from building to abandonment. This may be enough inspiration to get me off my butt and back to building my own first attempt at a "Phase Zero" St Charles coal car, as above. The art work for the lettering diagrams is superb, I would hope that The Leadville Shops might produce decal sets for each of the cars shown! Stay cool, Jim
Jim Courtney
Poulsbo, WA |
|
In reply to this post by Keith Hayes
One thing I've noticed looking at PRR coal gons, is they have a small iron strap along the top of the sides. This is an obvious enhancement to prevent the top board from getting badly dinged up. Looking at the prototype photos here, I don't see this, but on the PRR cars, you have to look very carefully at the prototype to capture that detail.
dave |
Re: Phase "Zero" / St Charles Coal Cars
|
In reply to this post by Chris Walker
She who must be obeyed insisted we go on a hike today. Needing to comply, I suggested a destination a bit beyond Black Hawk. On the return trip, I suggested driving through Central City, seeking to visit the wood coal on display there to check out the brake rigging.
My question is, where is the coal? 71 and the combine continue to be stuffed and mounted a ways up the hill on the south side. 71 could use a new coat of paint. About this point, I realized that I had last seen the coal next to the Coeur d' Alene mine on the hill above Central. There was an event today in Central, and parking was non-existent. I was not sure the family would tolerate me following my nose to find the coal, so I aborted the mission. Driving through Black Hawk and Central makes me sad. Growing up, they were one step away from being ghost towns, but were funky, and pretty much in tact. Gaming has pretty much ruined Black Hawk: the depot grounds and context are all but gone. The historic structures seem to have been mostly moved to a building zoo, ironically up the hill in Central. Central has survived better, but not much. The depot grounds have been capped with a new pile to contain whatever nasty lay below. If part of the mission of gaming was to preserve, it has failed miserably. Also, SWMBO drove, so I got to admire the rock in Clear Creek Canyon. I was surprised by both the variety of rock, and the variety of color. There is quite a bit of basalt(?) with dikes running every which way, much like in Black Canon.
Keith Hayes
Leadville in Sn3 |
Re: Phase "Zero" / St Charles Coal Cars
|
The one and only young Jeff recently asked the very same thing elsewhere :)
and the 4319 is at the Playground. 39.80597, -105.5345 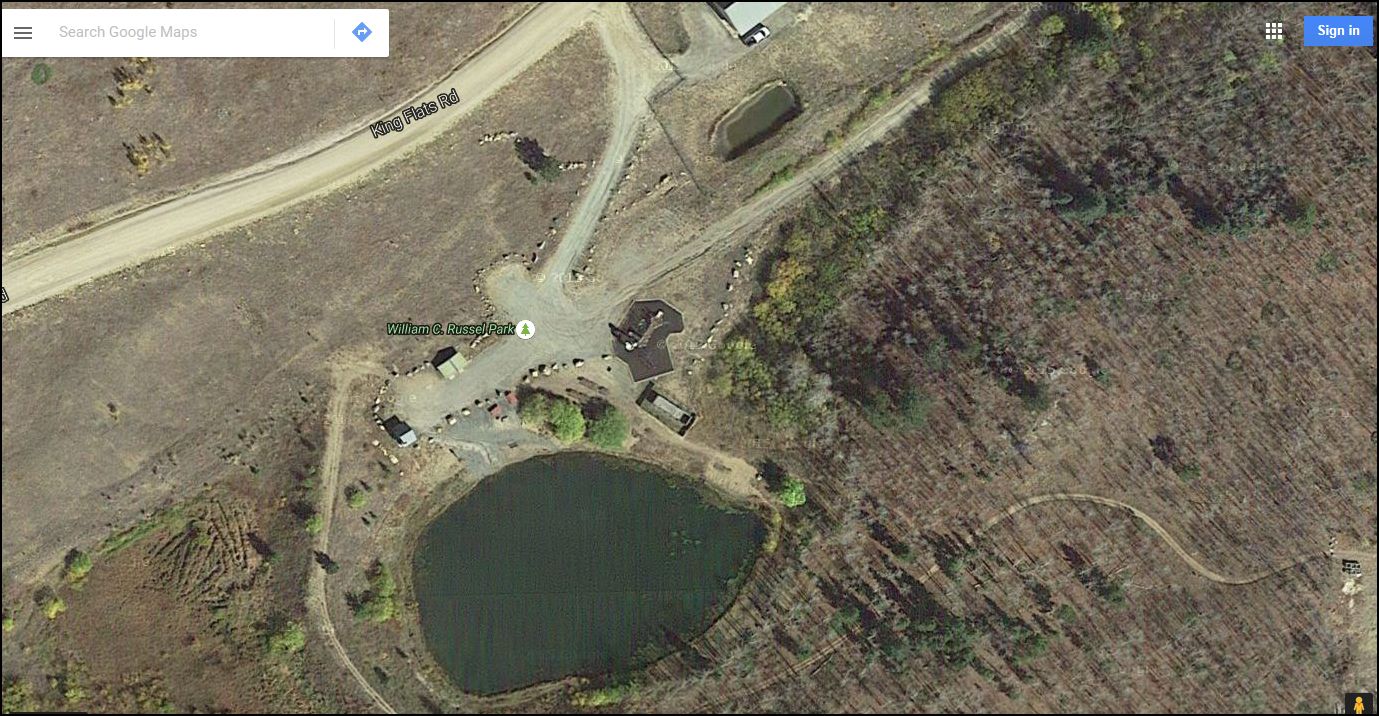
UpSideDownC
in New Zealand |
Re: Phase "Zero" / St Charles Coal Cars
|
Darn, we were close, and there is parking!
Too bad this location consigns it to a sure death. 
Keith Hayes
Leadville in Sn3 |
Re: Phase "Zero" / St Charles Coal Cars (Part 2)
|
In reply to this post by Jim Courtney
I've been very much enjoying seeing the progress of your excellent work on these coal cars. I've been wanting to try one myself, but am a bit daunted by the many variations of details in these cars.
As it happens, I have an old Tomalco HOn3 kit for a D&RG 1903 gondola that I pulled out the other day, and as I look at it closely it appears that it might be quite a good starting point for a Phase 1 C&S car. In particular the stakes, which I'm guessing were from Grandt, have the C&S-style single U-bolt with backing plate attachment rather than a pocket as in later D&RGW cars. This kit also has the full one-piece corner irons, both outside and inside pieces, and it looks as if the other detail parts should work fine for a C&S car too, except for the square washers under some bolts. So now I need to get the relevant dimensions for the frame. Are Derrell Poole's drawings for these cars still available somewhere? From what you have noted, it sounds as if these are the authoritative source of information. thanks in advance for any help you can give me with this. Cheers, John
John Greenly
Lansing, NY |
Re: Phase "Zero" / St Charles Coal Cars
|
In reply to this post by Keith Hayes
Brake work.
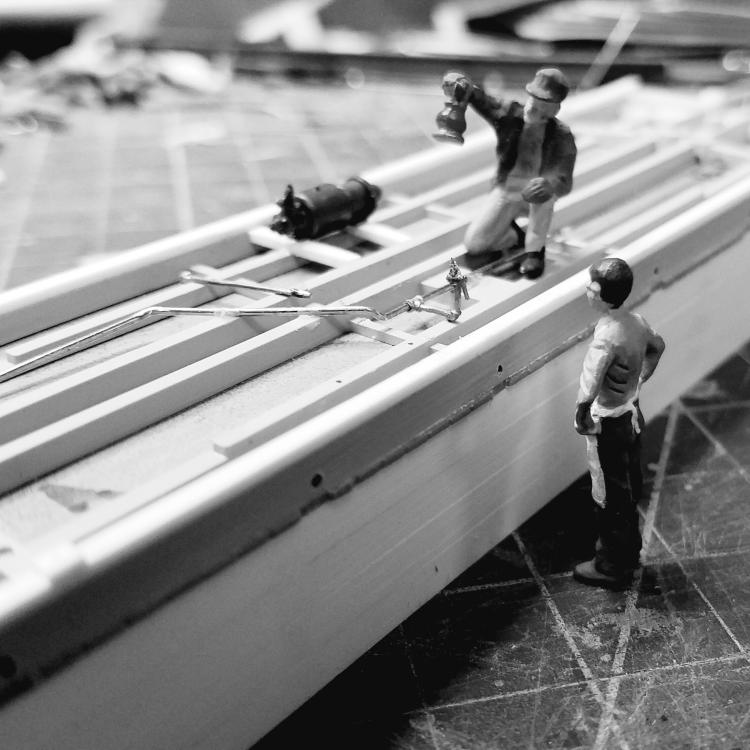 Jim suggested that the brake system is different enough that we should custom build the needle beams. I guess I better order some parts to maintain progress.
Keith Hayes
Leadville in Sn3 |
Re: Phase "Zero" / St Charles Coal Cars (Part 2)
|
In reply to this post by John Greenly
Hey John,
Are Derrell Poole's drawings for these cars still available somewhere? From what you have noted, it sounds as if these are the authoritative source of information. Derrell did a large set of exquisite drawings for many classes of C&S freight cars back in the late 1980s--they may or may not be still available. Derrell is the proprietor of "The 7th Street Shops". A pictorial link to his web site is on the main blog page in the upper right column. The link will provide you with contact information. Also be aware that Dr. Robert Stears has just published a beautiful set of drawings for the two versions of the St Charles coal cars, both the early 3 board side cars as well as the later 4 board high sides, in the latest (July-August 2016) issue of The Gazette. I'm not making much progress lately on my St Charles coal car. I'm hoping my "Summer Idle" will end after labor day, when the physicians in my group return to a regular work schedule, with all the summer vacations complete. Jim
Jim Courtney
Poulsbo, WA |
Re: Phase "Zero" / St Charles Coal Cars: Robert Stears Plans
|
In reply to this post by Jim Courtney
Thanks Jim, If I can make the deadline, there will be a more extensive article on these early C&S coal cars in the next B&L. I had water slide decals for all the lettering styles of these early C&S printed in 1:48 scale by rail graphics. If there is interest, I can have some printed in 1:64 and 1:87 as well. Thanks, Bob Sent from my iPhone
|
«
Return to C&Sng Discussion Forum
|
1 view|%1 views
| Free forum by Nabble | Edit this page |

