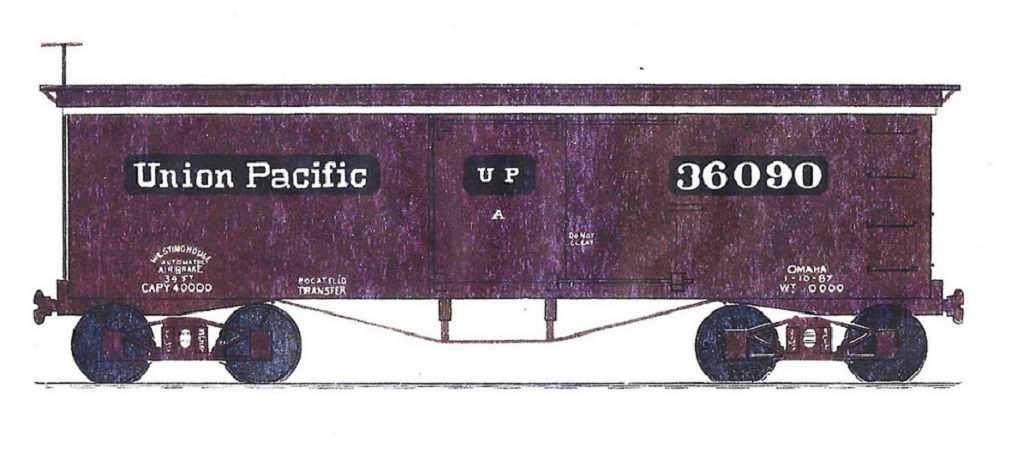
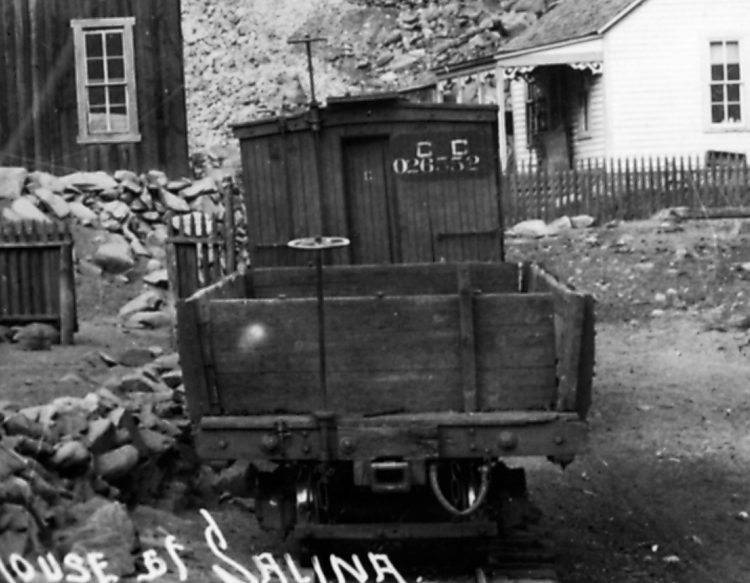
It also occurred to me that these 27' cars might have been patched for UP serviceAccording to Randy Hees, the black rectangles weren't "patches" to just cover old South Park lettering. The black backgrounds were a standard UP system painting convention for house cars in the 1880s, as were the white fascia boards.
 Standard UP paint card from Sherwin Williams
Like Keith, I always understood that those black rectangles, under the reporting marks and numerals, were paint masks, used to obliterate the older, pre-1885 lettering (i.e. DSP&P, C.C., Kansas Central, Utah and Northern, etc.). But according to Randy's research, they were a standard UP system painting convention, also applied to newly constructed cars at the factory, when built.
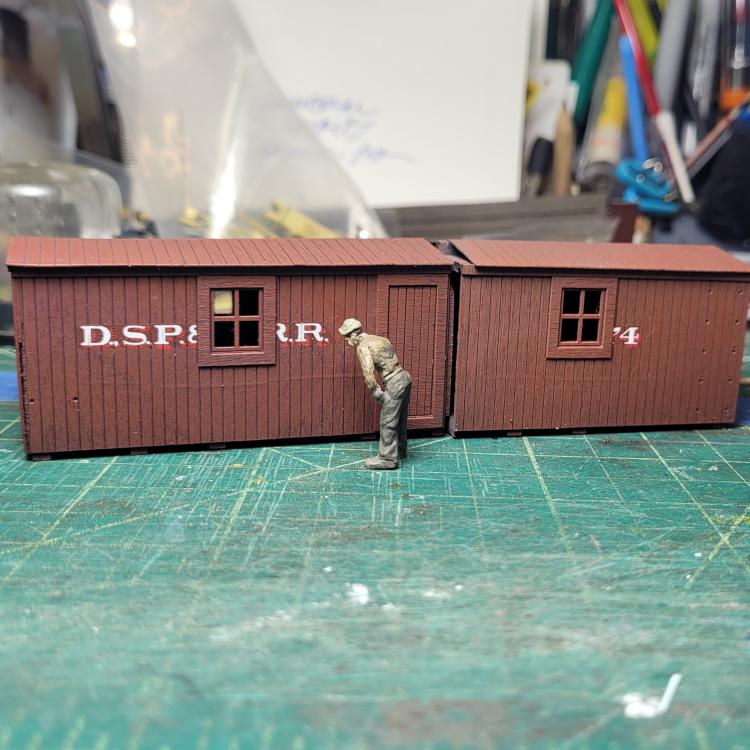
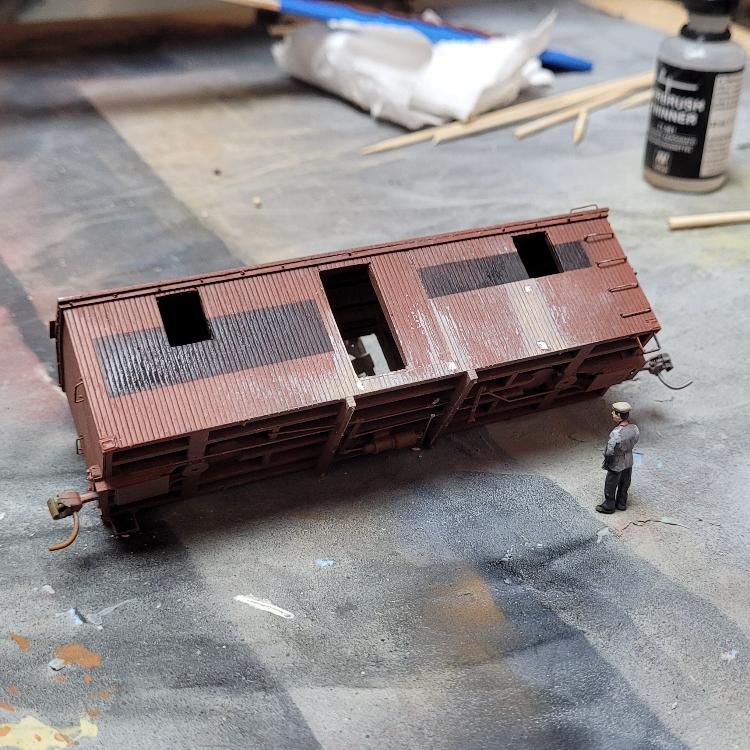
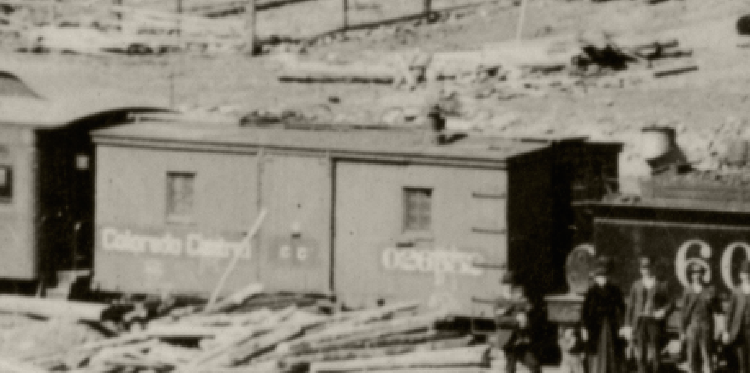
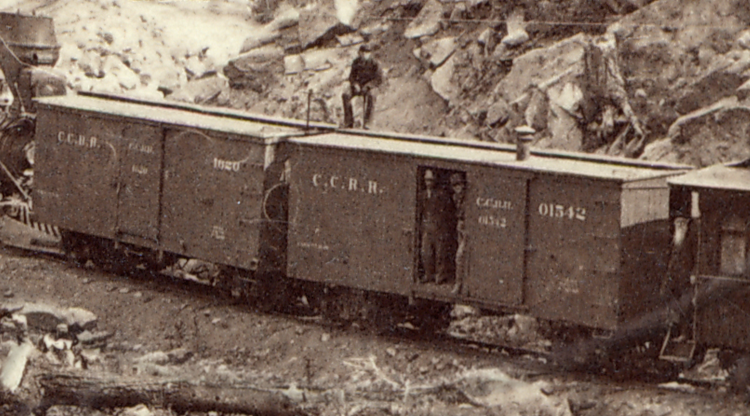
Keith's technique is interesting, as I plan to have a couple of 27 foot boxcars still in UPD&G and DL&G livery:
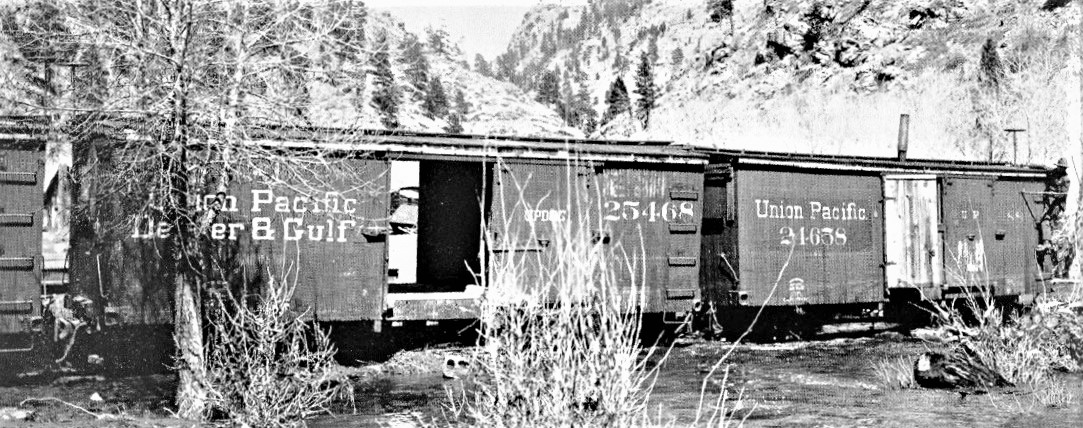
The UPD&G cars had to have a left side rectangle just for the road name, with smaller black rectangle on the right for the car number, while the DL&G car to the right, had a single left faded black rectangle for UP road name and car number. The original DSP&P 800 series car number is visible under the faded boxcar red at the right end of the car.
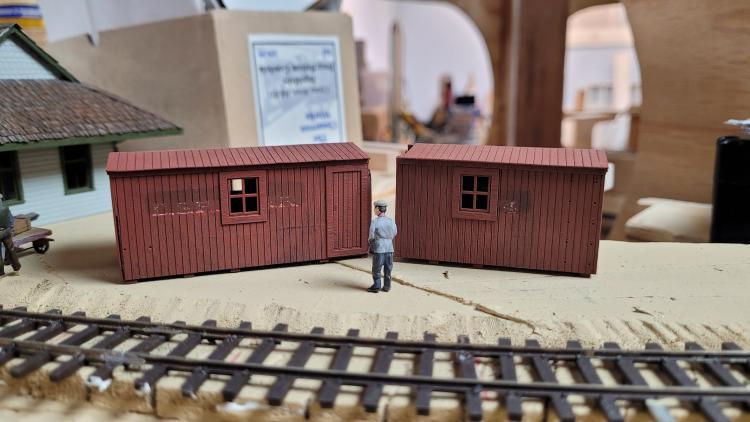
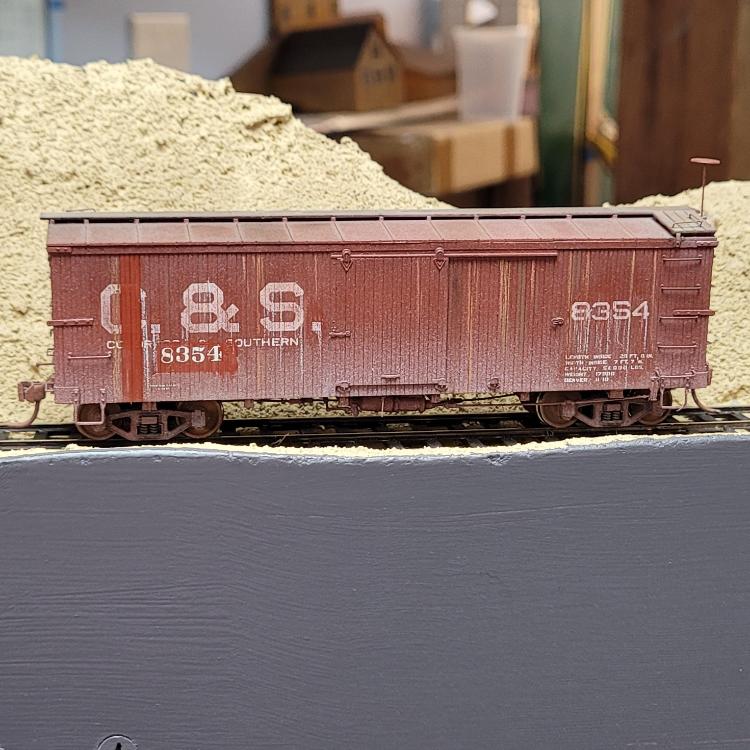
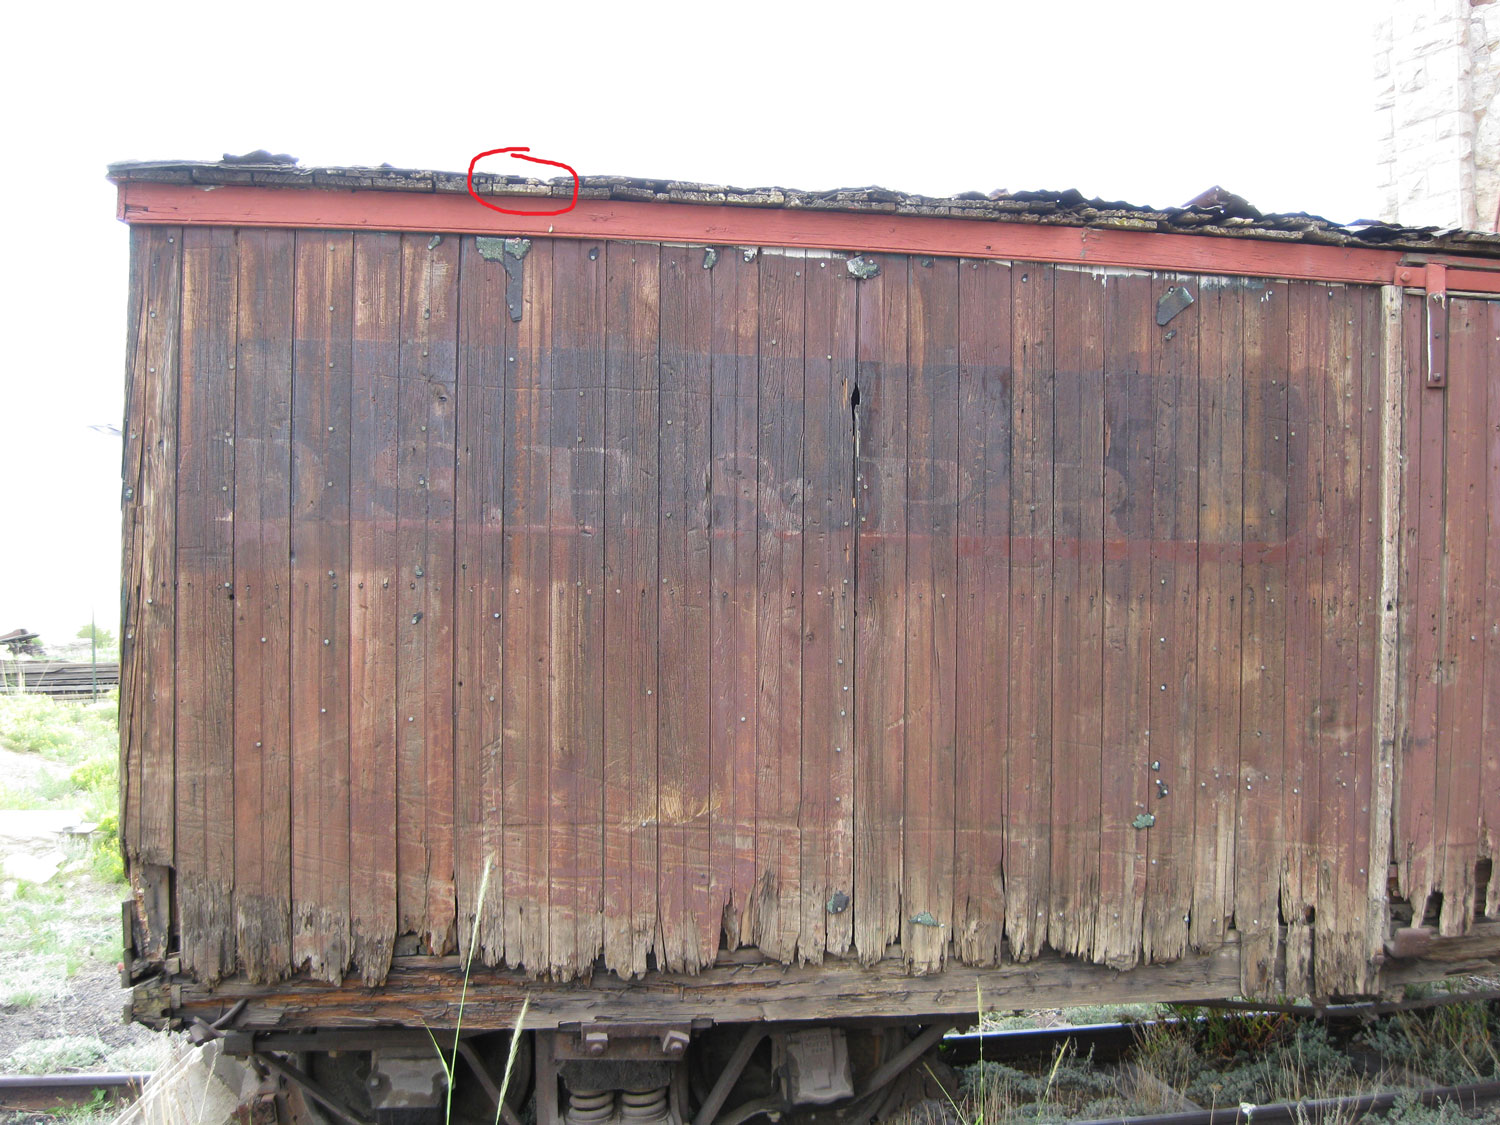
Another technique that I want to try is partial re-sheathing, with fresh paint just over the new lumber:
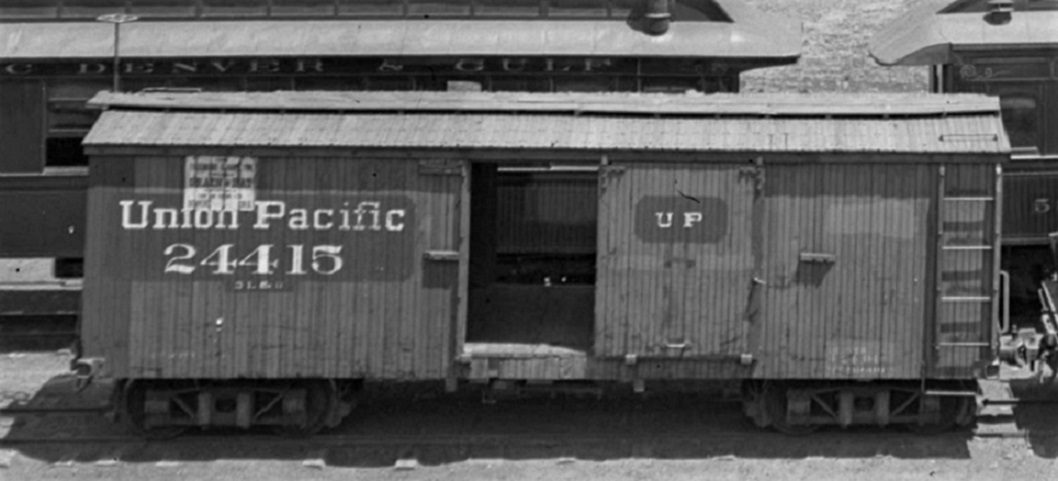

Note that the left three sheathing boards have been recently replaced, with fresh paint applied to those three center-groove boards. The black rectangle seems to be touched up where it crosses the new paint. Note also the freight car red true paint "patches": On the right side (possibly covering the old South Park number), the center of the door and the lower right side, applied as a background for updated weight and dimensional data.
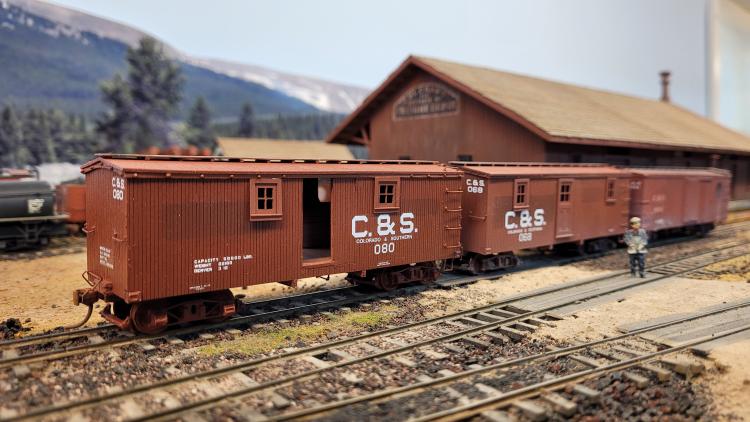
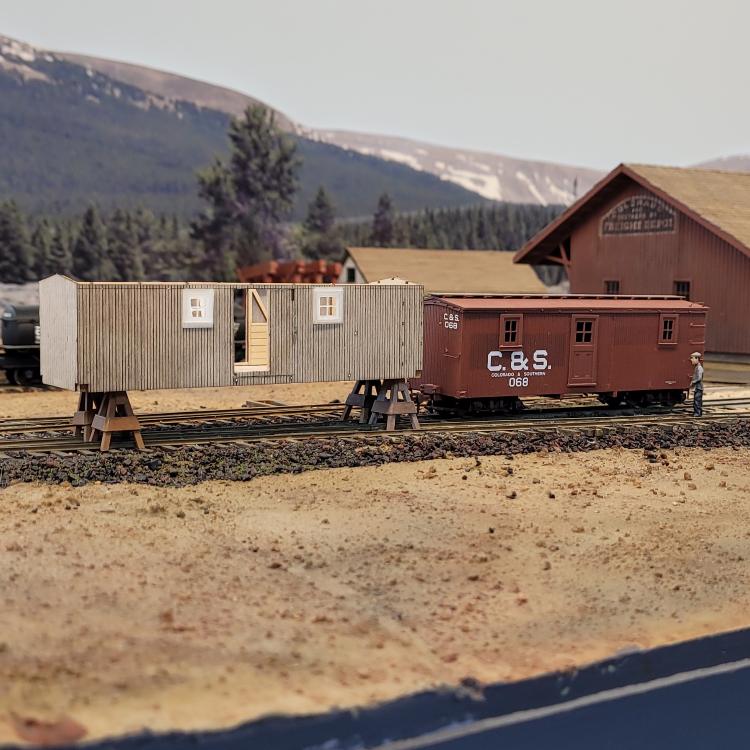
I guess with Keith's method, I'll need to paint the black rectangles, mask them off. Then use varying shades for freight car red for the at least three visible shades on the car sides. Much masking!
And then there are chalk marks:

BTW, some nice chalk mark decals are available at
http://nationalscalecar.com/product/d135-freight-car-chalk-markings/I always learn something new about model building from Keith's posts.

Jim Courtney
Poulsbo, WA


 ).
).