Adventures in 3d Printing.

Previous Topic Next Topic
 
classic Classic list List threaded Threaded
15 messages Options
Reply | Threaded
Open this post in threaded view
|

Adventures in 3d Printing.

Keith Hayes

I have had mixed success over the past year with 3d printing. I got an Elegoo Saturn 5 almost on a lark, to help with parts for a model for a friend. With that project completed, I decided to go back to the beginning,  calibrate my printer and tune up my modelling skills. A constituent issue is that I think SketchUp is agnostic regarding the solidity of 3d forms. But there is an add-on for that.

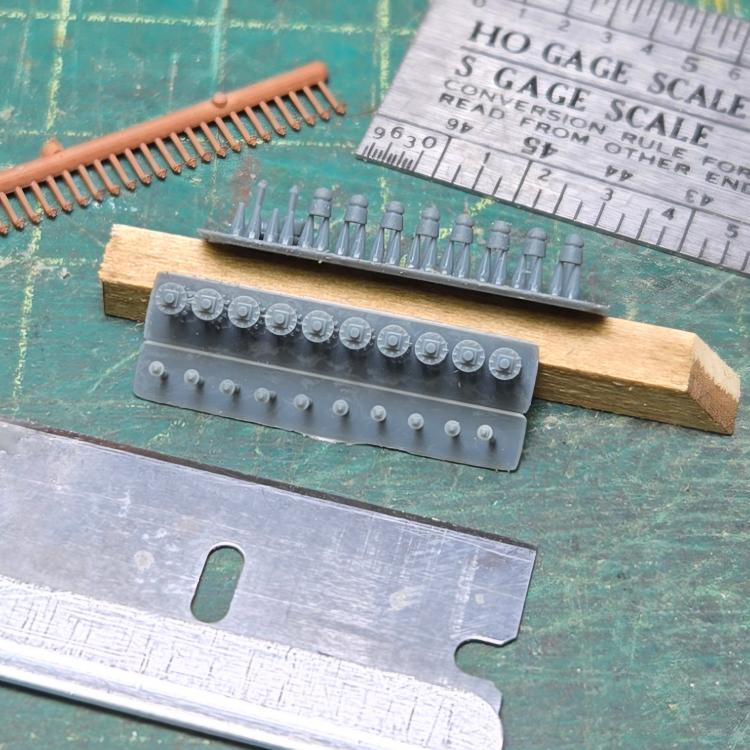
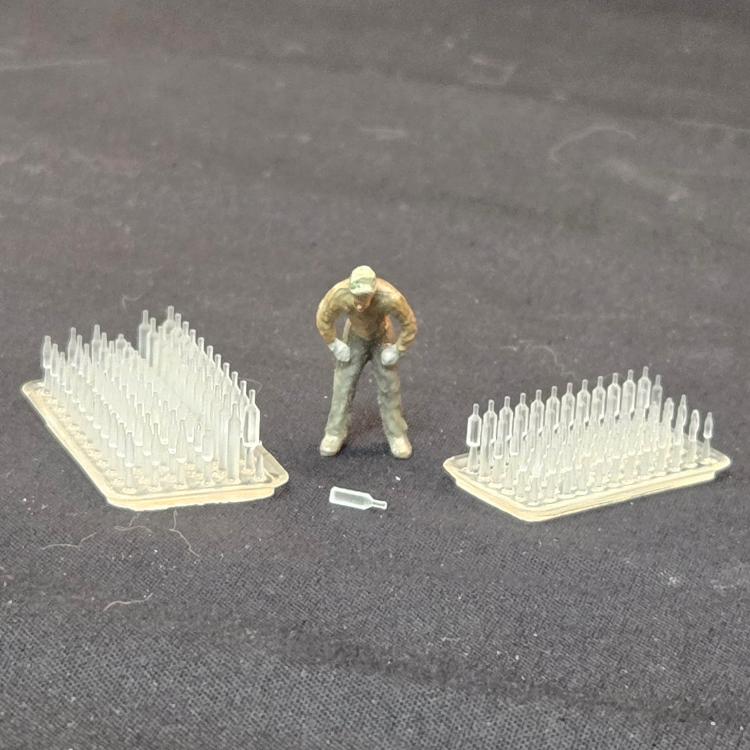
An upcoming project is telegraph and electrical insulators. I decided to start small and simple, and in conjunction to the insulators, I developed some NBWs. You can see these tests in the middle. This is my second batch of insulators, and the new ones rendered very nicely,  about 5" tall and 4" at the bottom. The NBWs are okay: these have 1" bolts, which printed fine,  but are not as fine as Grandt 100s. The larger bridge washers are neat: the raised ridges, about 1/2" tall and 1/2" wide came out well.

Many 3d printer types are gamers, and use their machines to make miniatures and figures for fantasy games. Consequently, one of the calibration parts, "cones of calibration, " has a fantasy spin. If everything is correct,  the beer snaps off and fits in the ale tankard, and the sword snaps off and fits in the skull.

Someone else created a model where three small boxes fit into one another.

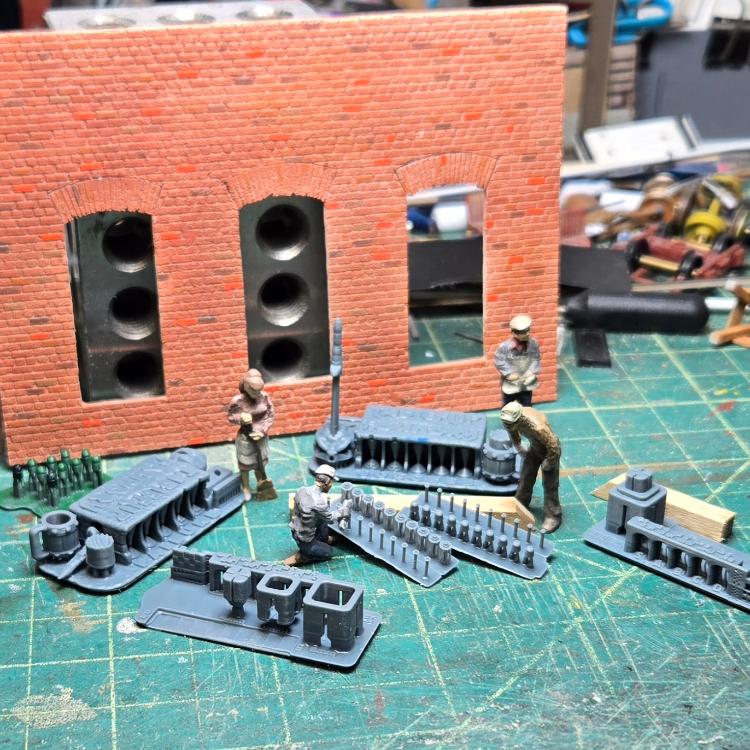
The successful prints are at the rear of the scene on the right, and two raw parts are on the left.

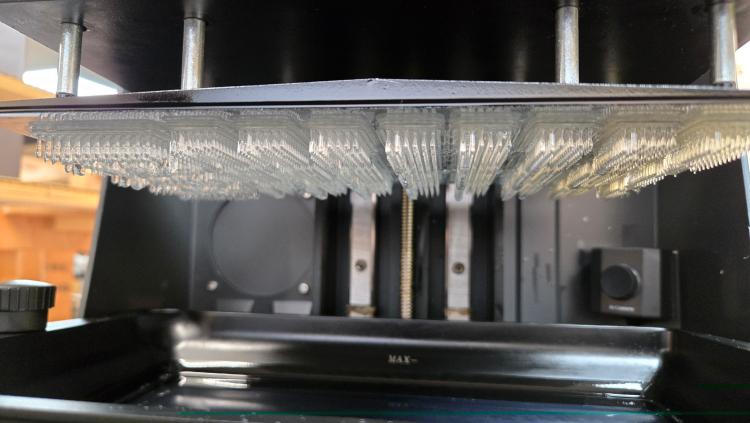
The Saturn 5 has a routine that allows me to print 8 parts at the same time, each with a different exposure setting. The successful prints exposed the resin to the UV light for just 3 seconds per layer.

The whole process is a balance of the exposure, how far the build plate lifts, and how fast and how long, and how fast it moves back for the next exposure. Even though the plate is moving a short distance (1-2 mm) the forces within the liquid can be significant. Also, these prints are small (short), so only took about 30 minutes. A Sn3 boxcar,  rotated to optimize all these factors could take 4-6 hours.

I am bouyed by my results. I plan to order some clear resin to produce the insulators. I understand this introduces som othe complications in that the UV light bounces places it is not wanted. In any case,  these could turn out to be neat details. I have started to model windows for the Breck depot, and the Climax mine office windows, doors and formers will not be far behind.
Keith Hayes
Leadville in Sn3
Reply | Threaded
Open this post in threaded view
|

Re: Adventures in 3d Printing.

drgwcs
Great work Keith. It is amazing what 3D printing is doing. I do not have one myself but have a friend at the club Dylan that has done several projects for me.
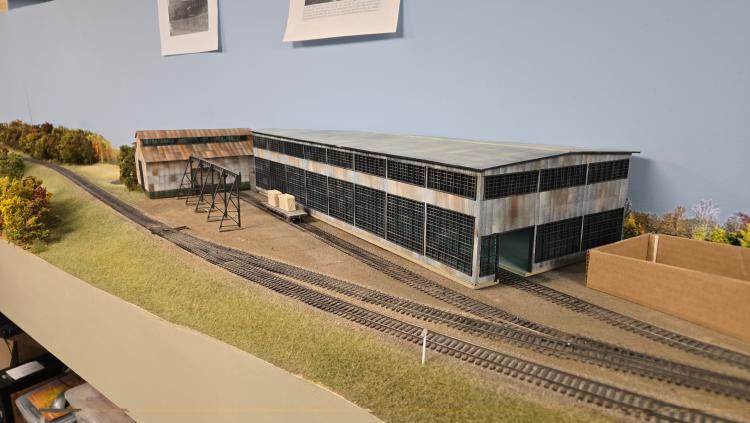
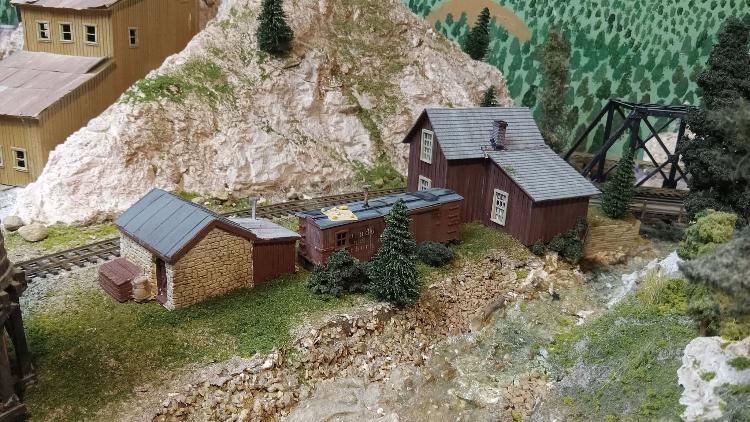
He just printed the Forks Creek Section House from Charles Dollins' plans
The grounded boxcar next to it was the first test print on a boxcar that the width was off and the roof didn't work right- but it was perfect for this with some tarpaper and a bit of modification. Even mistakes can work great. (The stone building that is not prototypical is an old Morse Productions plaster casting)


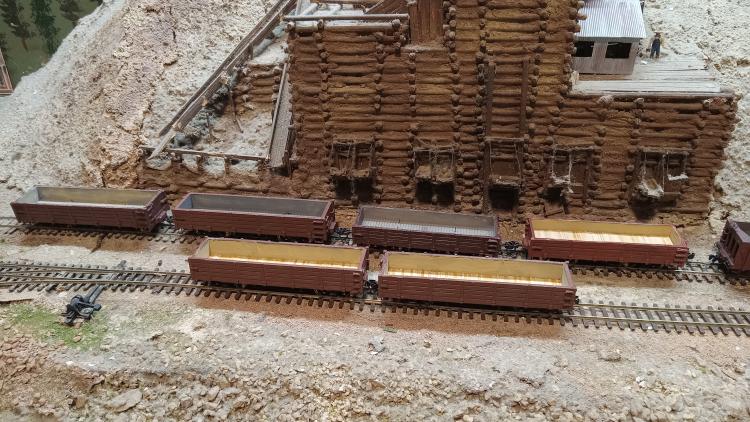
These are all done with modified files from Thingiverse- they are not exact (especially in the stakes) but not bad- I also have a boxcar in progress.


Jim Curran
Reply | Threaded
Open this post in threaded view
|

Re: Adventures in 3d Printing.

Chris Walker
I've been known to do a little 3D printing with my welder and grinder, every now and then.

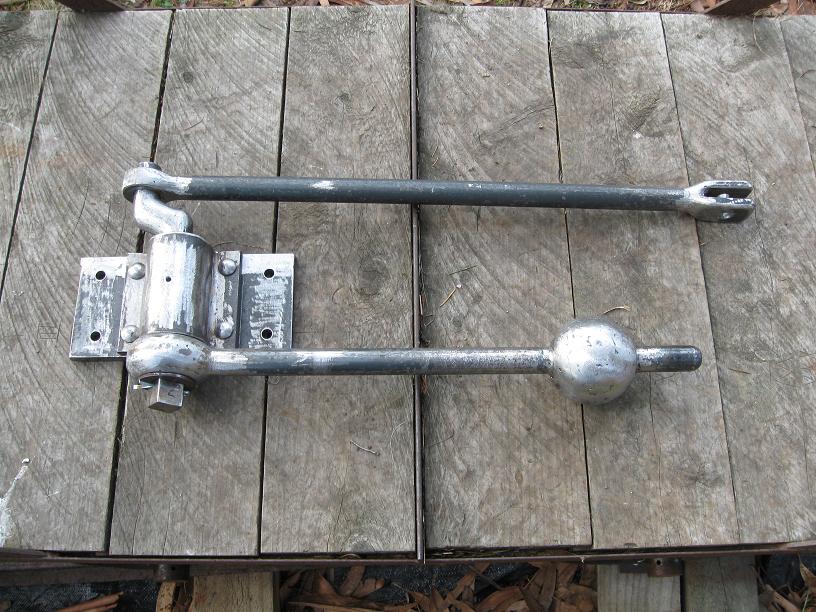
A West Side Lumber groundthrow for those who don't recognise such mundane hardware; suitably reduced by 25% to match my 18" gauge Tramway.

UpSideDownC
in New Zealand
Reply | Threaded
Open this post in threaded view
|

Re: Adventures in 3d Printing.

Paul R.
Neat!
Reply | Threaded
Open this post in threaded view
|

Re: Adventures in 3d Printing.

pizlinard72
In reply to this post by Keith Hayes
Wonderful results Keith.
3D printing is really an incredible technology. Even larger printers that can be used for O scale give great results. Here is a fishbelly flat car after the printing and curing process. I only have to add some brakelines, stakes and it is ready for painting.

Had a steep learning curve but that is inherent all new technologies.
Reply | Threaded
Open this post in threaded view
|

Re: Adventures in 3d Printing.

Keith Hayes
In reply to this post by Keith Hayes
Years ago we had a frequent poster in these parts who suddenly and thoroughly removed all of his posts. I know he was real because he stopped by to visit Leadville once when he was in town. I  would like to think he is a covert agent and is wandering around dark and rainy places chasing bad guys.

Anyhow,  he asked if I could create the parts for the Fort Logan depot, a sweet little structure that was also used at Dome Rock and Estabrook.

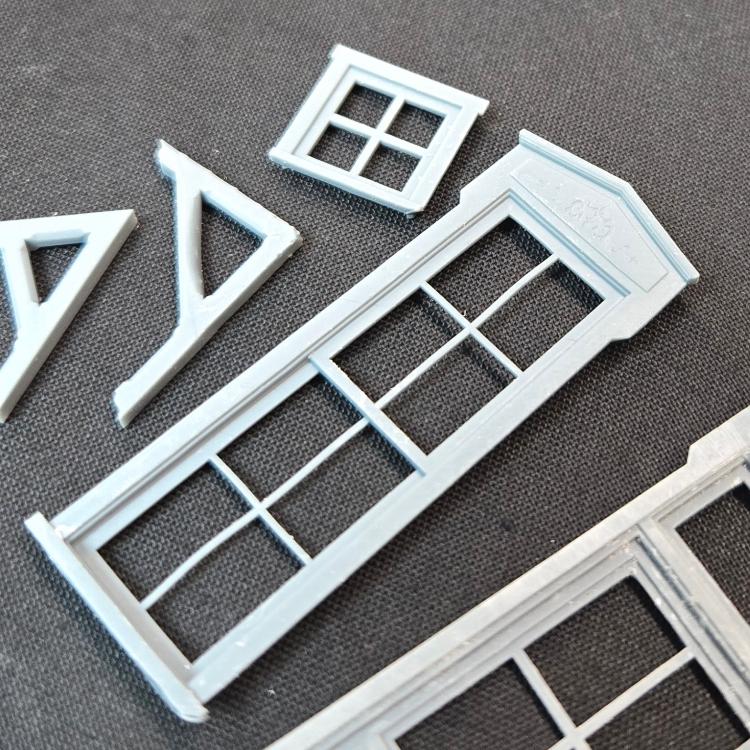
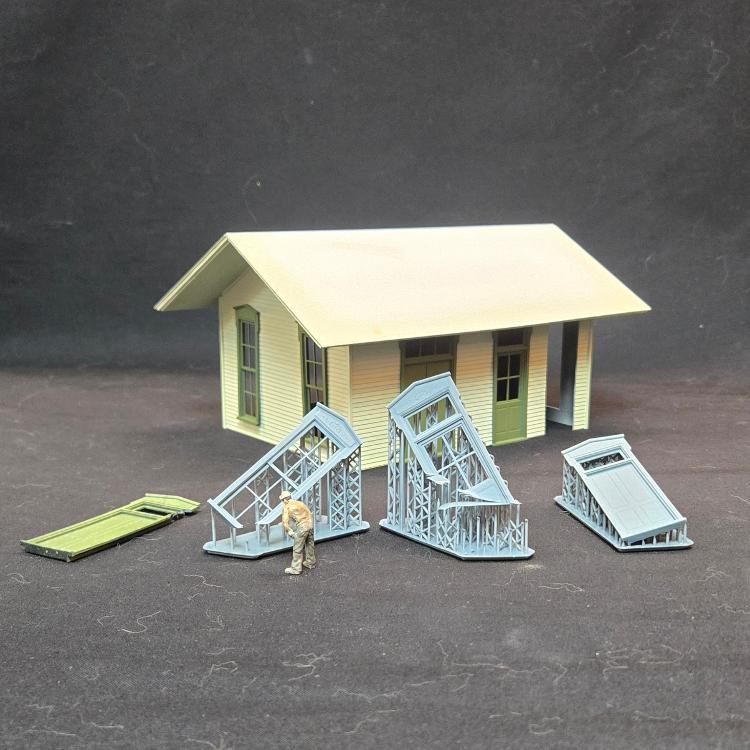
He provided the plans--Blazek, I think--and I got to work. The doors and windows have Italinate trim, as was the fashion,  along with some scroll work in the pediment. We consulted several extant examples,  including Como and Osier. I was able to find a clear enough image of one to trace the pattern.

The parts in question were to be printed in 1:20.3, hence the attention to detail. Shapeways priced the parts at over $100 each--I withered at the cost, but I guess it was okay, because the guy bought a set.

Fast forward a decade and Shapeways...has changed...but I still have the drawing file. I have been thinking of building Dome Rock or Estabrook in 1:48, just to do something different. With the recent telegraph insulator project completed,  I thought I would give the Dome Rock parts a go. (Breckenridge is in the queue in1:64).

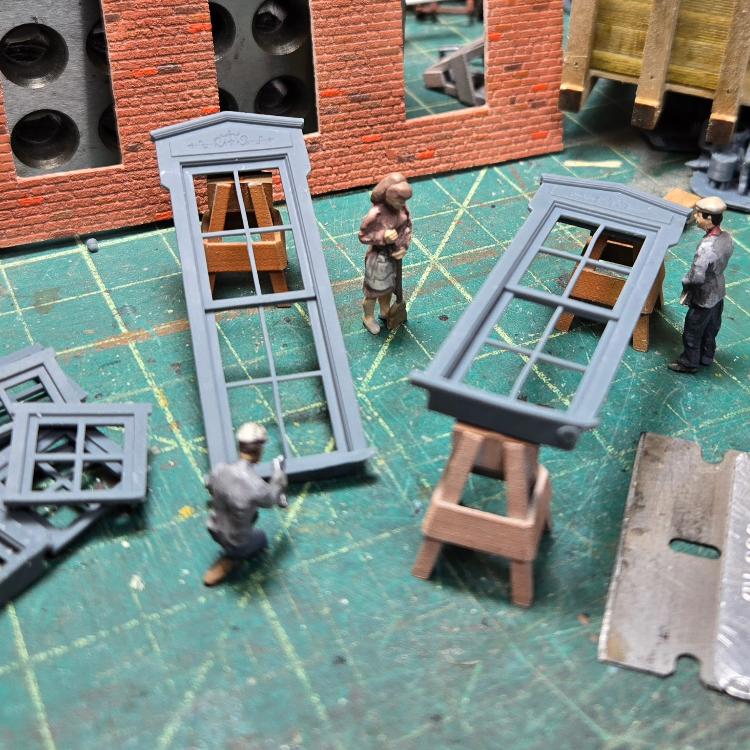
So far, I have some of the windows. The scroll printed! These are really big, but I think this will make for a nice display model for the RPM.
Keith Hayes
Leadville in Sn3
Reply | Threaded
Open this post in threaded view
|

Re: Adventures in 3d Printing.

Chris Walker
Those look awesome.  Don't forget Riverview had them also.
UpSideDownC
in New Zealand
Reply | Threaded
Open this post in threaded view
|

Re: Adventures in 3d Printing.

Keith Hayes
In reply to this post by Keith Hayes
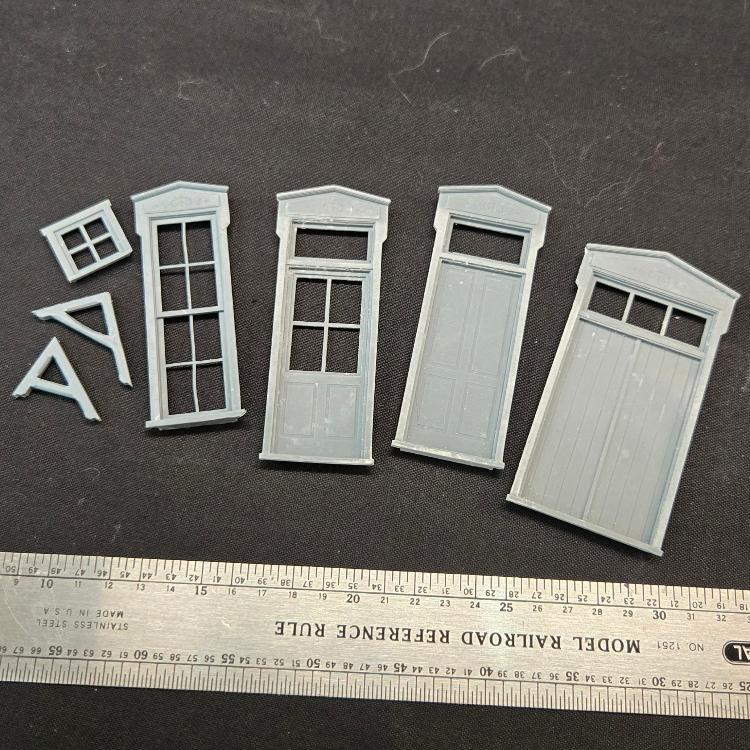
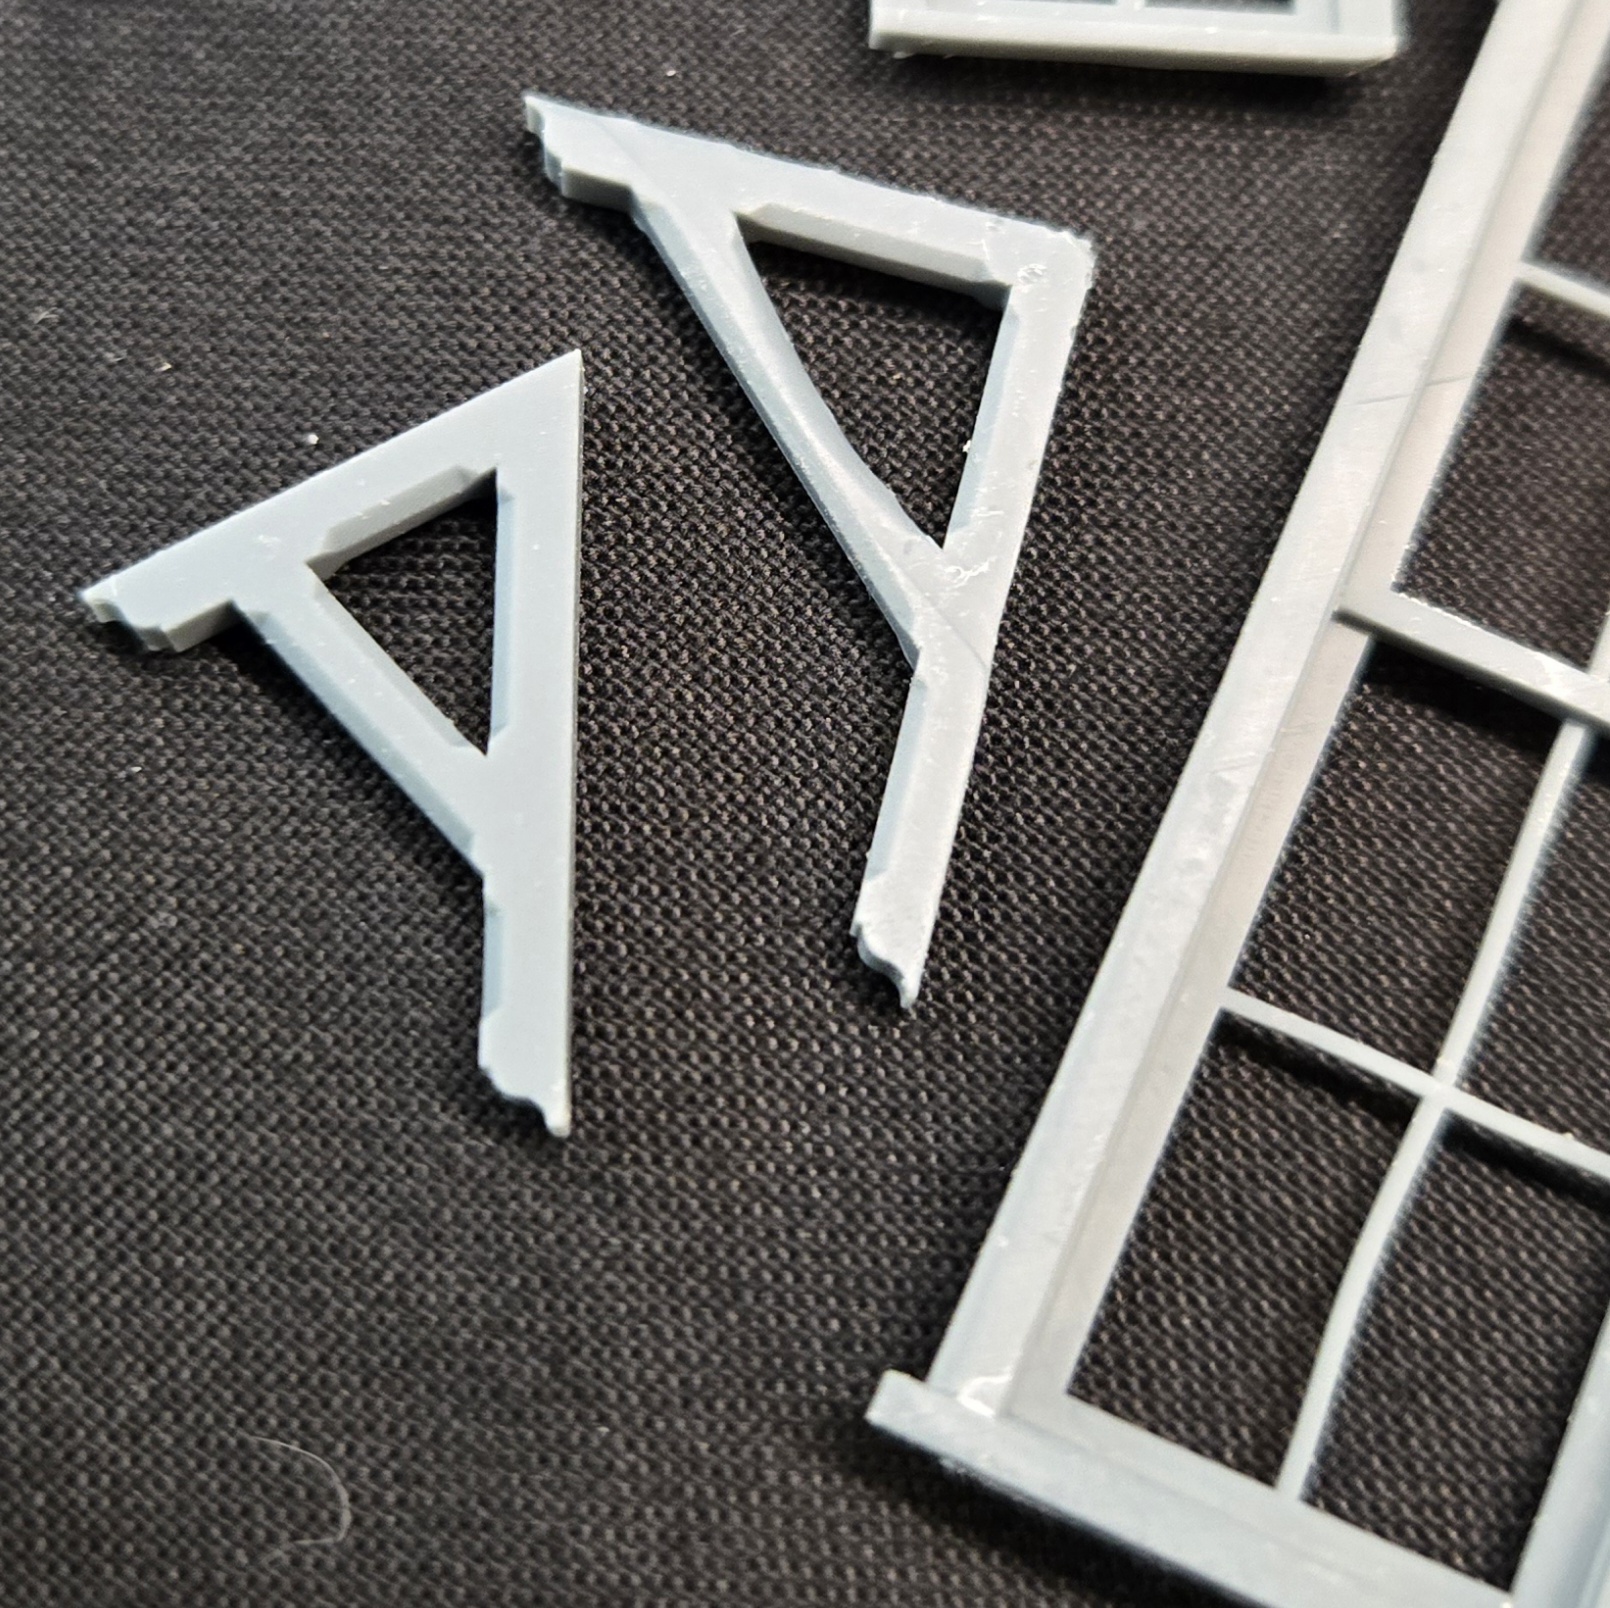
The roof brackets and doors are printed.

Overall,  I am pleased. 3d printing is the best for the complex shapes of roof brackets, including the ogees and fire cuts. The two Leadville depots have 3d printed brackets.

This is the first time I have been successful printing a bevel in the door panels--a win!

Then there is the delicate scroll work. In retrospect,  I should have made this deeper to improve the shadow line. I will need to pick this out with panel liner on the finished model.

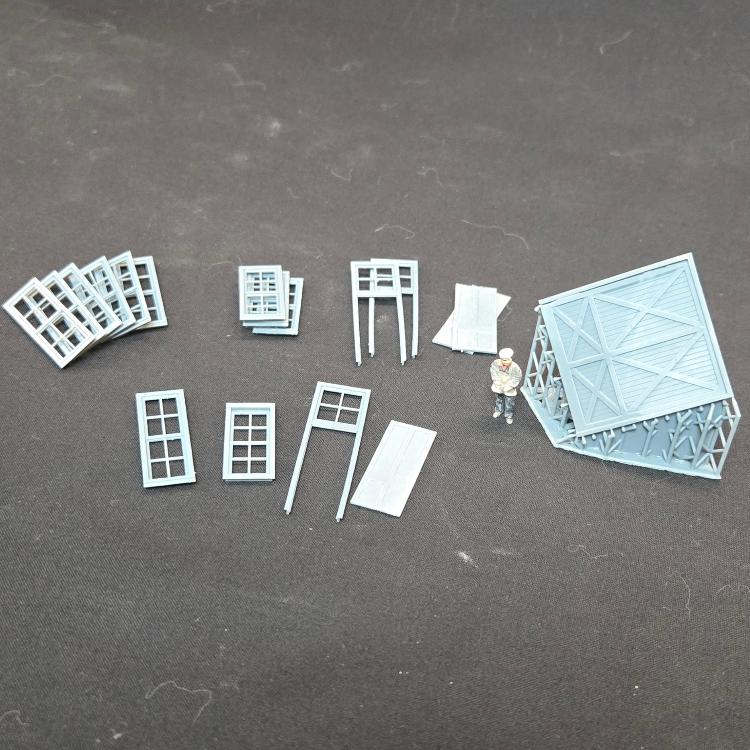
I have all the parts now, so can proceed with the model. I had about 5 window fails, but the vast majority of the parts printed successfully, and the details are crisp and nicely rendered. One window mullion came out of the resin warped,  but shrink back to place during curing.

Some of you might ask why I didn't print the whole wall out? I don't know: I guess I think of my process like building older models with door and window castings in styrene or wood siding. So that is what I am doing.
Keith Hayes
Leadville in Sn3
Reply | Threaded
Open this post in threaded view
|

Re: Adventures in 3d Printing.

Keith Hayes
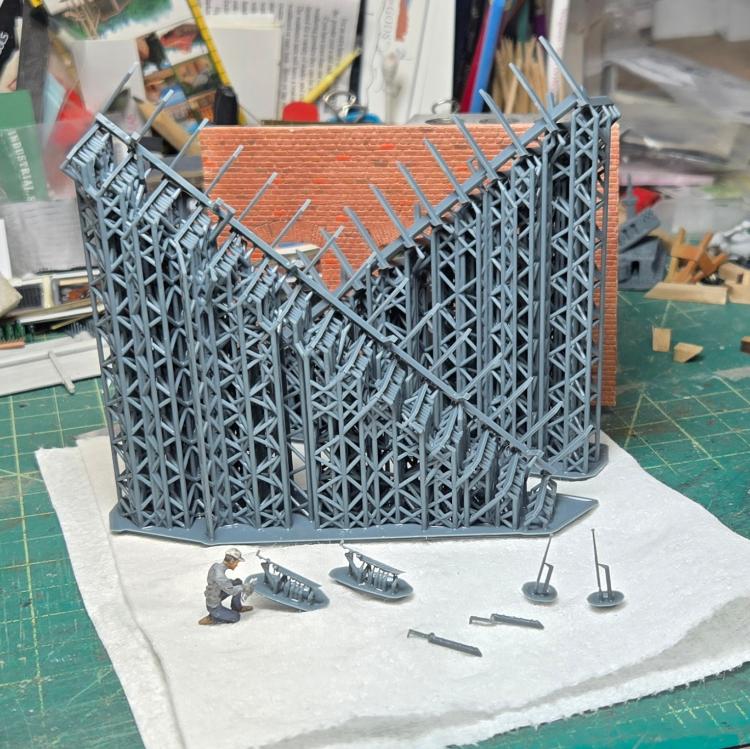
...And Breck depot parts fresh off the sprues.

Overall,  I am pleased. The freight doors have an issue with a solid, linear support. This shows up from time to time.

I have been using the auto support generator in my slicer. Those are the truss-like things that support the part as it is printed. I was surprised today that I don't need to use nippers to remove the parts. Some gentle movement lest the part break free.
Keith Hayes
Leadville in Sn3
Reply | Threaded
Open this post in threaded view
|

Re: Adventures in 3d Printing.

Keith Hayes
The odyssey continues.

In spite of filling the build plate with parts, somehow I was short a couple of Dome Rock windows.

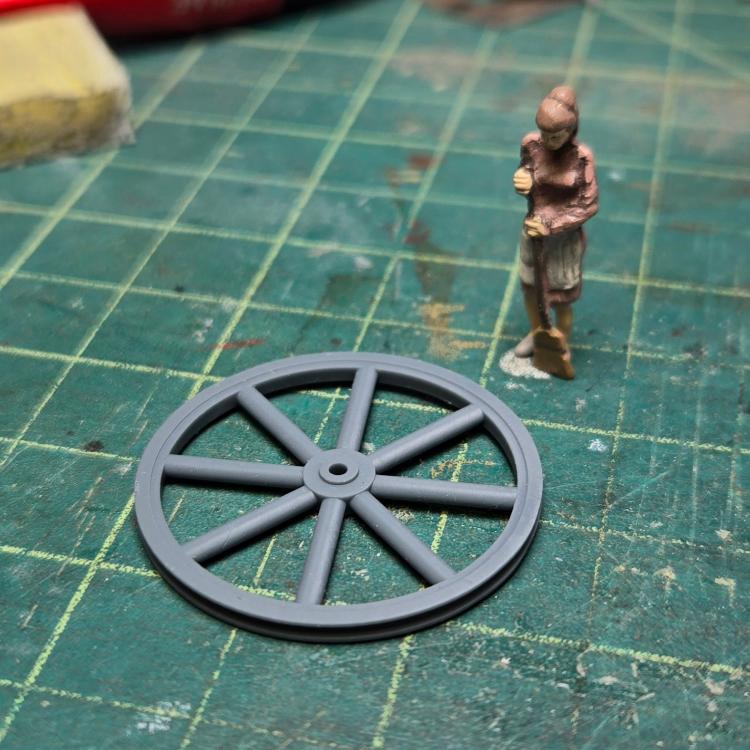
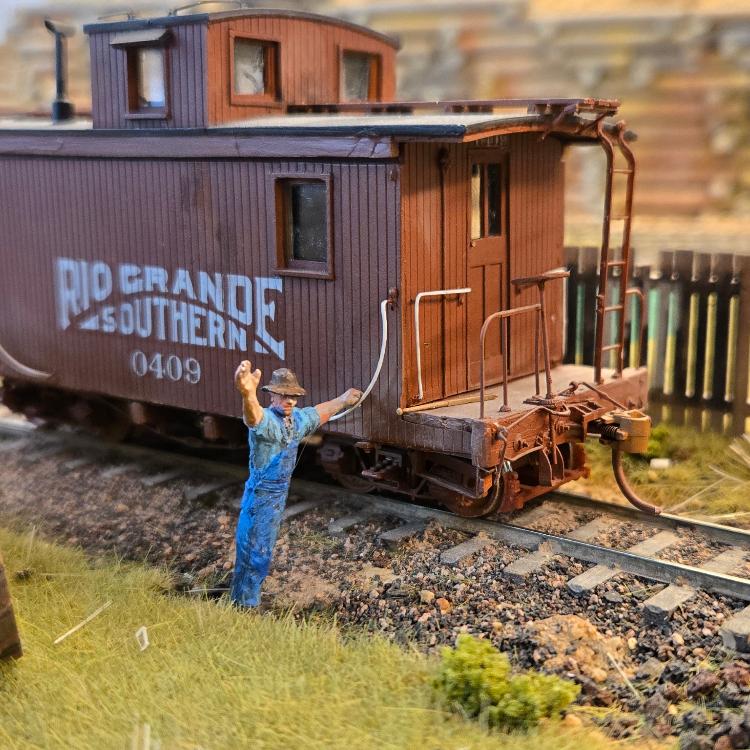
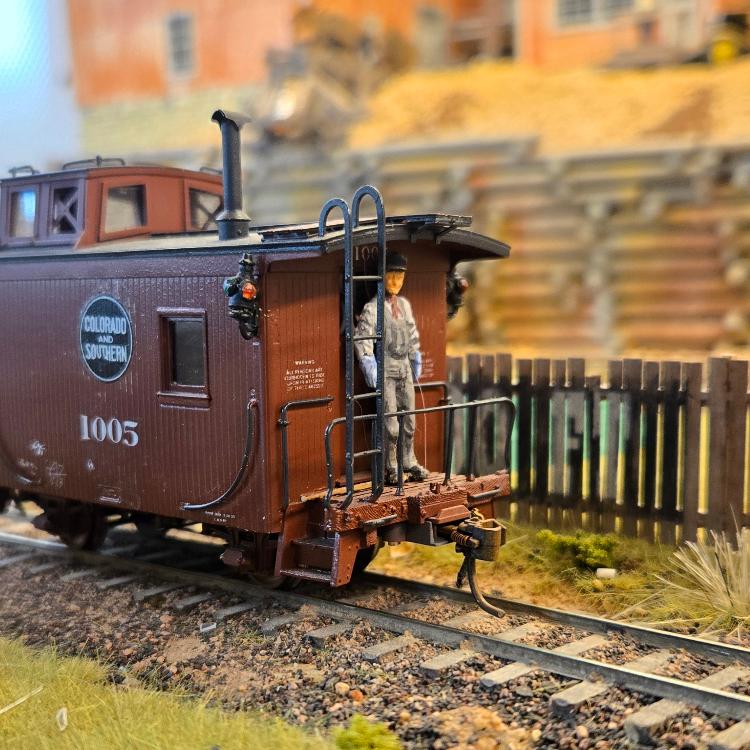
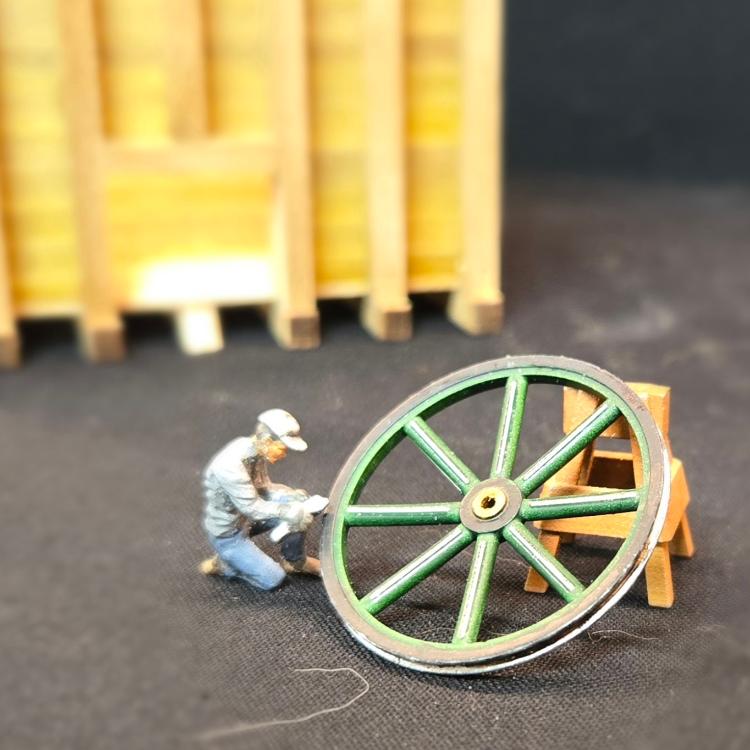
So, I printed some more. Some of you might have seen me suggest to Jeff McKee in other places that he needed to add a brake club on the platform of his RGS caboose to really trick it out. Well, I thought that would be easy enough to model and print. I am also working on a mine for Fremont Pass--tenetively named the Walker-McCourtney--and it will have an aerial tram. I needed a bullwheel for the lower terminal,  so I modeled one of those:

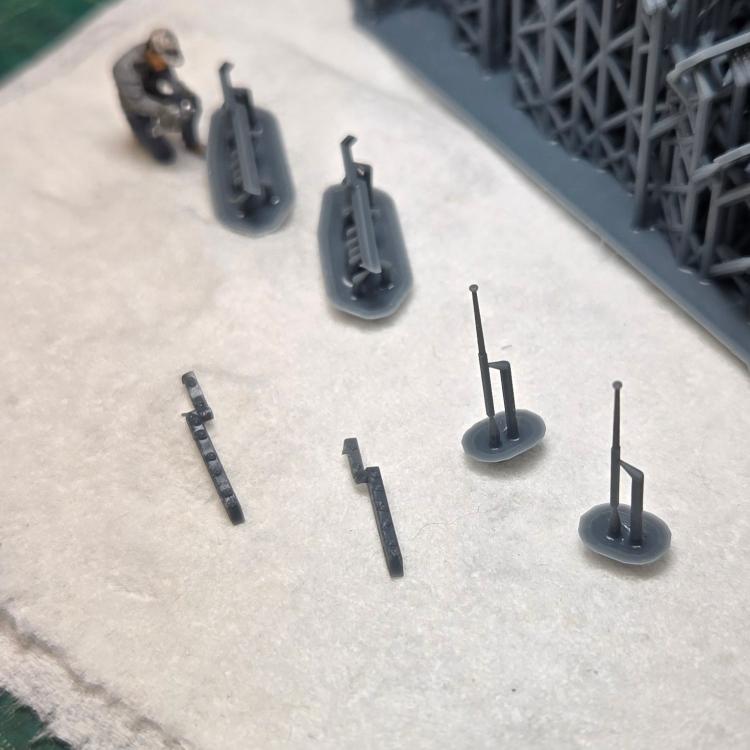
While those were printing,  I remembered Bob Stears had done a drawing of the Phase II coals that were converted to cinder cars. I figured this would be an easy project. So I found the plans and modeled the hinges.

There is a right side, and a left one, and by golly,  they printed. I also did a second batch of brake clubs, this time vertical for easier painting and handling. Those are just over 1/2" long!

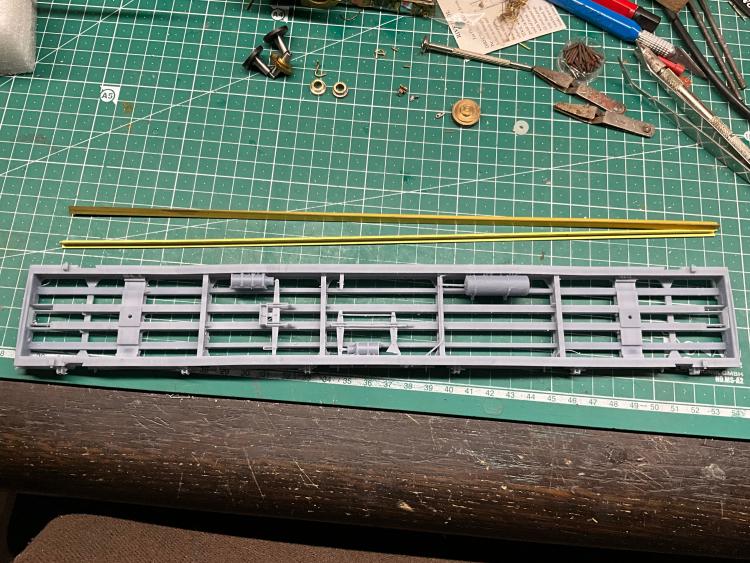
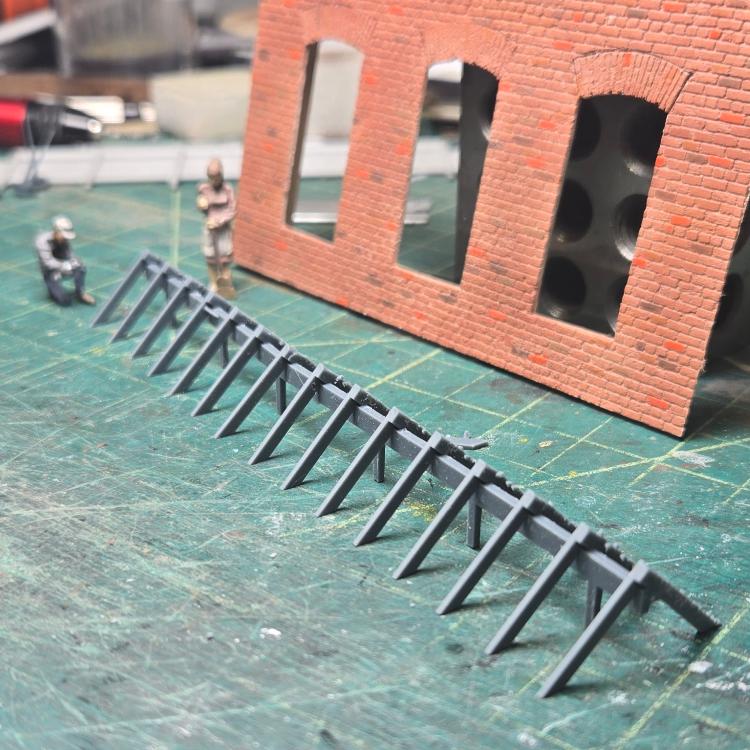
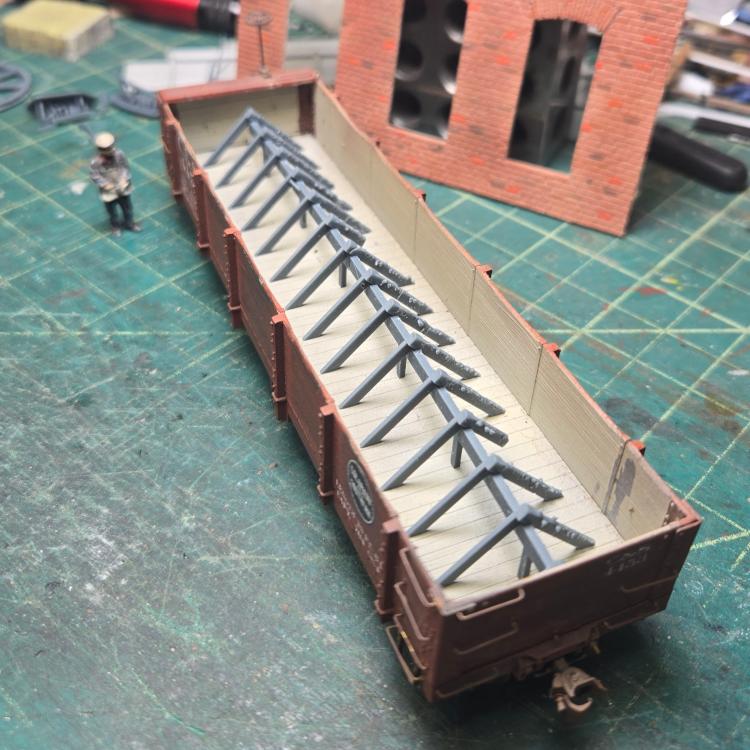
Studying the cinder car plans, I noted an A-Frame was constructed down the middle of the car. I designed the long beam and the sloping supports, and the deck will be made of real wood,  cut to fit. This was by far my longest print at 7 hours--it ran all night.

So, enough of this for now. Time to get back to the bench and build some models!

(FYI, now that I have embarked on the Phase II Cinder Car project,  that means Bill Meredith will bring out a kit for the rest of you late in 2026. )
Keith Hayes
Leadville in Sn3
Reply | Threaded
Open this post in threaded view
|

Re: Adventures in 3d Printing.

Keith Hayes
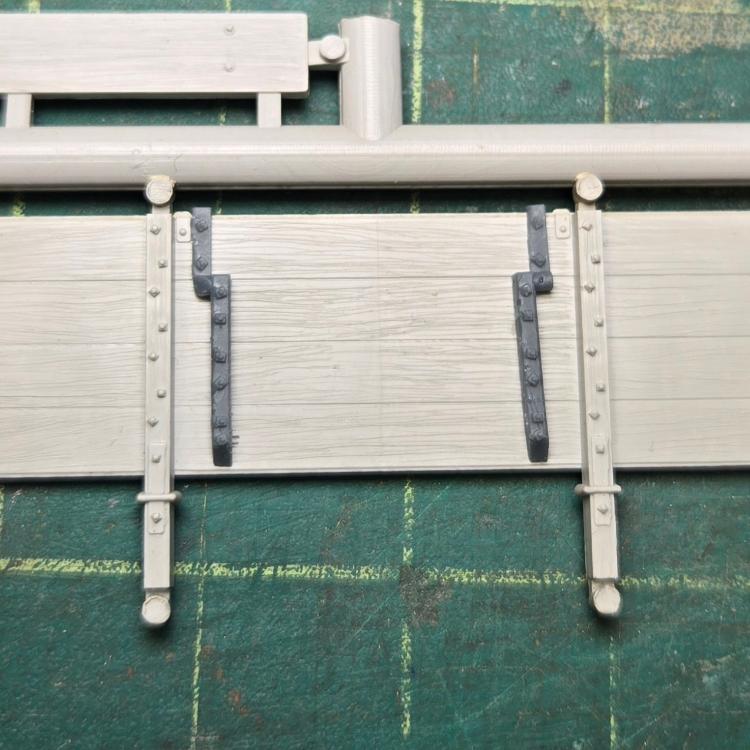
I still have a lit of clean up to do, but here is the part.

And here is how it fits into the car.
Keith Hayes
Leadville in Sn3
Reply | Threaded
Open this post in threaded view
|

Re: Adventures in 3d Printing.

Chris Walker
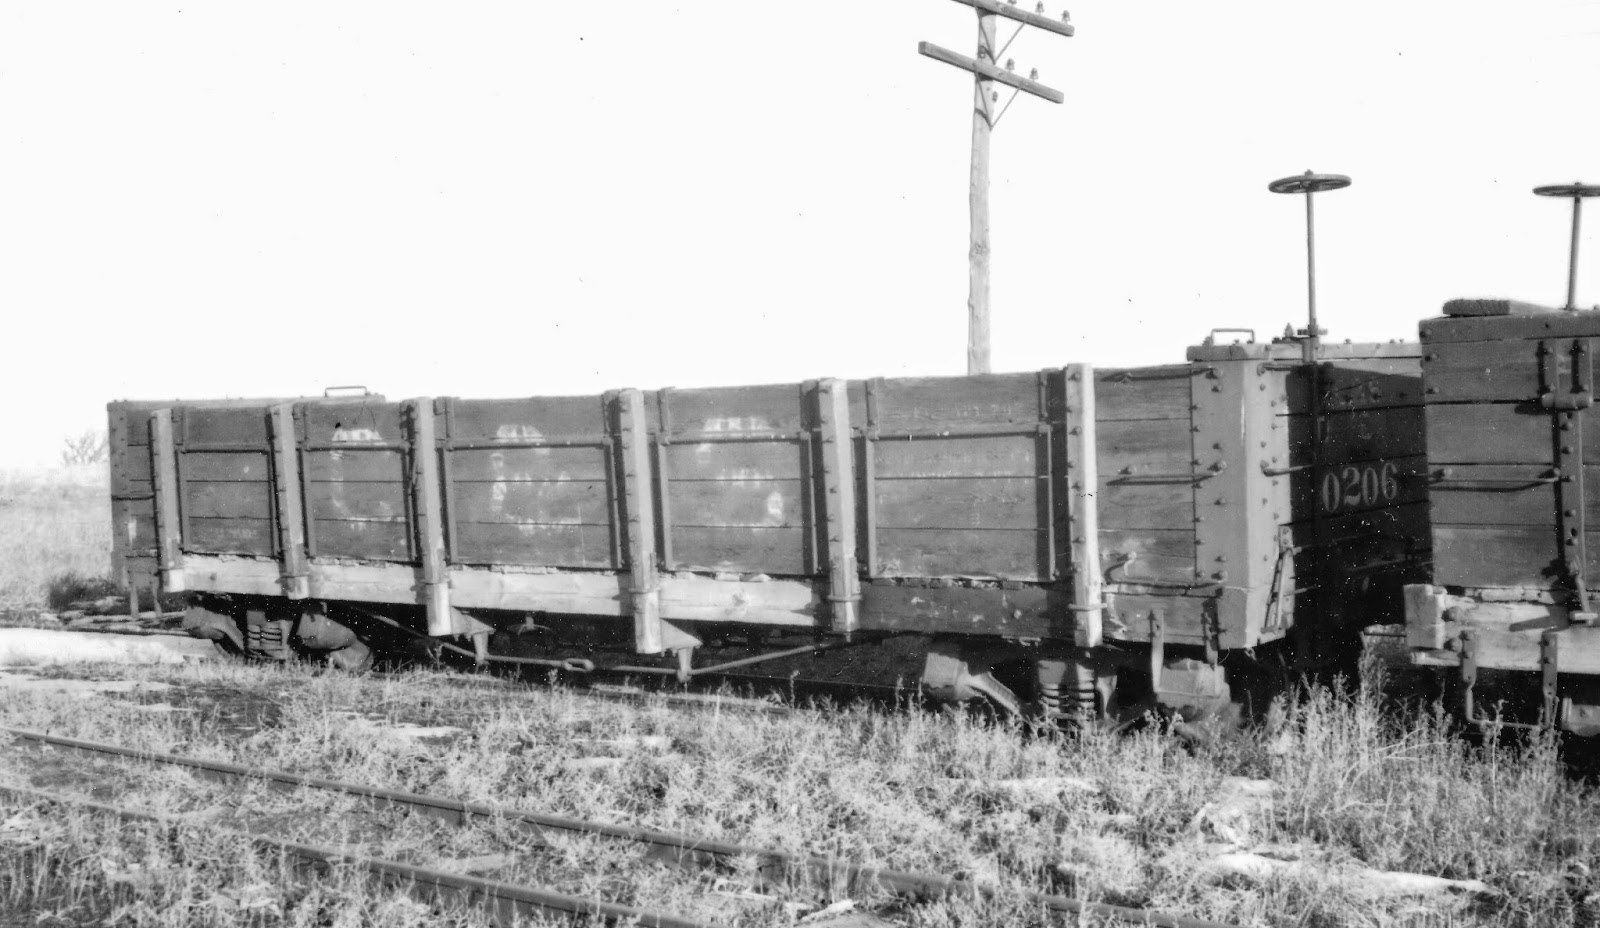
Are ya going to stencil MTY RETURN TO PENROSE on the sides?

Any idea on how the Doors were latched? The 0206 may have had the latches removed in this image.

UpSideDownC
in New Zealand
Reply | Threaded
Open this post in threaded view
|

Re: Adventures in 3d Printing.

Keith Hayes
In reply to this post by Keith Hayes
The brake Clubs in action.
Keith Hayes
Leadville in Sn3
Reply | Threaded
Open this post in threaded view
|

Re: Adventures in 3d Printing.

Mike Trent
Administrator
Good one, Keith! Never saw that modeled before.
Reply | Threaded
Open this post in threaded view
|

Re: Adventures in 3d Printing.

Keith Hayes
Here is a better example for this group.

Pat Student thought a toothpick would make a good start. Elsewhere, someone has tried turning a micro brush to create a brake club. These are such fine pieces, 3d printing is really ideal.

As Doug Jolley pointed out to me, a broom to clear snow out of switch points would also be a good addition.
Keith Hayes
Leadville in Sn3