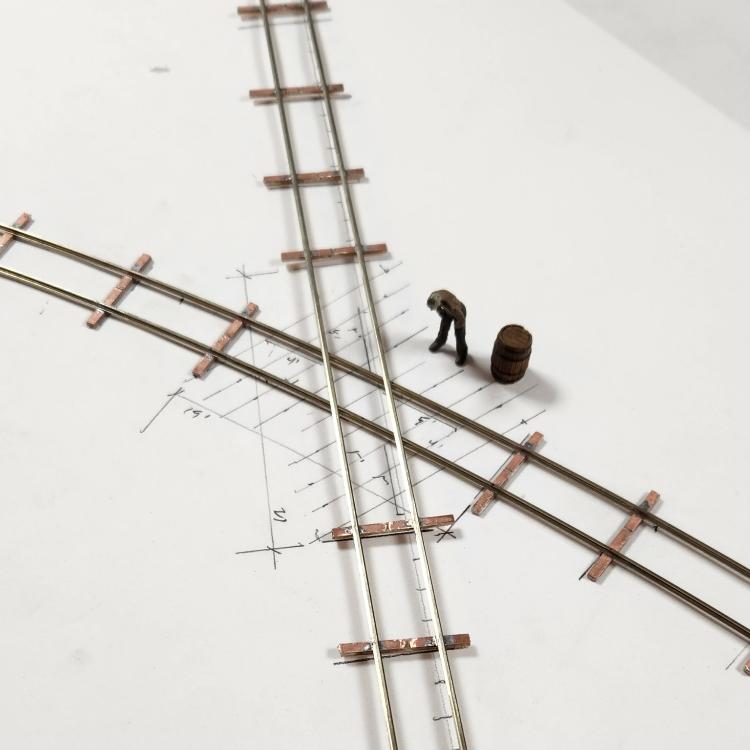
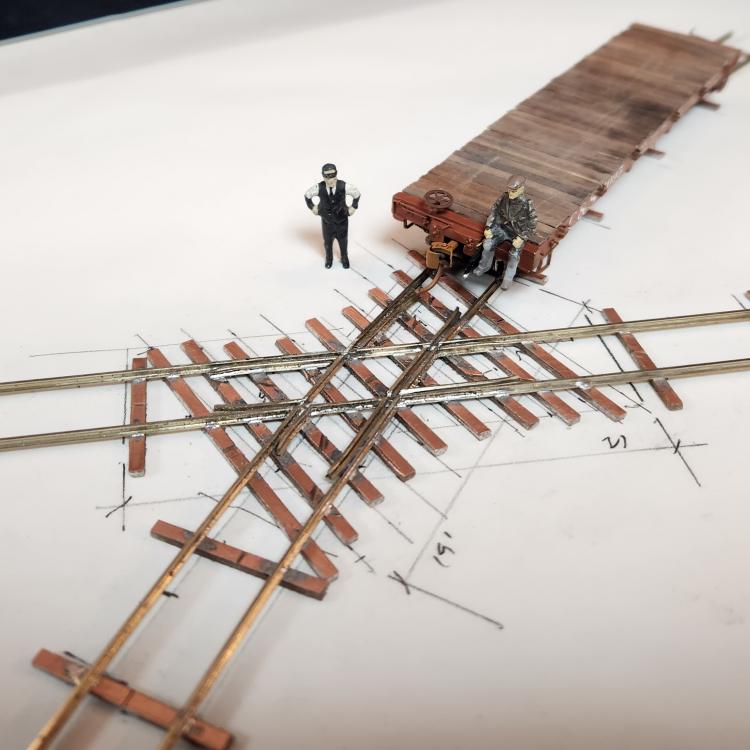
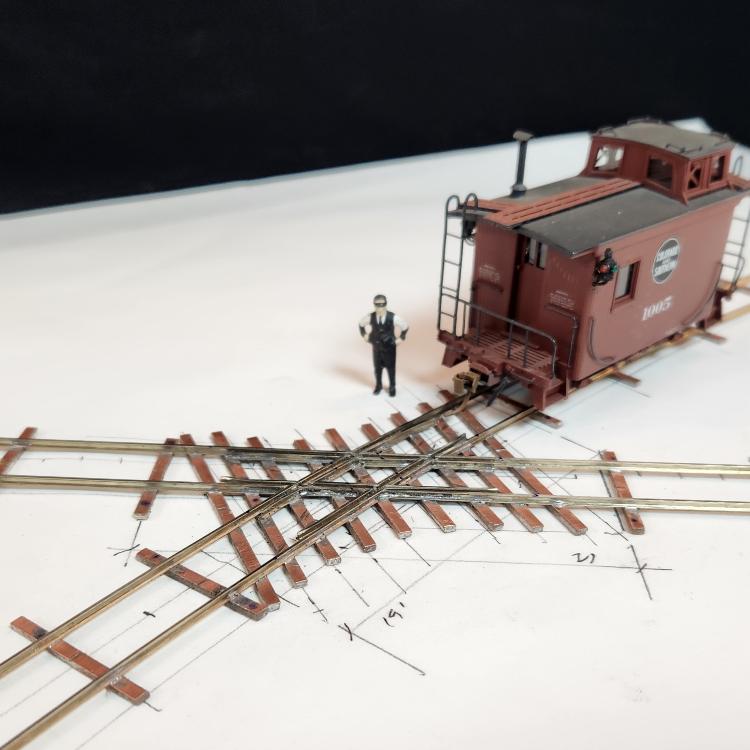
The crossing I purchased about 2016 started to self-destruct a few months back. Repeated filing, tweaking and adjusting finally took their combined toll. Since I needed to build another piece of track work for my Civil AP, I got the files and the rail nippers out and got to work. First I did a tracking of the existing track geometry. Then I made a template and laid out the crossing and the ties using FastTracks templates for a similar HO crossing.

I figured if I built each section and then lapped them together, the results would be stronger. Slow, work, checking twice and hand filing and re-checking is the key here.

The crossing is more dimensionally stable but a 60 degree crossing has some tiny parts compared to, say a 15 degree crossing, which has a much larger diamond. The PC ties are also fragile and the copper foil can delaminate when subjected to repeated heating One of the interior diamond guards came loose as I sawed the gaps and I opted to epoxy it in place.

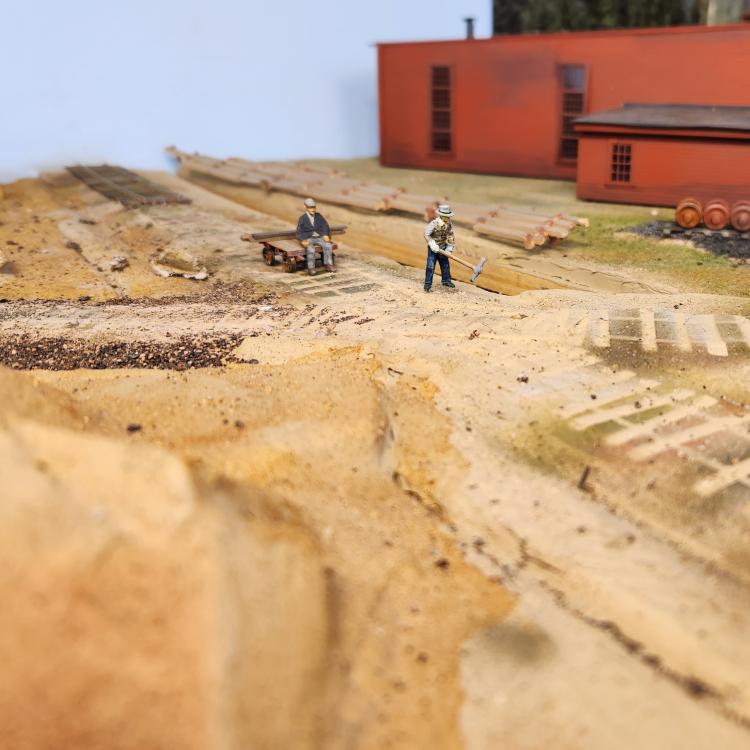
Today was the big day: the roadbed got a good water soak and the track crew got to work removing the old diamond.

The new diamond is in the paint shop. I am using my new process of spraying the track with brown enamel, which will not reemulsify when I apply water-based ballast cement. I can stain the ties different colors after. Locomotives tended to bind while traveling through the crossing. The new one is built to a 36" radius, and the guards are a bit under 12 feet long which corresponds to the wheelbase of most all my 8-coupled locomotives. The end of the guards are also bent away from the stock rail and my hope is this address all the bind issues. There was also something of a sag on either side of the LMB as the roadbed approached the C&S. I will use this opportunity to fix that as well.
Keith Hayes
Leadville in Sn3