Monster Modelworks: Triple J Repair

Previous Topic Next Topic
 
classic Classic list List threaded Threaded
6 messages Options
Reply | Threaded
Open this post in threaded view
|

Monster Modelworks: Triple J Repair

Keith Hayes
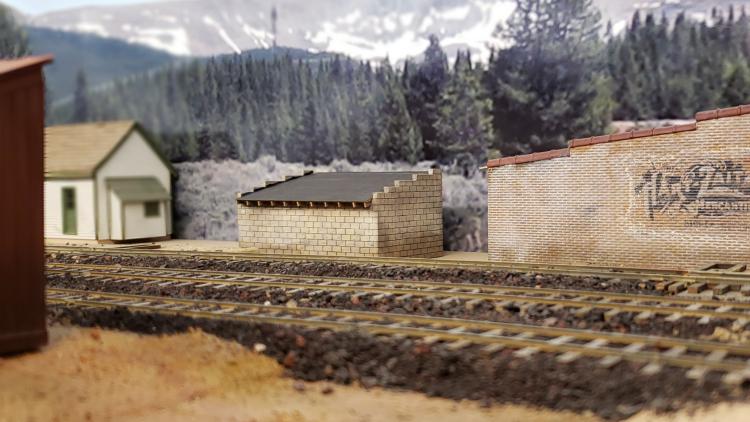
A few years back, I picked the kit up at a convention. This was before Monster stopped production. I used their brick sheet on the Leadville depot and wanted to try a kit. This model is a small concrete (cinder) block building that dates to the late 30s. It is a great little background building.

The walls are nice and thick and laser cut from 1/8" basswood sheet. I don't know if the texture is Monster work or just the wood, but it emulates concrete block well.

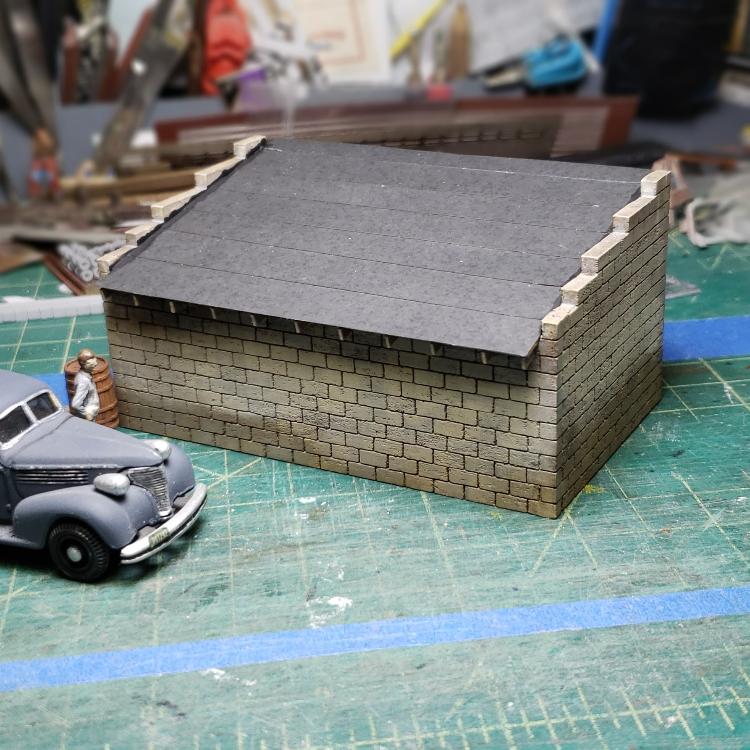
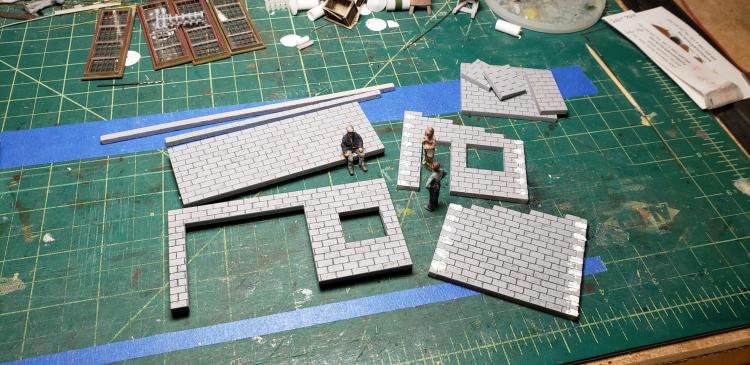
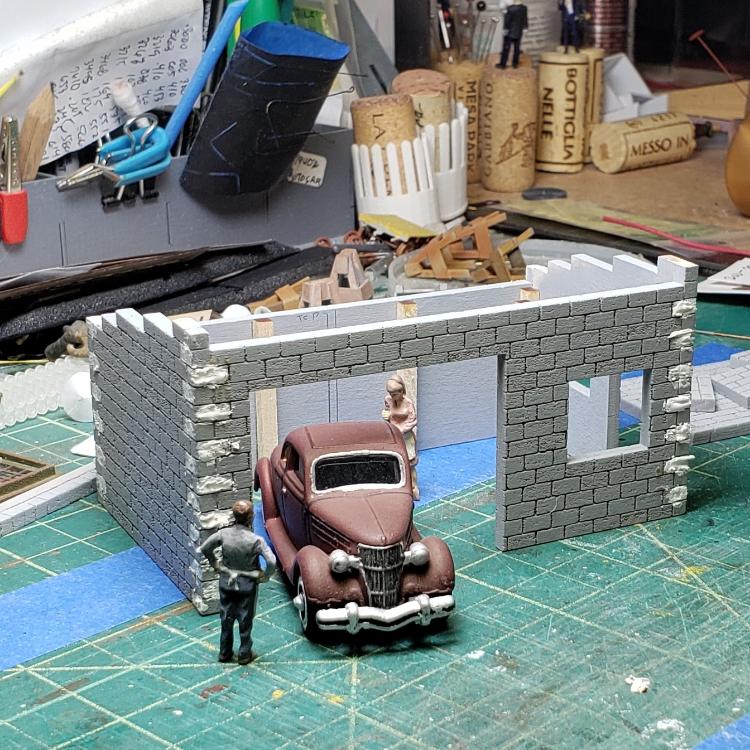
I sprayed all the parts with Tamiya Surface Primer to seal the wood and establish a good paint base. Monster uses 1/8" strip wood that is scribed at 8" intervals on two sides for corners. Nice idea, except that concrete blocks are 8" tall x 16" wide: a better detail would be to "sawtooth" the corners to make interlocking pieces. I used the corner boards and filled in alternating vertical joints with acrylic putty.

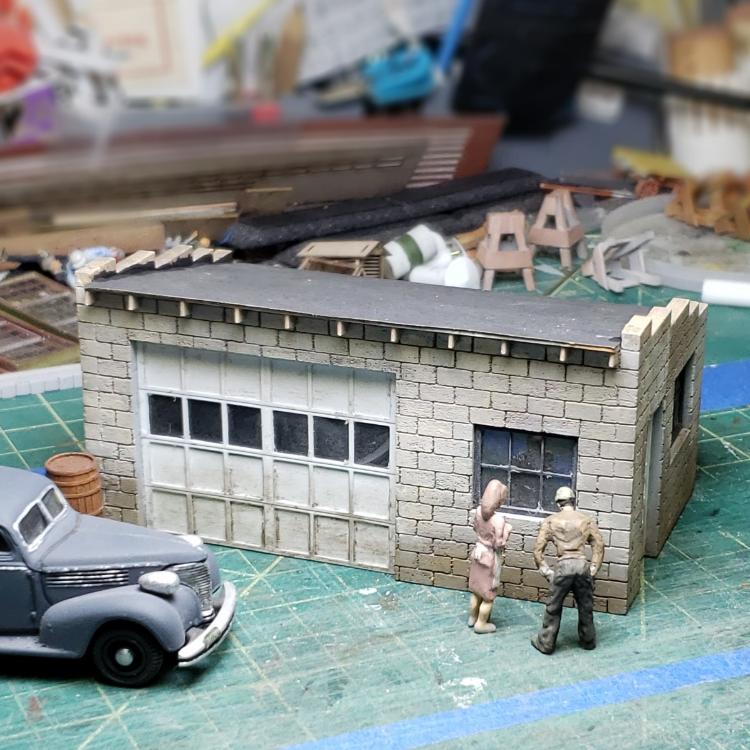
This got sanded, the joints cleaned up and another coat of Tamiya Primer. Monster shows the window and doors in matching colors. The windows are steel sash, which seems to be black typically. I masked off the window parts and painted them flat black and then masked the doors to paint them flat white. After the paint dryed, the parts got a light sanding before assembly.

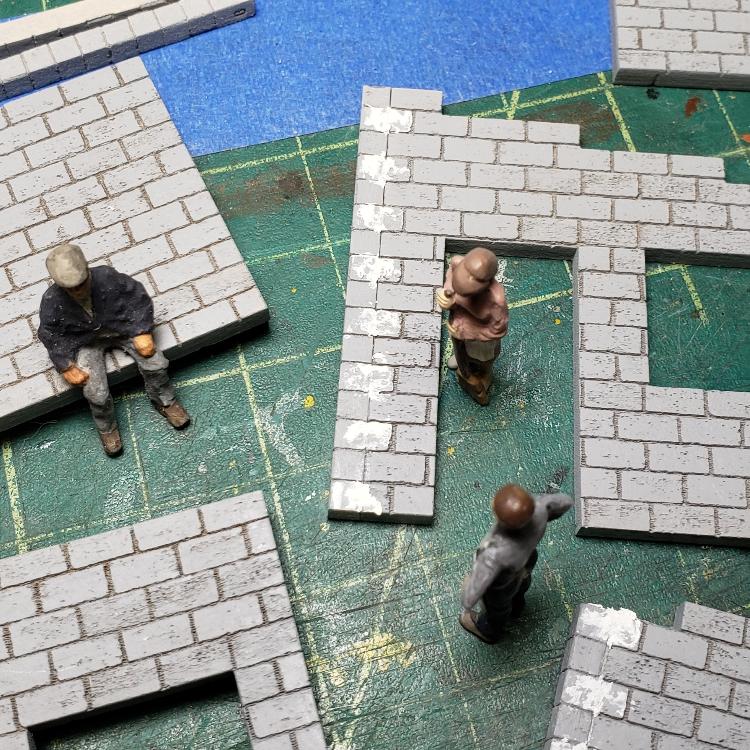
The model comes with 18" square strip to reinforce the walls. This seems unnecessary as the walls are quite stout. I did use a couple pieces to support the roof sides. Concrete block is not terribly uniform, so I placed some acrylic paint on a card--Buttermilk--and used a sponge to apply the color to the walls to create some variation. I mixed the Buttermilk with Honey Brown to paint the underside and face of the plywood roof deck. And I painted the edges of the roof black: don't worry about getting a thin line on the block face. This is where the sheet roofing will be sealed to the wall with tar.

That is where things stand now. I am contemplating using a wash of umber oil paint on the walls.
Keith Hayes
Leadville in Sn3
Reply | Threaded
Open this post in threaded view
|

Re: Monster Modelworks: Triple J Repair

Keith Hayes

Well...I rooted around the shop and couldn't find any oil paint. But--lightbulb!--how about some Pan Pastels? Well that'll do.

The model comes with some nice peel-n-stick tar paper and that went on fast. Except the sub roof is too skinny and aven a 12" overhang would not stand up to a Leadville winter.

So...off to the strip wood supply. What have we here? Some pre-stained 2x6? Perfect! Rafter tails were installed every 20" and really add to the model.

Let's call this done.


This model will be at the back of the layout and you all will get to see the bavk wall. Oh, well.

This was a fun build that took about three work sessions to build, plus a couple trips to the train room to paint. It was a fun build and I hope Monster comes out wit some more of these simple buildings in S now that they are back in production.

What is on your workbench?
Keith Hayes
Leadville in Sn3
Reply | Threaded
Open this post in threaded view
|

Re: Monster Modelworks: Triple J Repair

Dave Eggleston
In reply to this post by Keith Hayes
You know, it looks great showing the back side. I like it better in the scene.
Dave Eggleston
Seattle, WA
Reply | Threaded
Open this post in threaded view
|

Re: What is on your workbench? 2nd-Half of 2020.

Chris Walker
Well Keith.....

All the rolling stock have had the 5-Year CGO work done, currently the Orecar has been re-wheeled with new wheels/axles and the Orebox is now under sandblasting and wirebrushing prep. for repainting.  

Next up will be to build a flat-top Truck frame to carry a Shaftbucket(outside of a Headframe) reusing those removed wheelsets.

UpSideDownC
in New Zealand
Reply | Threaded
Open this post in threaded view
|

Re: What is on your workbench? 2nd-Half of 2020.

Gerard
Keith nice job.  Just in case you didn't know he's back in business again!

Great work Chris.  Anymore pictures of the Ore Car?

Jerry
 

Jerry

"And in the end, it’s not the years in your life that count. It's the life in your years." A. Lincoln
Reply | Threaded
Open this post in threaded view
|

Re: What is on your workbench? 2nd-Half of 2020.

Chris Walker
Hi Gerry,

depends on how many Flickr can find for you, https://www.flickr.com/photos/99808406@N07/ and search with Orecar tag.

or just look at these


and in case you ask.....

this car is a composite of several types, to get the features I liked best without the cost of building three distinct cars.

The body, dumplever and unusual endgate hinge style comes from a car on display at Leadville, while the frame dimensions come from a Montana prototype with the frame construction, box end cradle and turntable taken from those produced by the Fulton Foundry( later Reno Iron Works) Virginia City, Nev.  The rivet pattern follows a Fulton car as well but has the separate endsheet style of the Leadville car.

There were other variations of turntable that I would have liked but the fabrication of such was beyond my shop and my capabilities.

I never realised just how much these little cars varied from region and manufacturer.
UpSideDownC
in New Zealand