Coach 74-76
|
I purchased one of these models recently--unfinished, of course. Last weekend I stripped the model and primed the parts.
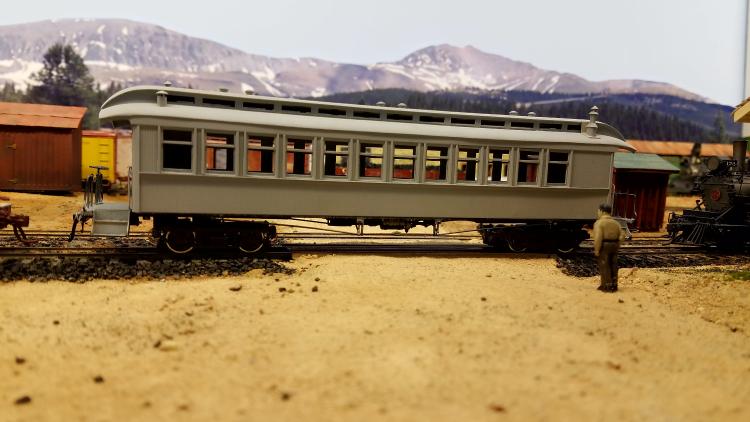 Now to paint.With all the windows, I like to at least allude to the interior colors. The ceilings seem to be white with a touch of cream (they probably started as white and yellowed due to age, coal and cigarette smoke). So, first the cream. 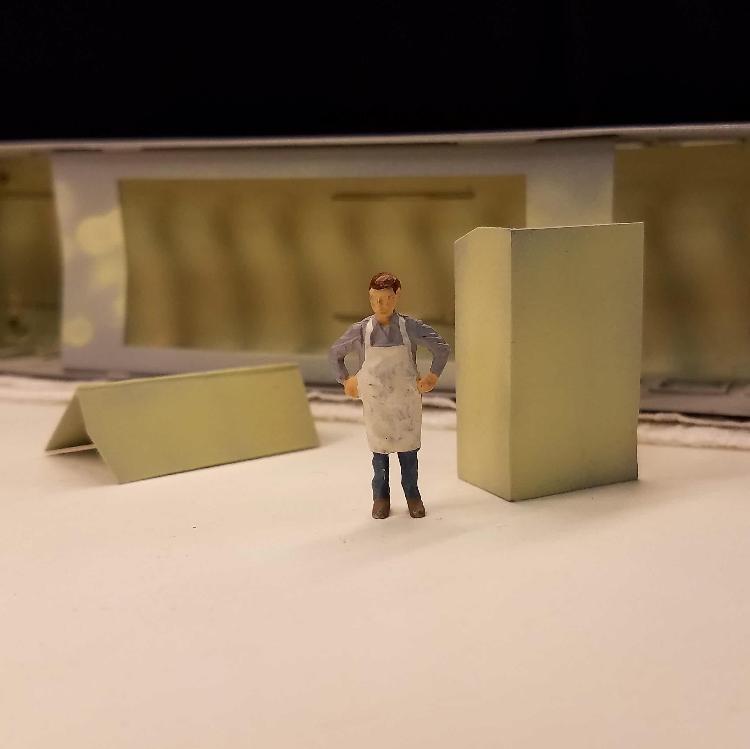 Consulting Hayes Hendricks' site, these cars had toilet compartments on each end, opposite the stoves.I built the walls of thin styrene and will secure them after painting. What wood was inside these cars? Mahogany? Ash? Walnut? One shortcoming of the Overland models is the construction of the clerestory. The lower roof is continuous, and the clerestory window sides are tabbed into the lower roof. This made them easy to buuld, but impossible to glaze. In truth, you cannot really tell the difference, but of course we all really know, don't We? Now, to add a Sound Car or not?
Keith Hayes
Leadville in Sn3 |
|
As to coach interior colors, the QuickPix book says they were varnished oak.
I believe that Mike Trent used a color called "Afrika Mustard" to represent the oak interior of his On3 coach. http://c-sng-discussion-forum.41377.n7.nabble.com/C-amp-S-Passenger-72-td2115.html#a2128
Jim Courtney
Poulsbo, WA |
|
A not very good picture of the inside of 76, scanned from a slide.
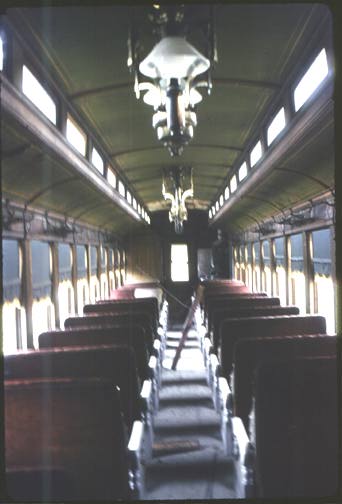 Ken Martin |
|
Thank you, Ken!
I went with Jim and Mike's tip on oak and added a drop of brown to some yellow.
Keith Hayes
Leadville in Sn3 |
|
Administrator
|
Nice job, Keith.
The On3 version of this car did have most of the roof cut out for access into the clerestory. So I was able to add "glass". My biggest concern was that the real floor was non existant, the model floor is actually the covered subfloor at the very bottom of the body. To mount the seats, I used a 1/4" styrene "L" upside down along the brass edging at the bottom of the car. It is painted black, and supports Grandt wood base coach seats at the right height to the windows. Once the shades are in at the top part of the windows it is so dark in the body that you can hardly see the seats. I lucked out and was able to find a second 74-76 coach, so I have two of these drop corner coaches, and the straight roof #70. My passenger car roster will be completed with a baggage car next year. I spent a few minutes considering painting the interior walls, but in the end decided I really didn't want them to be visible. I only used the "Afrika Mustard" on the lavetory partitions as they were right at the windows. Mike |
|
In reply to this post by Keith Hayes
Coach 75 is done.
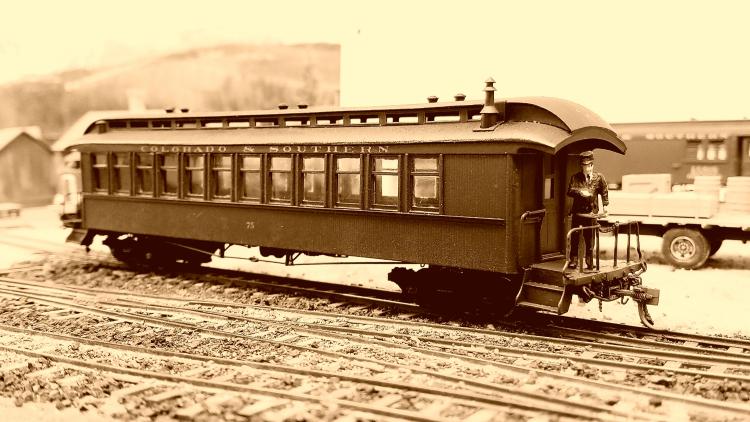 This was a challenging job. It took three tries to get the color green right. I dropped the floor and bent the handrails. The window jambs somehow got bent and had to be straightened...I could go on, but let's call this one complete.
Keith Hayes
Leadville in Sn3 |
|
A very beautiful car!Looks like the end platform still needs a little straightening.
|
|
Keith,
I am curious on what color you settled on? What part did your layout lighting setup have upon your color selection? Bob
Sent from my iPhone
|
|
In reply to this post by Robert McFarland
Playing with the enlarger showed me that there's nothing wrong with the end platform.My mistake
|
|
In reply to this post by Keith Hayes
Great looking model, Keith!

Jim Courtney
Poulsbo, WA |
|
Administrator
|
In reply to this post by Keith Hayes
Great, Keith, to me, they always look better painted.
And I know just what you mean about "for the time being". I'm enclosing a couple pictures of Coach #75's sisters. #74 in the middle, #76 on the rear. 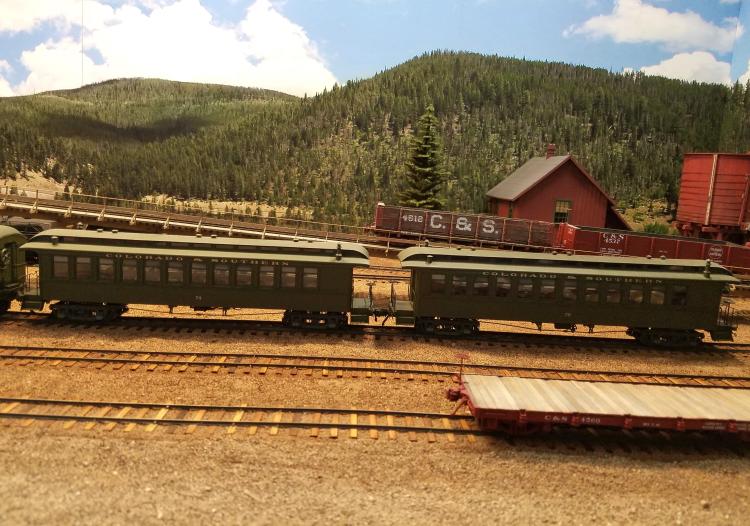 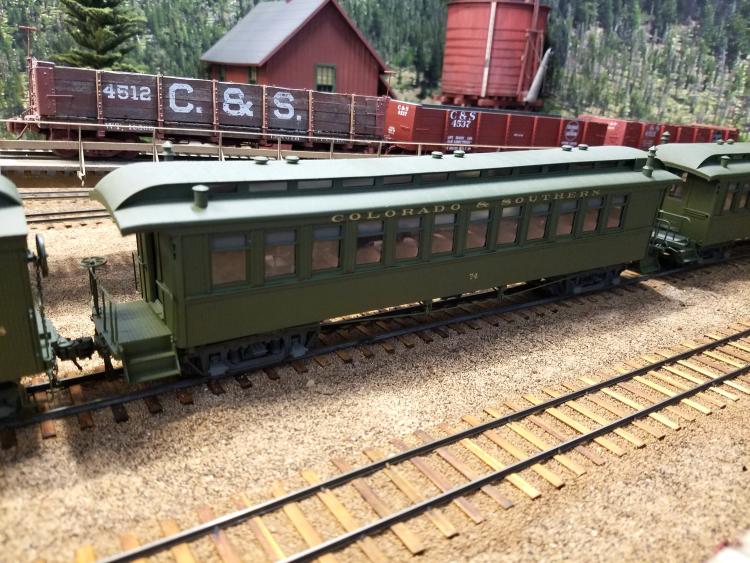 So, between us, we have all three. |
|
This post was updated on .
In reply to this post by Robert Stears
An interesting question, color.
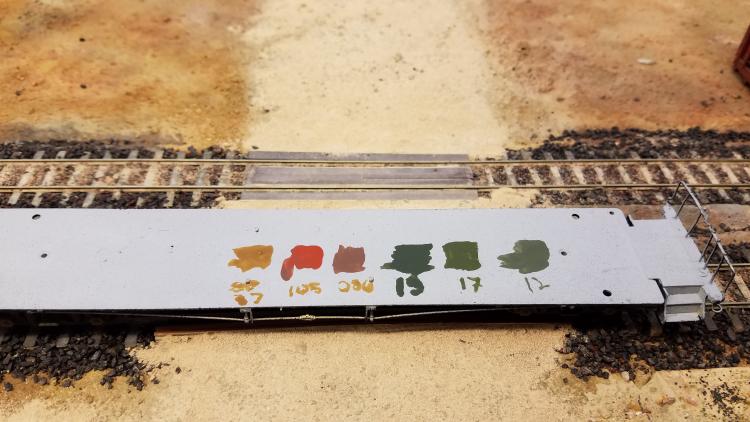 Mr. Poole had painted my other C&S cars, and I have some PBL D&RGW models, so I was keen to get something to match. Darrell is an evangelist for Scalecoat products, and being especially smart about all things South Park, I believed his color selection to be the one to target. To my eye it is 'greener' than the PBL cars, which are more olive. Personally, I was a Floquil fan as a kid, but had moved to Polly S in an effort to preserve my brain for a couple more decades. For the last 2-3 years, I have been using the Vallejo products, and I really like the 'Air' line, except they are all combat colors. Consulting the handy web, I was told that the Air color 71.019 was close to Pullman Green, 71.017 is Coach Green, and I had 71.012, which seemed like a nice green to me. I applied these with a brush on top of the primed floor to see what they look like. The 17 looks like a good coach green, but the 19 is not olive enough to my eye. Your results may vary. So, I sprayed the car with the 17, which seemed closest to Darrell's paint choice. Well, that was not the right choice. It was way to green, more white. So, I tried a second coat with the 19. Still not right. At this point, I figure I have one last shot before I have to dip the whole car and start again (I started on the interior and painted the ceiling a cream color, and the walls a reddish-orange, so I had some time in in the car I did not want to lose). I found myself at Caboose, and noticed the extensive line of colors Tru-Color makes. Can you believe they DON'T offer Coach Green, or Pullman Green in a bottle? But, they make about three-dozen railroad specific greens. referencing the memory banks, I chose Tru-Color TCP 135, SP Dark Olive Green. Though the color is good, I did not use the right thinner, and it really gummed up the airbrush. I applied Testors Gloss Coat over the green for the decals, and then a second coat to seal the lettering. The lettering is by Thin Film, and is more gold than the other Varnish. If someone would like to post their paint formulas for Vallejo, I am all eyes: I don't have the patience for that anymore. Now that it is done, this car is, well, junky. Like many of the Ajin models, parts seem to fall off, and dropping it did not help. I am not set up for brass work, so tend to glue the things back together. A close inspection will reveal the windows are not set in the wall squarely, and the upper sash muntin is apt to bend. The way the clerestory is slotted into the roof is coarsely done. The end beam jewelry is good for the period, but parts could be better bent and detailed. The chains are too small, but there are hooks. And those damn air hoses get in the way (I have half a mid to tear them off and replace them with PBL rubber hoses, which will not interfere with couplers). Now that I may have the paint figured out, I am really thinking hard about getting my Cimmaron kits out. The details are better to start, and I can easily add brass wire and chain to the end platforms. I did modify some PBL trucks as shown on the main page article for this car and I also threw caution to the wind and painted the roof black. I think it just looks better. The quality of this model--which I procured for $200 or so--does bring to mind the discussion on Bill Beverley's Facebook Sn3 page about the price of brass. Jim Courtney alerted me to a model of CONX 8 on eBay. This was part of an estate sale that included dozens of models, many brass. $250 tank cars are selling for upwards of $400! I have not seen a model of CONX 8 for sale, so researching that car for a kitbash from a PBL UTLX kit is very much on my mind. Jim and others seem to have great luck with photos on eBay, but I don't like bidding for models there.
Keith Hayes
Leadville in Sn3 |
|
An early color view to compare hues.
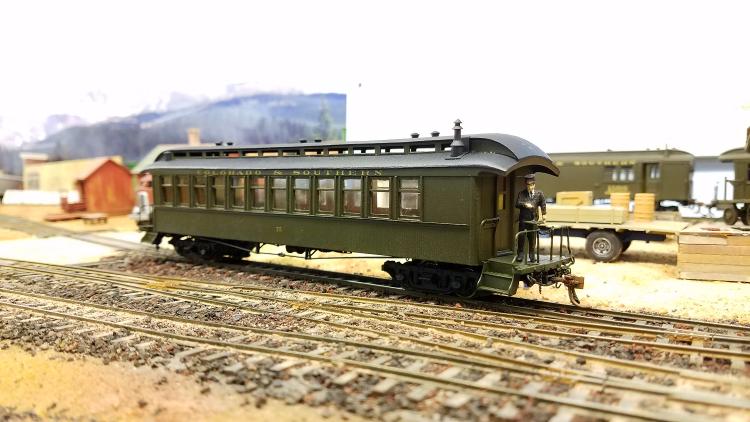 Still does not look olive enough.
Keith Hayes
Leadville in Sn3 |
|
Administrator
|
Hi Keith, we've probably all had projects like this. I sure have. Following are some comments from an old veteran of numerous struggles with stuff like this.
Have you tried Testors Dark Green? I paint the body in Dark Green. After decaling I use Testors Semi Gloss. I have completely quit using Glosscoat, I like the lower sheen of semi gloss. I also keep very little semi gloss on the roof, which gives a faded look. This may be one of those times to say, "screw it" and give it an acetone bath. If you do, don't hesitate to use a torch to disassemble the upper roof. You can easily acc everything back in place and paint the body without the upper roof there. When you have the glass in place, you can acc the upper roof back. But before you strip it, if you do, try a coat of "Dark Green" and see how you like it. Spray a little semi gloss on the side, as that changes the tone. It does not look too dark like Pullman Green, and it's not too faded like Coach Green. As an old dinosaur, I learned early two things about paint. First, always use "standard" colors. If you get involved with mixing paint, you'll never get a match. The second thing is, never "bake" paint. Despite efforts to prevent damage to paint in handling your models, they will get damaged. And baked finishes don't just rub off or scratch, they chip. And once that happens, you'll never be able to touch them up. There are two kinds of models. Display models, and "working" models. Your models are "working" models. So are mine. Lastly, I would caution against obsessing over trying to match exactly to paint chips or "perfect mixes". Colors look completely different under different lighting conditions. That includes how much natural daylight or sunlight comes through your windows. There are always compromises we have to make, so if you strive to get it right to your eye, believe me, that will never fail you. To summarize, the old KISS (Keep it simple, stupid) is pretty good advice. Not to worry, that coach will end up just the way you want it. Every time something like this happens, you will learn from it and get it just right. Everything we do is just part of the journey. |
|
In reply to this post by Ken Martin
Next month a guy, Andrew Brandon from the Nevada State Railroad Museum will be in Como to do Panatone color analysis on stuff in Como. Interesting to see what comes up on C & S coach 56. Same analysis done on cabeese 1008 and 1006 to conclude DSP&P 76's finish.
|
|
Do you mean Randy Hees? He's at the NSRM in southern Nevada; Andrew lives in northern CA. Both are involved in color analysis, but Randy was who did the work on the South Park caboose colors.
Dave Eggleston
Seattle, WA |
|
In reply to this post by Keith Hayes
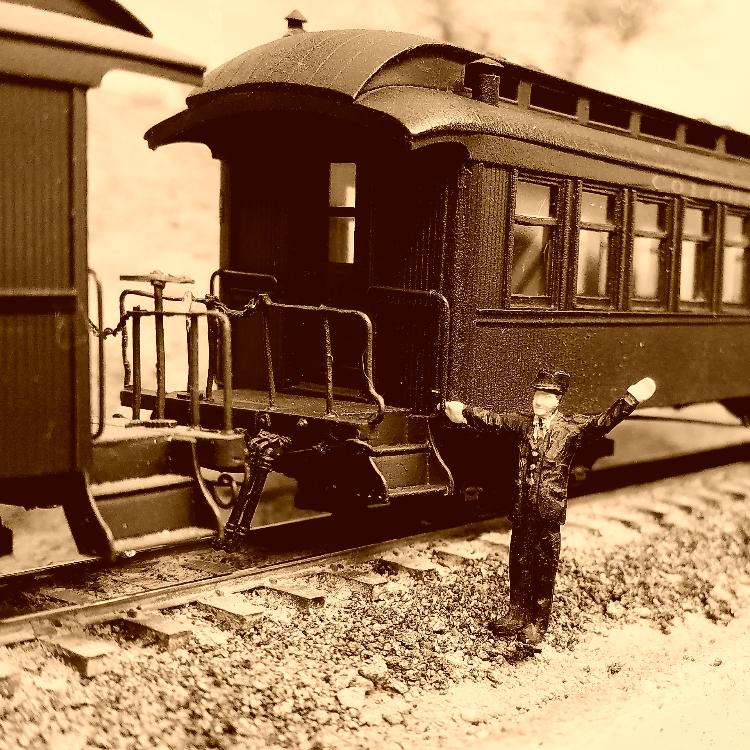
Out on the line.
Keith Hayes
Leadville in Sn3 |
«
Return to C&Sng Discussion Forum
|
1 view|%1 views
| Free forum by Nabble | Edit this page |

