Loading... |
Reply to author |
Edit post |
Move post |
Delete this post |
Delete this post and replies |
Change post date |
Print post |
Permalink |
Raw mail |
162 posts
|
Well I have had some mass production going on of HOn3 C&S passenger cars. Kind of a mix of Labelle, 3D printed and well to say the least "other" sources of cars. I still need to get them lettered- just got the rest of the decals yesterday. (plus it is raining out today and don't want the glosscoat/ dullcote to fog from humidity and I'm in the south you all
![]() I'll start off with a Labelle coach- since this has the straight ends I went with 70. It still needs the end railings added. This was a basket case that I bought partially assembled with some other kits a while back. It only had a short roof- so I did some improvising with balsa blocks on the end. ![]() Once carved down it worked OK- I probably should have carved more into the rest of the roof. I used some tissue to cover imperfections stock down with black craft paint. ![]() I used Roundhouse trucks underneath. It received some Walthers seats that I cut down but not enough so it has too far a narrow aisle- that doesn't show bad from outside however. ![]() ![]()
Jim Curran
|
Loading... |
Reply to author |
Edit post |
Move post |
Delete this post |
Delete this post and replies |
Change post date |
Print post |
Permalink |
Raw mail |
162 posts
|
Tyco Narrow Gauge.... WAIT WHAT???????
(or a pseudo Bowers Dure C&S coach in HOn3) I have always like the looks of the little Bowers, Dure and Co. coaches that found a home on the South Park/ DL&G and the C&S. In their original configuration they were classy, easy to distinguish cars. In their rebuilt configuration they were stocky little cars with character. ![]() 
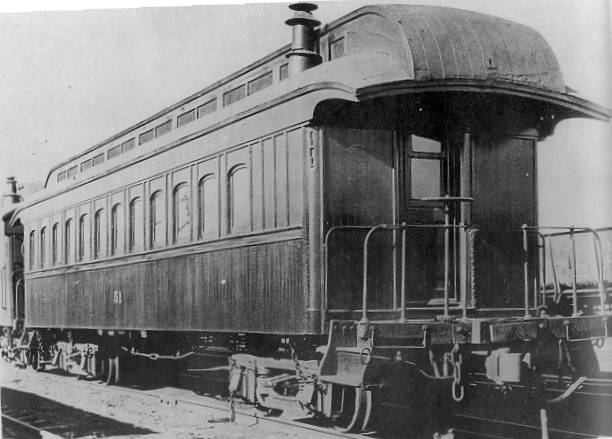
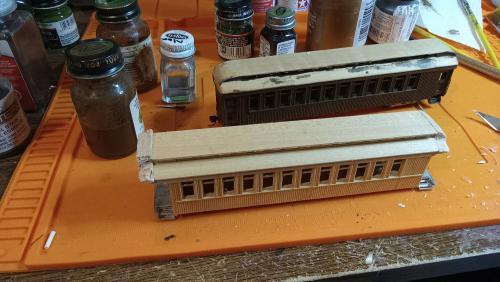
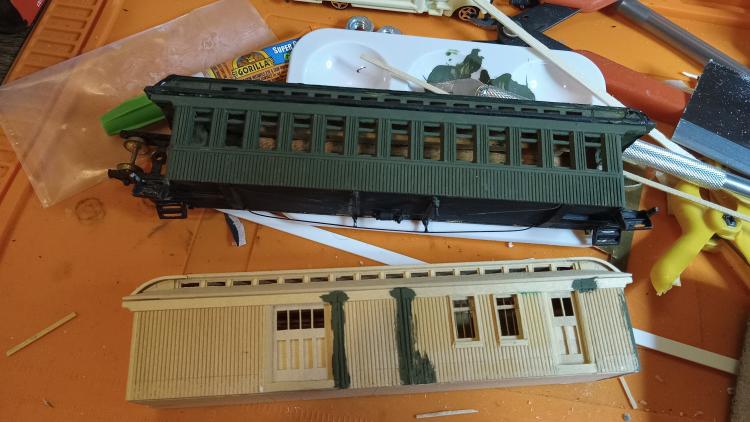
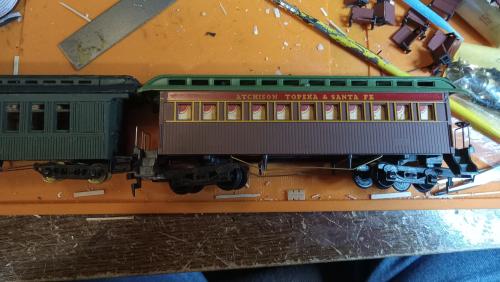
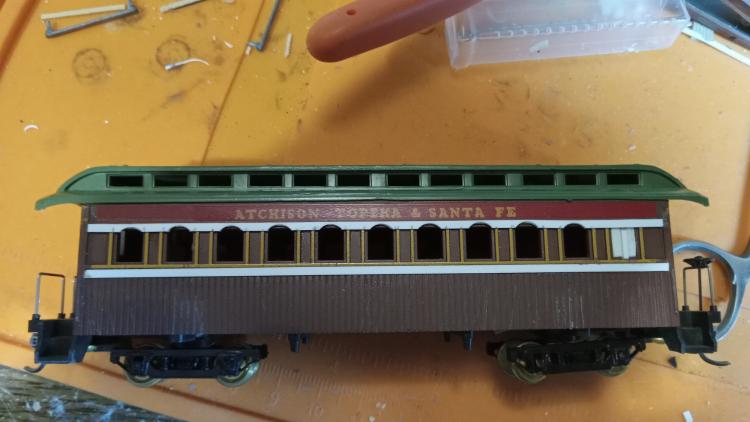
A while back while strolling through a swap meet I spotted a Tyco coach. Normally I would not give Tyco a second look but I had been looking through the pictorial a couple of days before and a light bulb went on. Being a Santa Fe car it was even appropriate as these cars were made for Santa Fe in their short lived takeover of the Rio Grande during the Royal Gorge War and then leased and purchased by the DSP&P. To be sure there are some differences- they are slightly longer and the window count is off plus the windows are square. The overall width is pretty good. The roof is a smidge wider but extremely close to a Labelle. The body is a bit wider but fits flush with the roof so does not stand out. It certainly is far narrower than a Roundhouse Overton. ![]() 
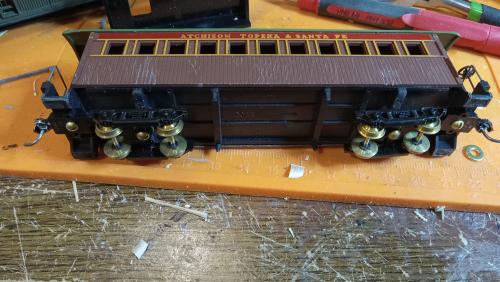
I was a little surprised my crazy idea worked. Turns out it was a fairly easy conversion. After snapping off the trucks I used a xuron cutter to snip off the bottom third steps then cleaned up with sandpaper. This goes a long way ![]() I cut off the bolsters off a little above the triangular gusset. I had to file a little more and super glue in a dowel rod that I drilled out for Roundhouse trucks. I mounted Kadee scale head couplers on the bottom of the platforms. You may need to make a few adjustments on height.- I am still a little off and need to grind down the bolsters a smidge. I did shorten the queenposts a bit. ![]() 
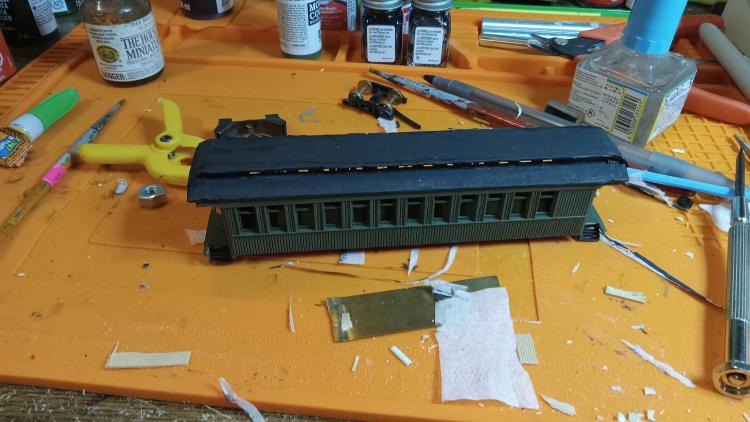
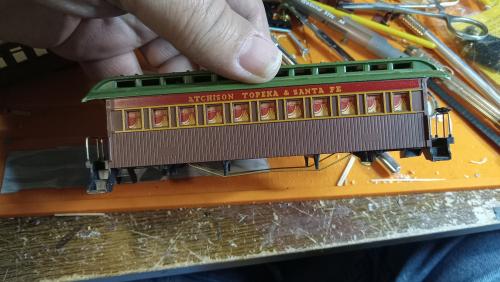
The body did require a few modifications to get it closer. The right side windows were filled in on both sides with one strip of styrene added as a rib over top. Another strip was added under the bottom rail to better model the belt rail. Now what to do on the windows? I tried a few ideas including leaving them square. I then hit on an idea. The windows are exactly the width of a paper punch so I took a strip of thin styrene (same as below the rail) and punched halfway after marking out the windows. While this raises the arch rather than being recessed it does capture the look. I did scribe in lines over the little squares over the truck as well as dragging a razor saw over the bottom boards to give them a slight amount of texture. The roof has a tin texture but not nearly with as many sheets by far as the prototype but I left it alone. ![]() 
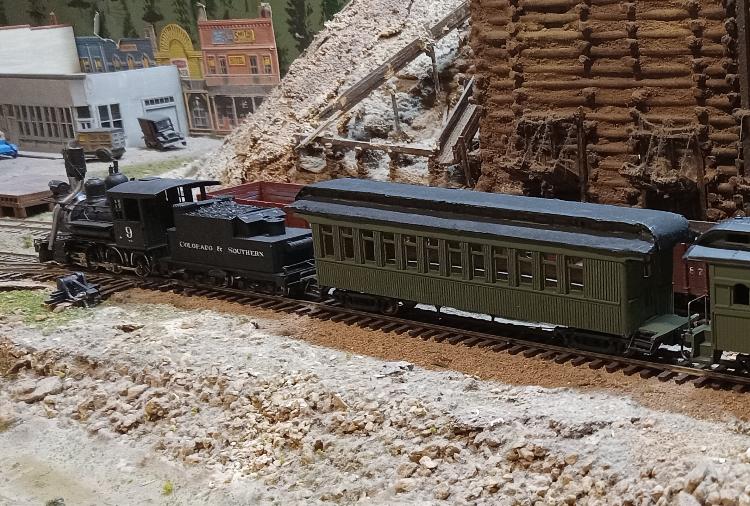
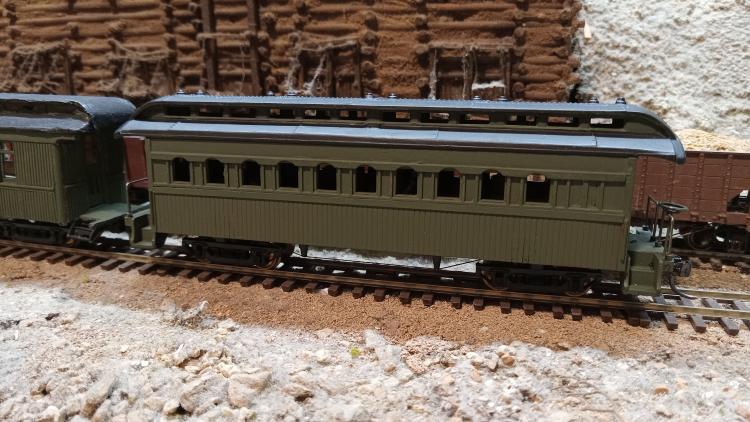
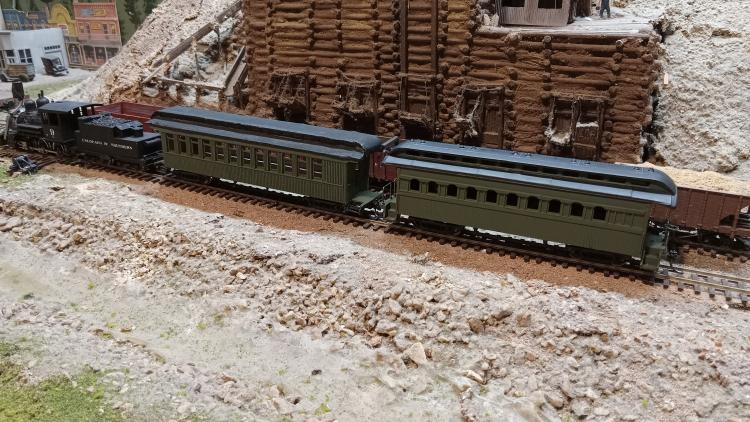
The car got a painting with Vallejo dark green which is now my go to for C&S passenger cars. I debated a bit on the roof color but went ahead with black. I suspect it was green when first rebuilt but the few color photos and movie film that we have of C&S cars show black roofs at the end of operations at least on some. (and I wanted this to match my others) These didn't make it that far we think. These cars were scrapped either in 1928 or 1939 depending on the source. I was going to letter all of the passenger cars at once I'm working on. I had waited a little while for the weather to turn before I glosscoat them for decaling and then dullcoat them. ![]() ![]() 
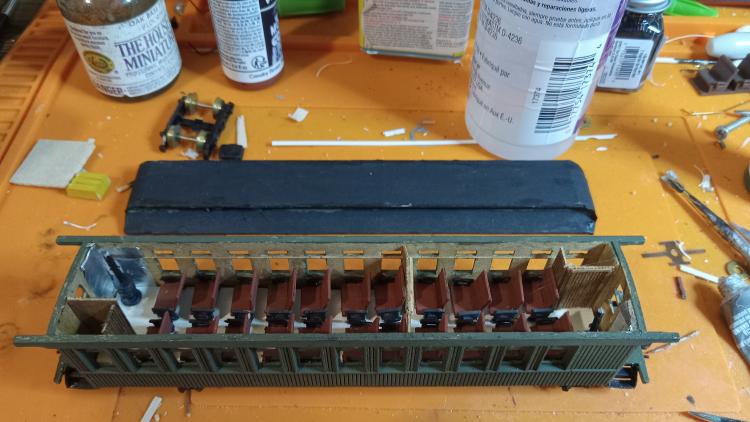
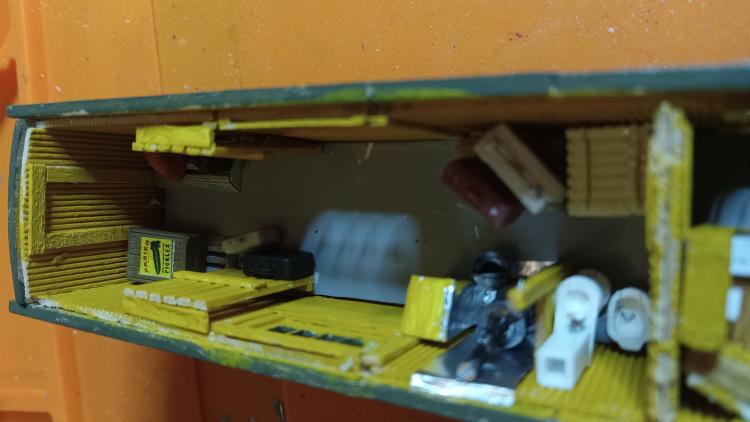
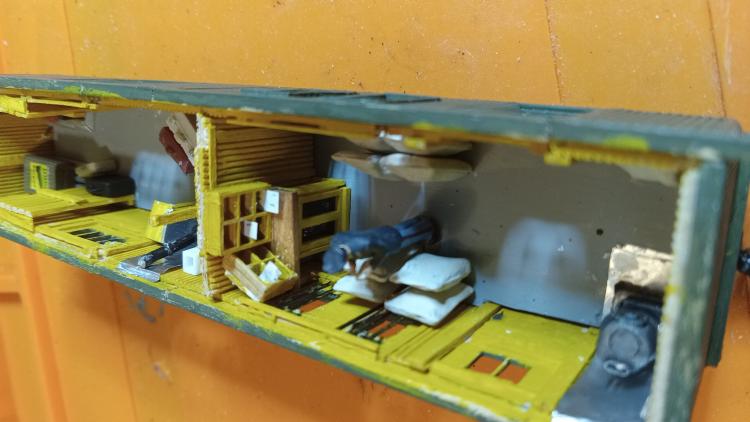
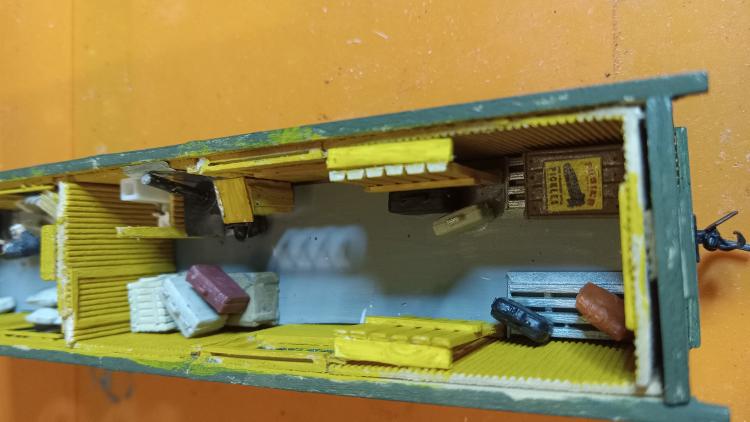
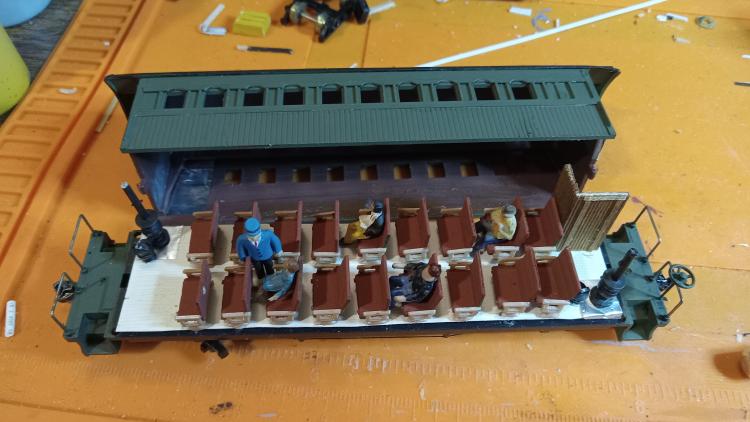
The coach got an interior using Walthers seats. You can't see much of it so I used some lesser quality figures from my stash. ![]()
Jim Curran
|
Loading... |
Reply to author |
Edit post |
Move post |
Delete this post |
Delete this post and replies |
Change post date |
Print post |
Permalink |
Raw mail |
2380 posts
|
Very clever conversion! Looks great.
![]()
Jim Courtney
Poulsbo, WA |
Loading... |
Reply to author |
Edit post |
Move post |
Delete this post |
Delete this post and replies |
Change post date |
Print post |
Permalink |
Raw mail |
162 posts
|
In reply to this post by drgwcs
Pseudo 13 RPO/Baggage.
Fair warning- for the purist this is not quite right but as a kitbash I think it works. A while back I found a Labelle D&RGW RPO that was partially assembled at a great price. The sides were done and the roof rounded nicely. (The roof is a bit long for C&S but I wasn't going to mess with a nicely rounded roof) Turns out it would have been closer to start with an uncompleted kit but I'm reasonably happy with it. I cut apart the sides to get them better in line with where the doors were. I also removed the plate along the bottom edge that had been glued there. The biggest issue in this is the windows- had I done a build from the ground up I would have corrected them but decided not to as I questioned if I could get them to look right at this stage of assembly. The green marks are where I sectioned the sides- It is not exact but any further was pushing my luck for structural stability. The same goes for extending the doors up into the letterboard- with how this was sectioned it would have had issues. ![]() ![]() To the inside to hold the car together I added some thin scribed siding- this gave me an excuse to model an interior. It is rather cobbled together with parts. The fish racks and the guards on the sliding doors were made from modified parts of Atlas lumber piles. I added some styrene strips along the edges on the fish racks after a quick sand on the top to remove the wood texture. (I think this would work for fish racks in Sn3 too) ![]() The interior got a desk, a hopper and a sink with water tank. The sink was a random part I had- I think it may have been an ashtray out of an IHC interior kit?? A porch spindle with an industrial lampshade might be a good starting point too. I added a piece of flat styrene and a square piece above that for the tank ![]() The RPO detailing is a bit basic. I did not add the magazine tacks that sat above the bag sorting. I may add some racks for the bags but for now they sit on the floor. The sorting bins are too big but were made from stacked rusty stumps window frames. ![]() All told the interior is not really visible and a bit rudimentary but works ![]() I do have a few things to do yet- I still need to decal and dullcoat but it is raining and humid out- (I live in the south and that will fog dullcoat and glosscoat real quick)- I was going to do them all at once for ease. I also need to add the brakewheels.- besides these three I have two others in progress- what in the world is the matter with me????? ![]()
Jim Curran
|
Loading... |
Reply to author |
Edit post |
Move post |
Delete this post |
Delete this post and replies |
Change post date |
Print post |
Permalink |
Raw mail |
Administrator
1023 posts
|
Good stuff! Thanks for the update.
|
Loading... |
Reply to author |
Edit post |
Move post |
Delete this post |
Delete this post and replies |
Change post date |
Print post |
Permalink |
Raw mail |
2296 posts
|
Making pigeon holes from layered window sash is next level creativity in my book, Jim.
![]()
UpSideDownC
in New Zealand |
Loading... |
Reply to author |
Edit post |
Move post |
Delete this post |
Delete this post and replies |
Change post date |
Print post |
Permalink |
Raw mail |
162 posts
|
They worked pretty good however I would say the holes are about double of what they should have been- I think N scale would have been closer. (But I would have been shooting in the dark to get the right size ordering them) In S I think the HO would work even better. Initially I was thinking of using some plastic canvas that my wife had but that looked clunky. I think working on the Bobtail Mill (that I still don't have done) made my think outside the box way too much. I was getting really goofball ideas there to work. My wife really wondered if I had lost it when she saw me cutting up disposable razors on my chopper. ![]()
Jim Curran
|
Free forum by Nabble | Edit this page |