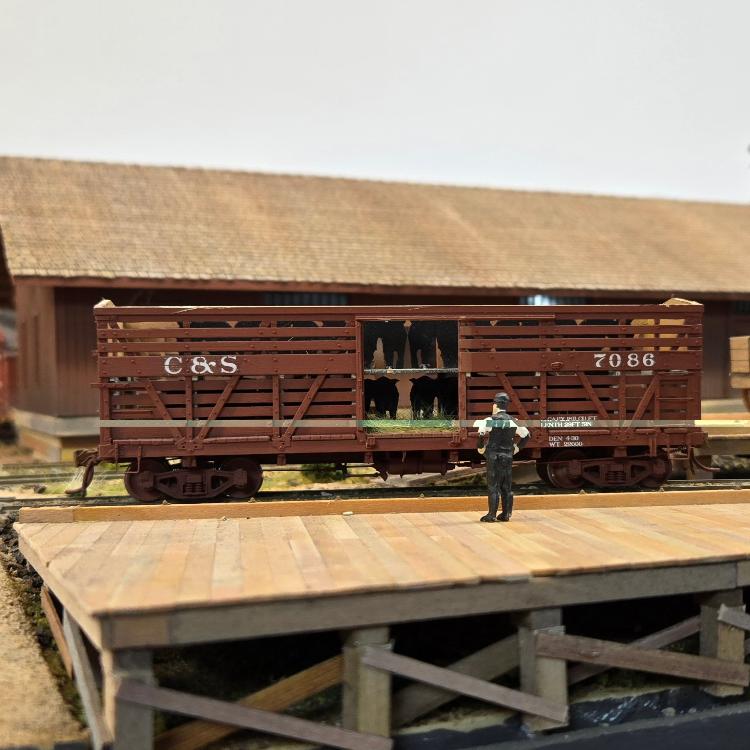
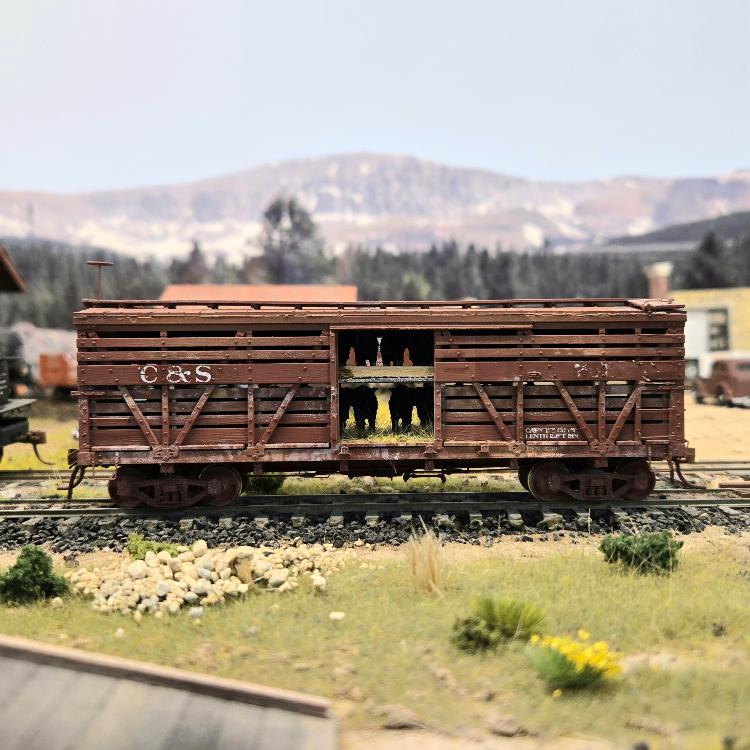
Okay C&Sn3-ers, I am not going to lie: this model is kicking me in the shins!
For starters, work and a vacation have interrupted progress, along with completing my final two Achievement Program Certificates. Then I made a couple of key mistakes assembling the side frames and side boards. After assembling and disassembling and reassembling several times, I asked Bill for new parts. He complied, and these arrived in the fall.
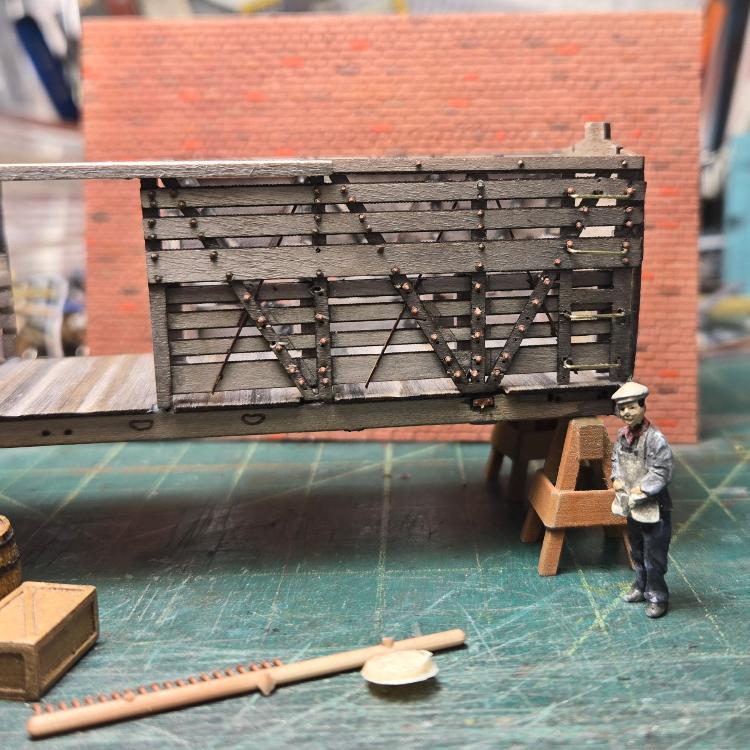
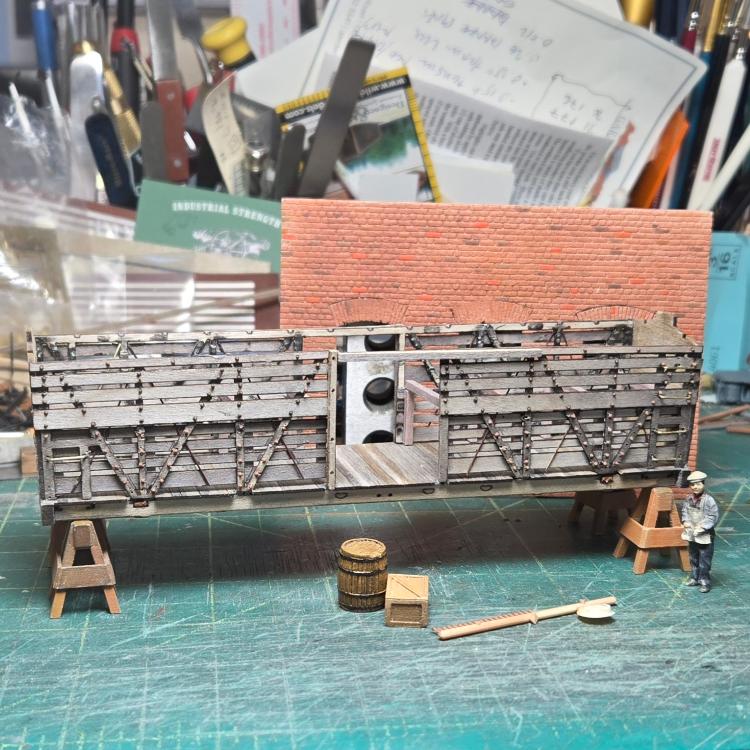
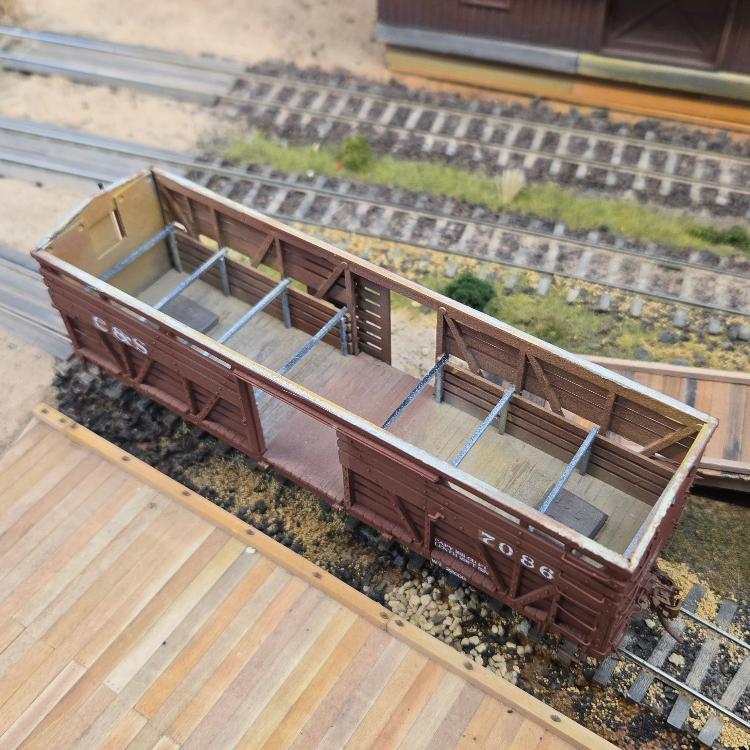
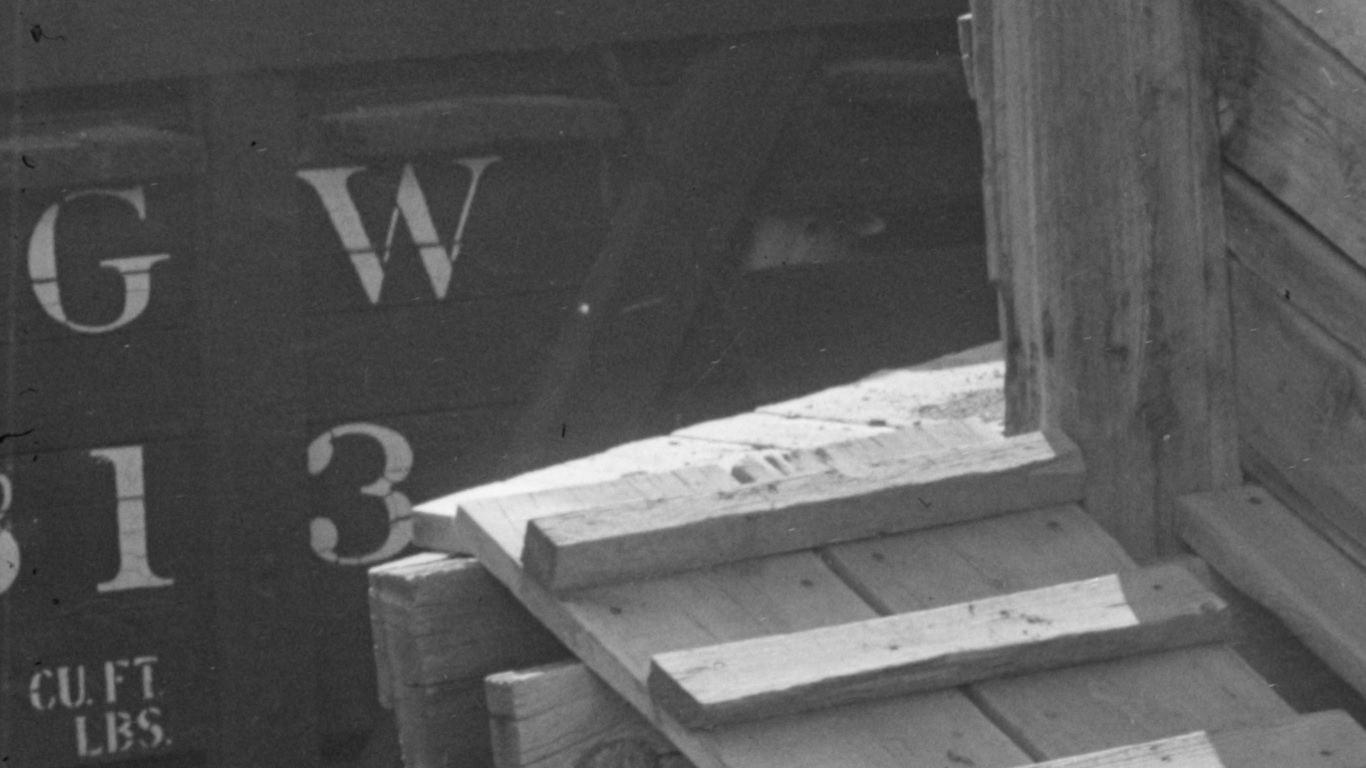
When building the model, take care and note that that the bottom board is just above the frame bottom, enough to clear the floor. Also, the top three boards extend past the end of the frame to clear the end siding. Consider this alignment when placing the parts using the laser-inscribed alignment lines. Once you have your siding sandwich, now get out the drill: this model eats NBW castings! I think there are about 100 per side! Oh, my gosh!. I found that drilling through, inserting the NBW and adding a dab of CA behind worked well, and I could nip the end and sand everything smooth after. Same with the grabs, which went on without a hitch.
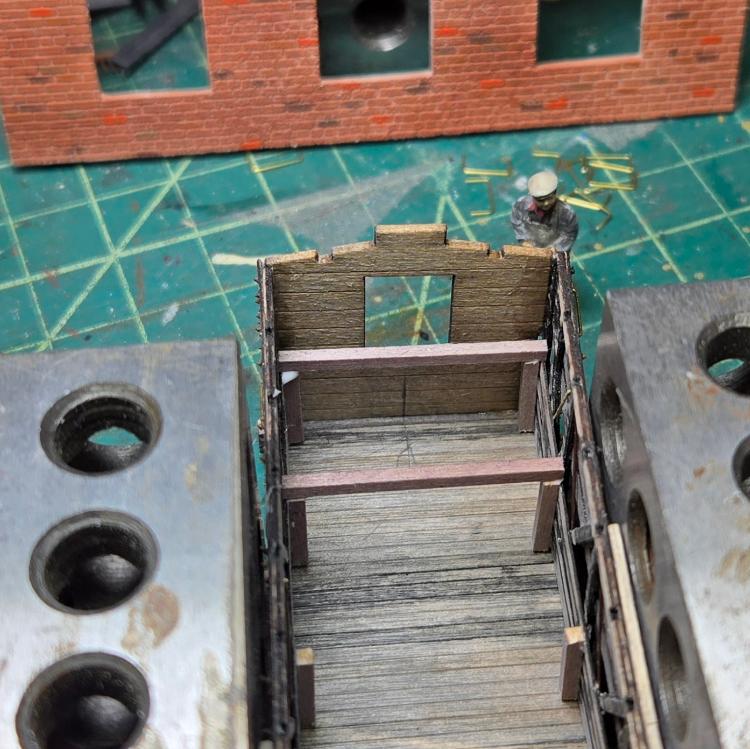
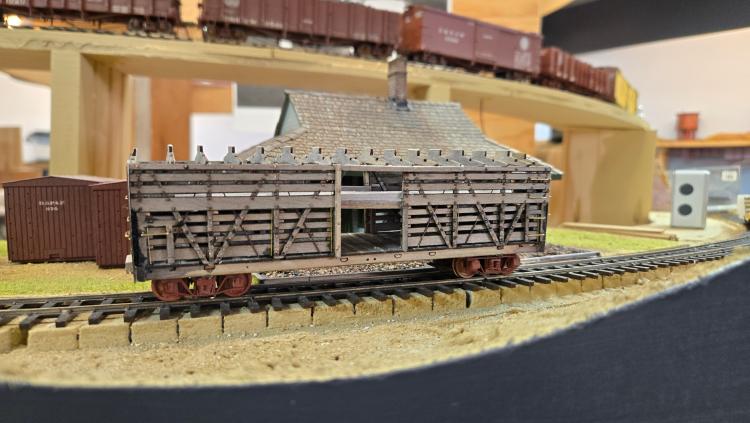
Did I mention that I broke one of the car sides? Yeah, these are fragile parts, and Fumble Fingers managed to break a side at the door header. HINT: install that top rail, first thing! As per the PBL model, I am adding a second deck. This actually serves to brace and strengthen the car. I know we have disagreed in these parts about the construction, but I am sticking with this assembly, using HO 4x4s that had been stained for an earlier project.
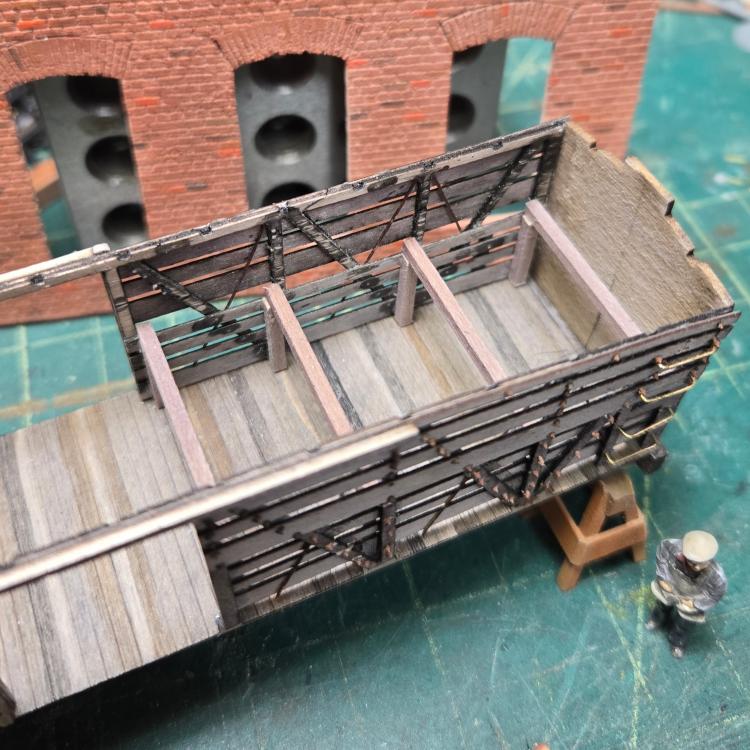
I am a fan of building the carbody box and applying all the grabs and major details before flipping the car and adding the underside jewelry. The underside details are fragile and I think this workload makes for easier handling.
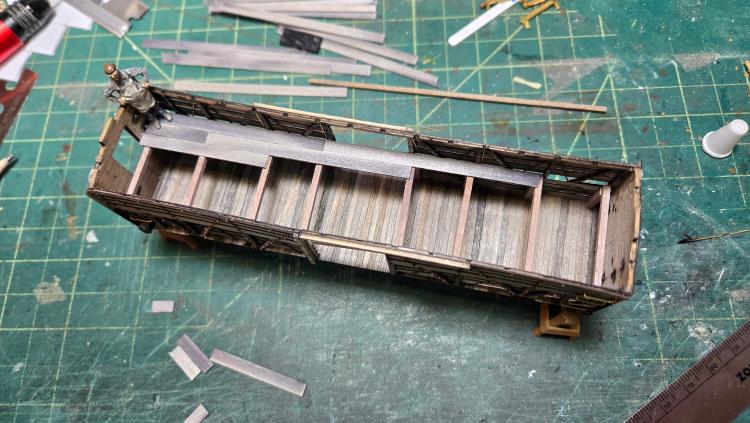
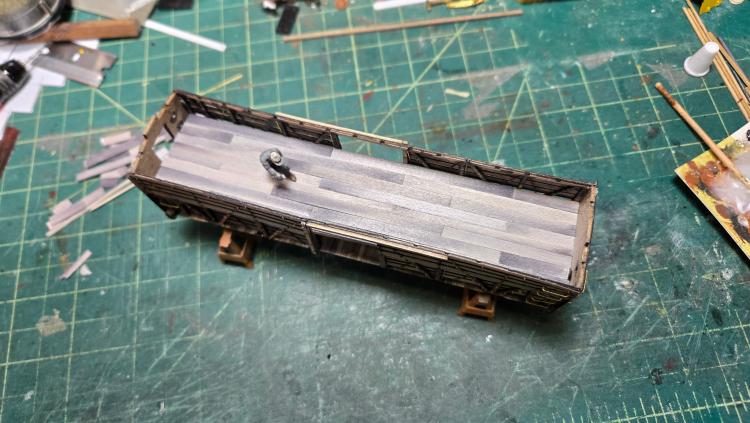
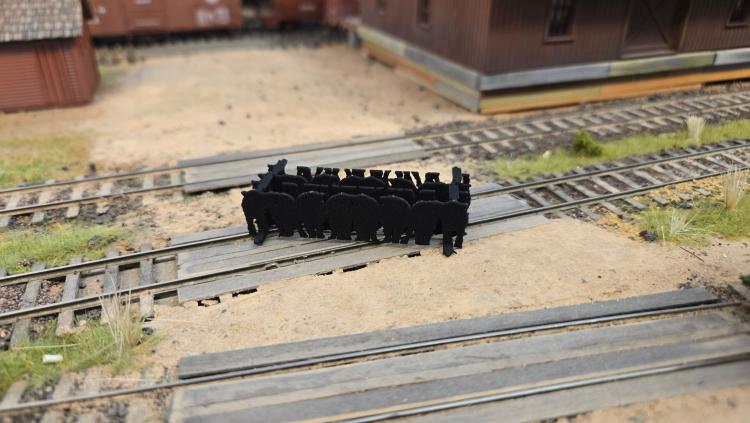
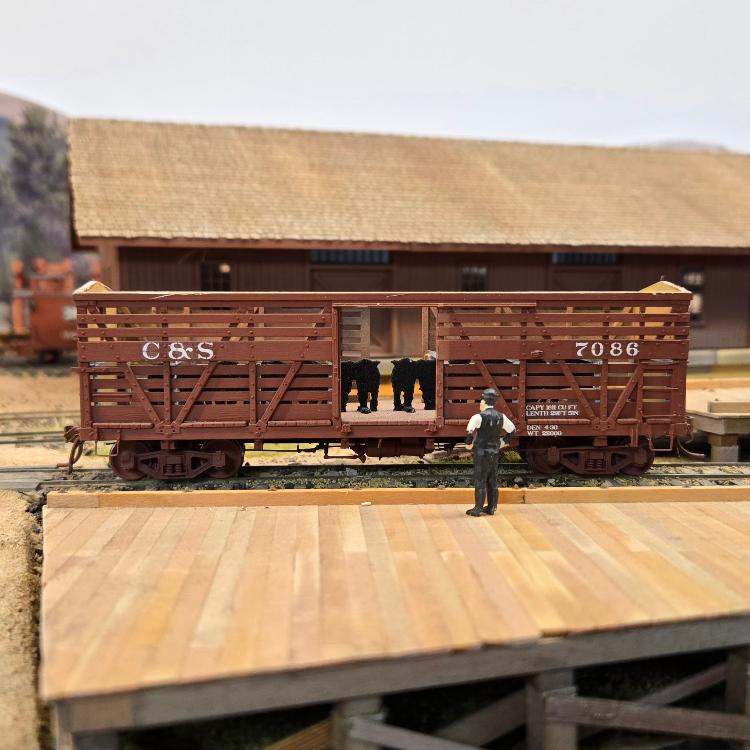
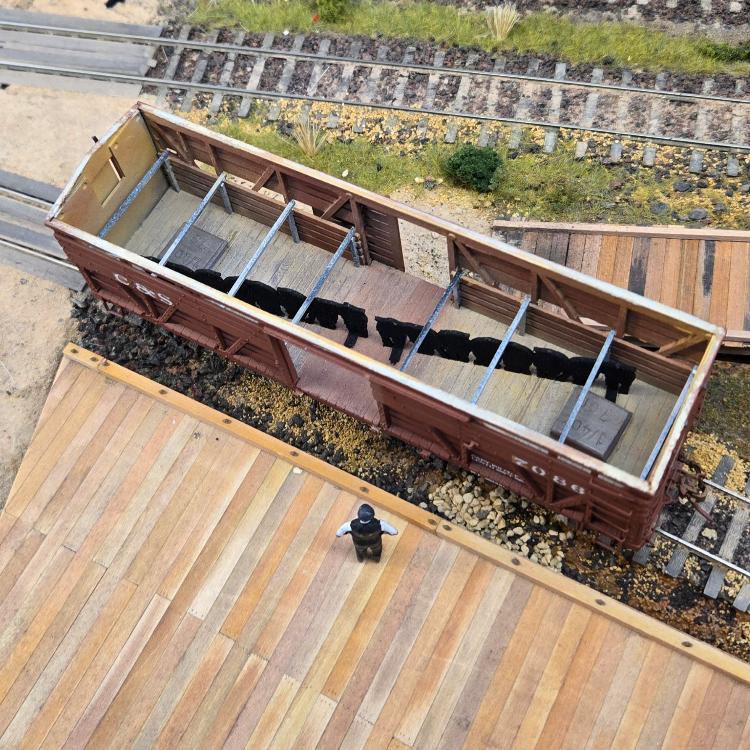
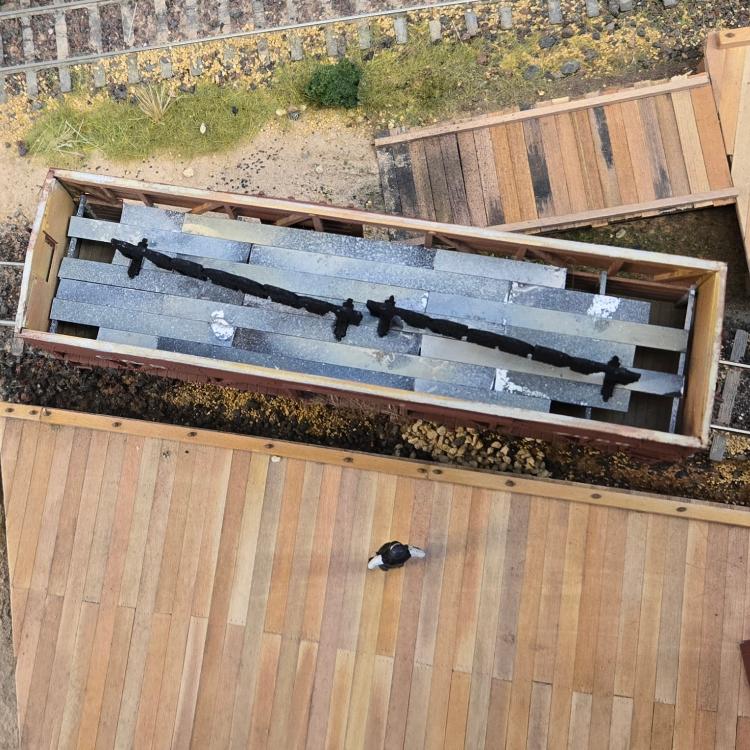
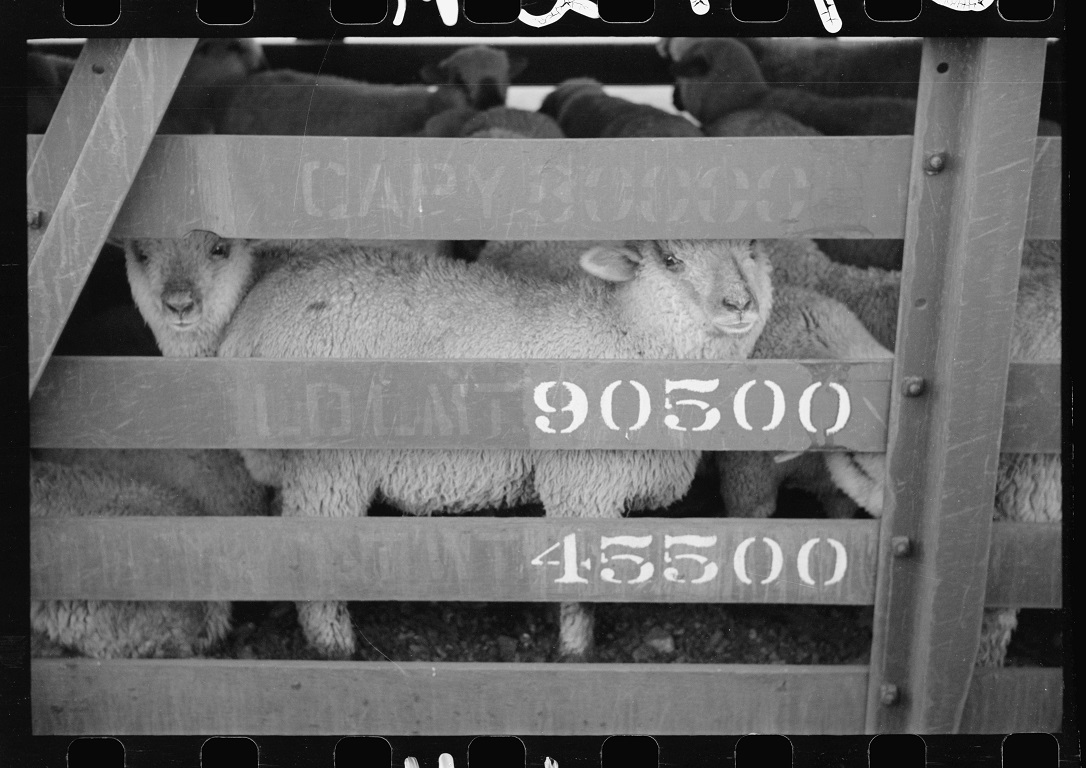
So, here is how things sit. I spy a couple of missing NBWs. Then weight, bedding, flat sheep, and the upper deck.
Keith Hayes
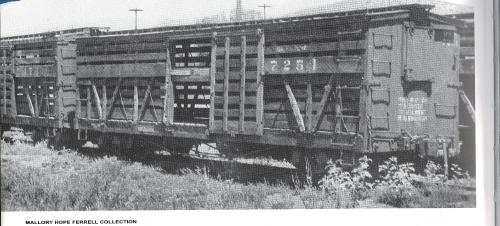
Leadville in Sn3


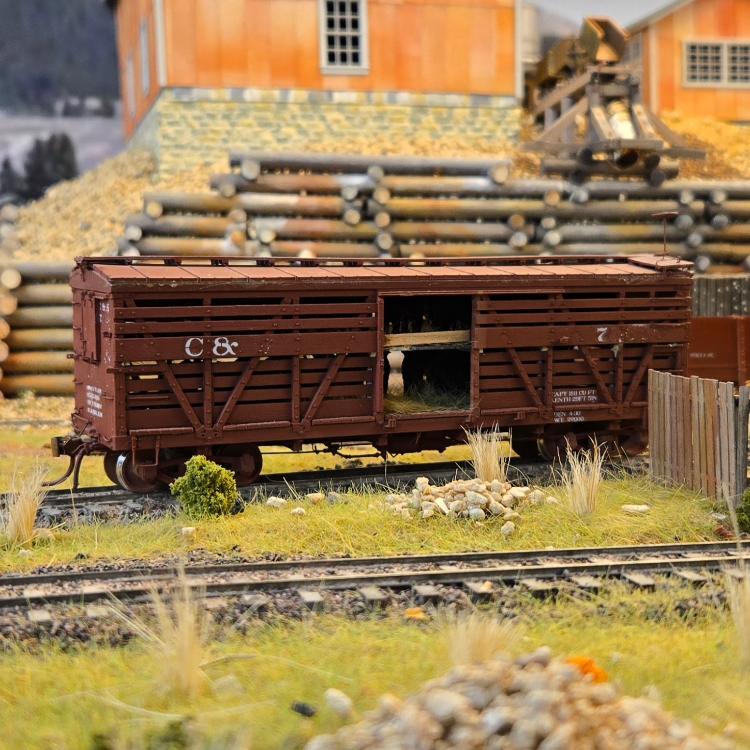

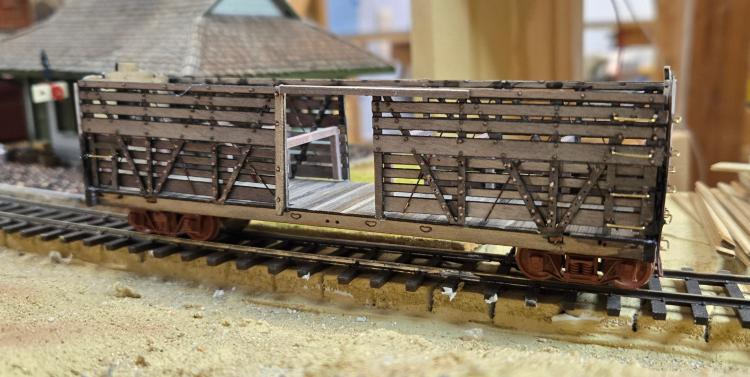 Slow and steady wins the race. I think all the grab irons and NBWs are now installed and I can move to the next step.